How to Create a Calendar Product Blank
Glossary
- Product Blank – A basic product setup to define how a product works in the design & order system before adding visuals or templates.
- Product Code – Unique code for every definition.
- SKU ID – Unique ID assigned to each product/variant in fulfillment.
- Safe Area – Outline in designer showing which part may get cropped.
- Bleed Area – Portion of design extending beyond trim size.
- Trim Area – Space around product where excess is cut.
- Substrate / Attributes – Paper type (Artpaper, Silky, Lustre, etc.).
- Lamination – Protective/enhancing layer added to surface.
- Image Size – Size of the image used in the designer.
- Photo Width – Full designer area size for photo.
- Binding – Page attachment method (imagewrap, stitch, perfect binding).
- Display Mask Image – Overlay mask in designer (.png).
- Clippath Mask Image – Designer mask area for layout.
- Offset Value – Mask positioning in designer.
- Category / Sub Category – Organizing sections for products.
- App Name – Designer type (prints, photobook, calendar, decor).
- Printable Surfaces – Surfaces where design will be applied.
- Output Type – Final file type (JPG/PDF).
- Min / Max Pages – Minimum & maximum page limits.
Steps
1. Login
- Open website link
- Enter valid login details → Click Login
2. Access Product Blanks
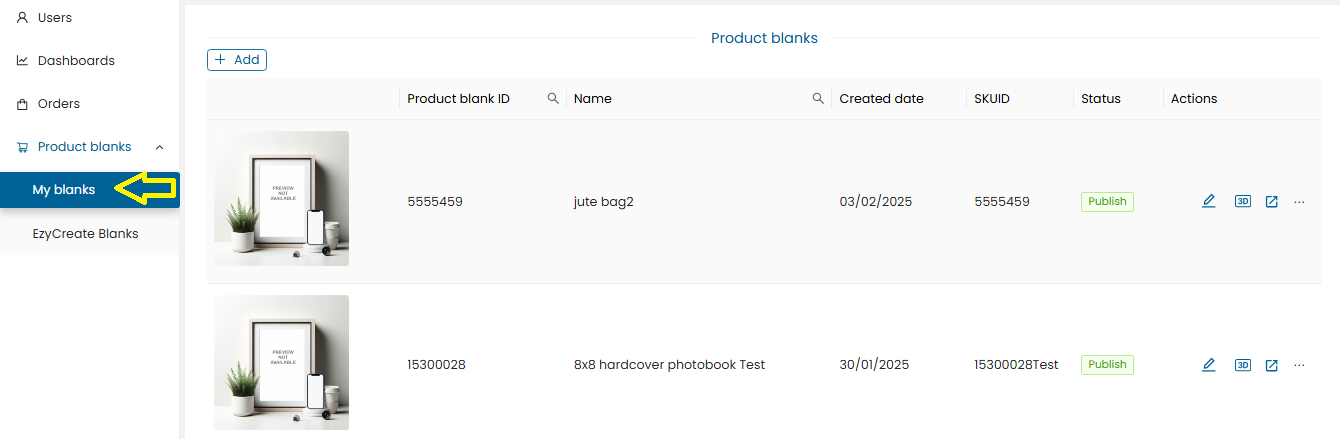
- Click Product blanks → My Blanks . Click on “Product blanks” and then click on My Blanks.
- It will display the list of defined product Blanks.
3. Create New Blank
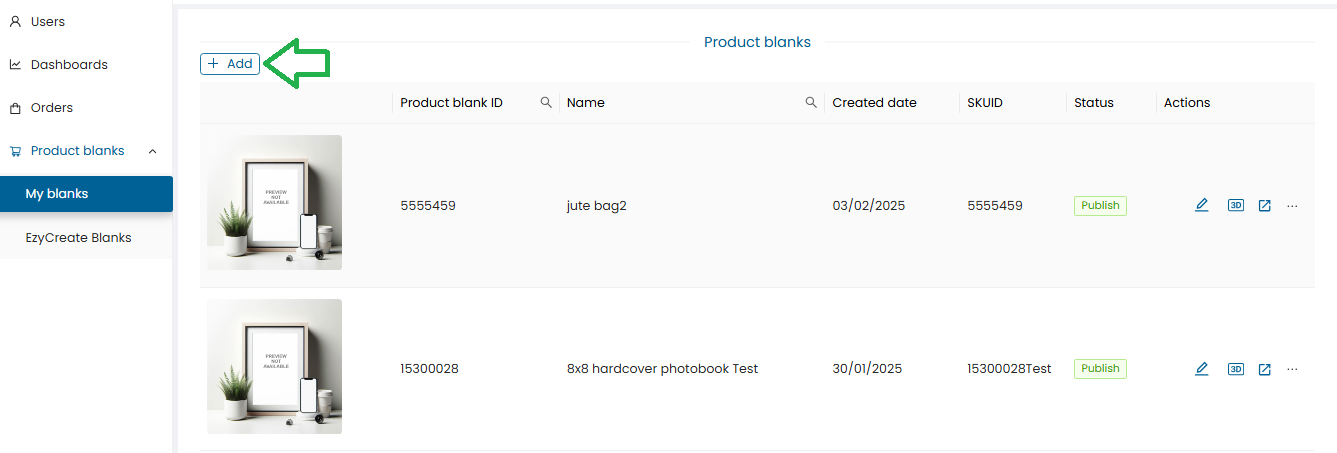
- To create a new product Blank click on the “Add” button.
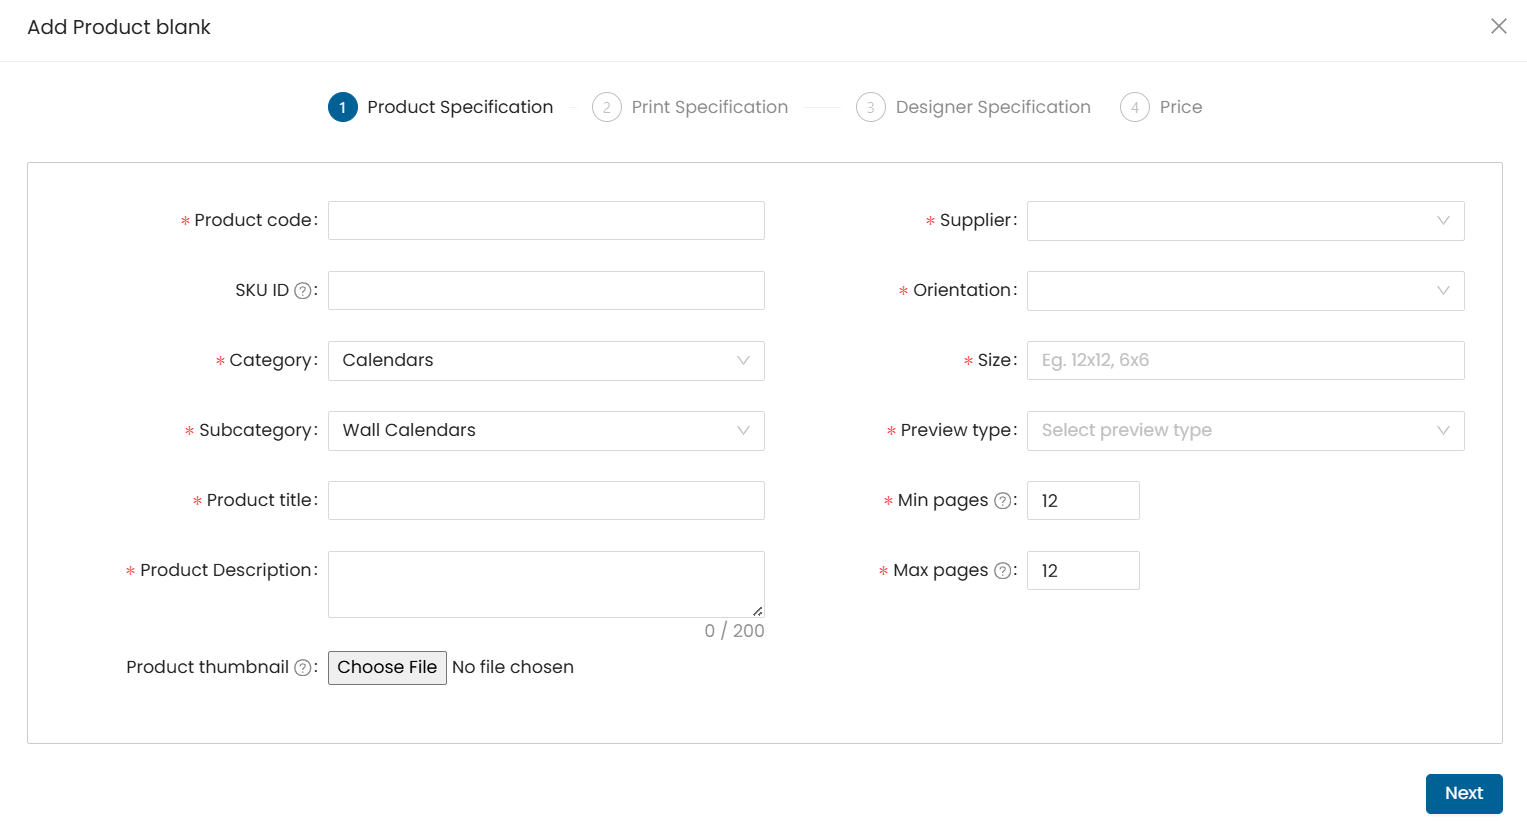
4. Product Details
-
Product Code → Enter unique code
-
SKU ID → Enter SKU id is the same as product code or if it is different then enter accordingly.
A product code, also known as a product number, SKU (Stock Keeping Unit), or UPC (Universal Product Code), is a unique identifier assigned to a particular product or item.
Same as product code (or different if required)
-
Category → Select from dropdown
-
Subcategory → Select from dropdown
-
Title → Enter product title
-
Description → ≤ 200 characters (internal use). Enter Product Description not more than 200 chars. This description is used for internal definition.
-
Thumbnail → select and upload the product thumbnail. (.jpg format only). This thumbnail image will be displayed in EzyAdmin for that Product.
-
Supplier → select the supplier under which the product will be listed.
-
Orientation → select the product orientation- Portrait / Landscape / Square
-
Size → select product size. Eg, 12x12, 6x6 This size is used for internal definition.
-
Preview Type → select the product preview type from the given drop-down.This option is used for internal definition.
Note: Preview needs to be selected as per the product type.
Product & Preview Type
Photobooks 3D
Mini book 2D
Calendar 2D
Canvas Prints 3D
Mounted Prints 3D
Frames 3D
Mug 3D
Prints Image
- Min Pages / Max Pages → e.g., Calendar = 12 min & max
Click Next
5. Output & Surfaces
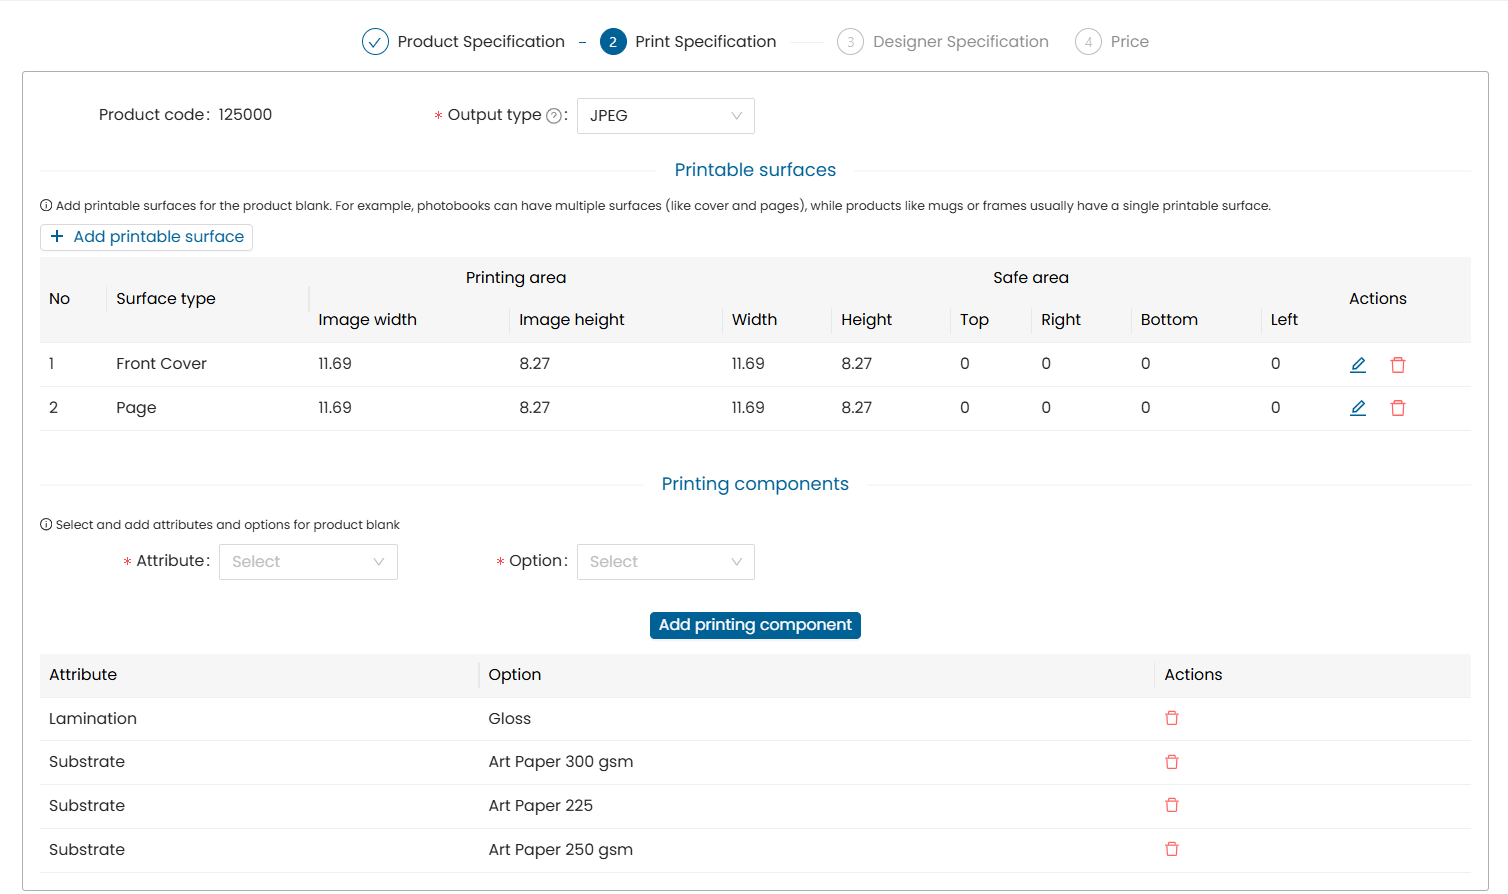
- Output Type → select the output type for the product ie. .JPG / PDF
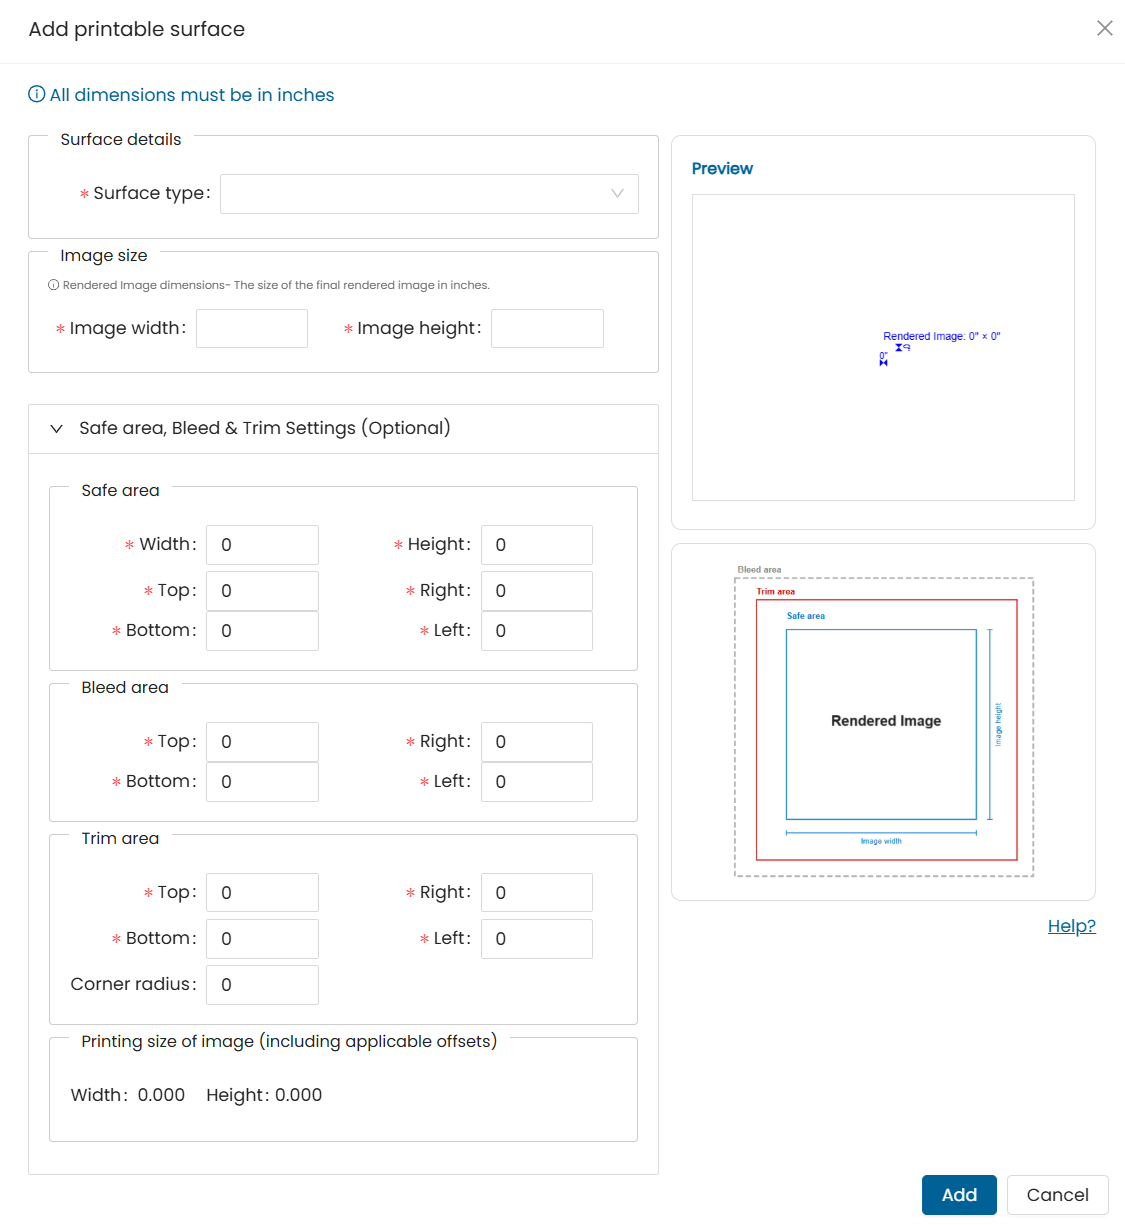
- Click Add printable surfaces
-
Surface Type → Select surface type: from the given drop-down. For eg. a calendar will have a cover page surface and inner pages surfaces.
Note : All specs and sizes to be entered are in inches.
-
Image size Enter image size specs .This image size is the printable image size of the product. Printable output image size.
*Note : under Image size : as per the image width & height is entered and photo width & height the photo holder will be displayed in the designer.*
-
for product config : specs of : image width & height, photo width & height and the mask offsets specs are compulsory
-
Safe area : Enter Safe area specs.
-
Bleed area : Enter Bleed area specs. The bleed is the area to be trimmed off.
The bleed exists to prevent the possibility of a small white gap at the edge of the finished job where a design object is required to go all the way to the edge of the paper.
-
Trim area : Enter Trim area specs. (corner radius to be entered only in case if the product has rounded corners on the design area) eg. magnet product having rounded corners.
-
Click Add button to save the entered details
6. Printing Components

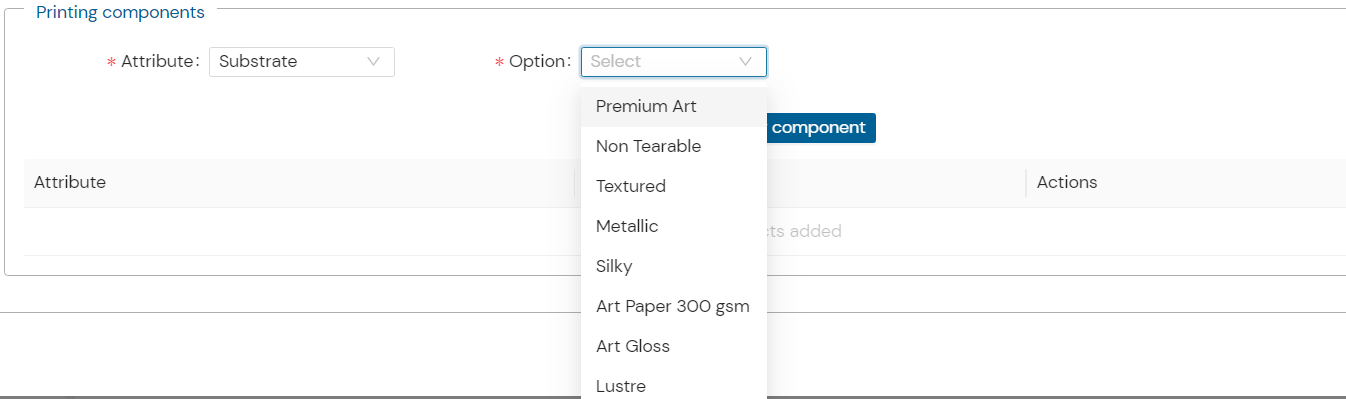
- under printing components, add substrate, Lamination, binding, cover etc for the product.
- If there is a new substrate/lamination to be added in the list,then it has to be defined under the admin module under Attributes->laminations.
- How to Add a Attributes & Attribute Options
- Under options : select and set an option as per the substrate/lamination etc selected. Eg. if ‘artpaper’ substrates is selected then the lamination type ie. ‘matte’/’gloss’ applicable is also to be set.
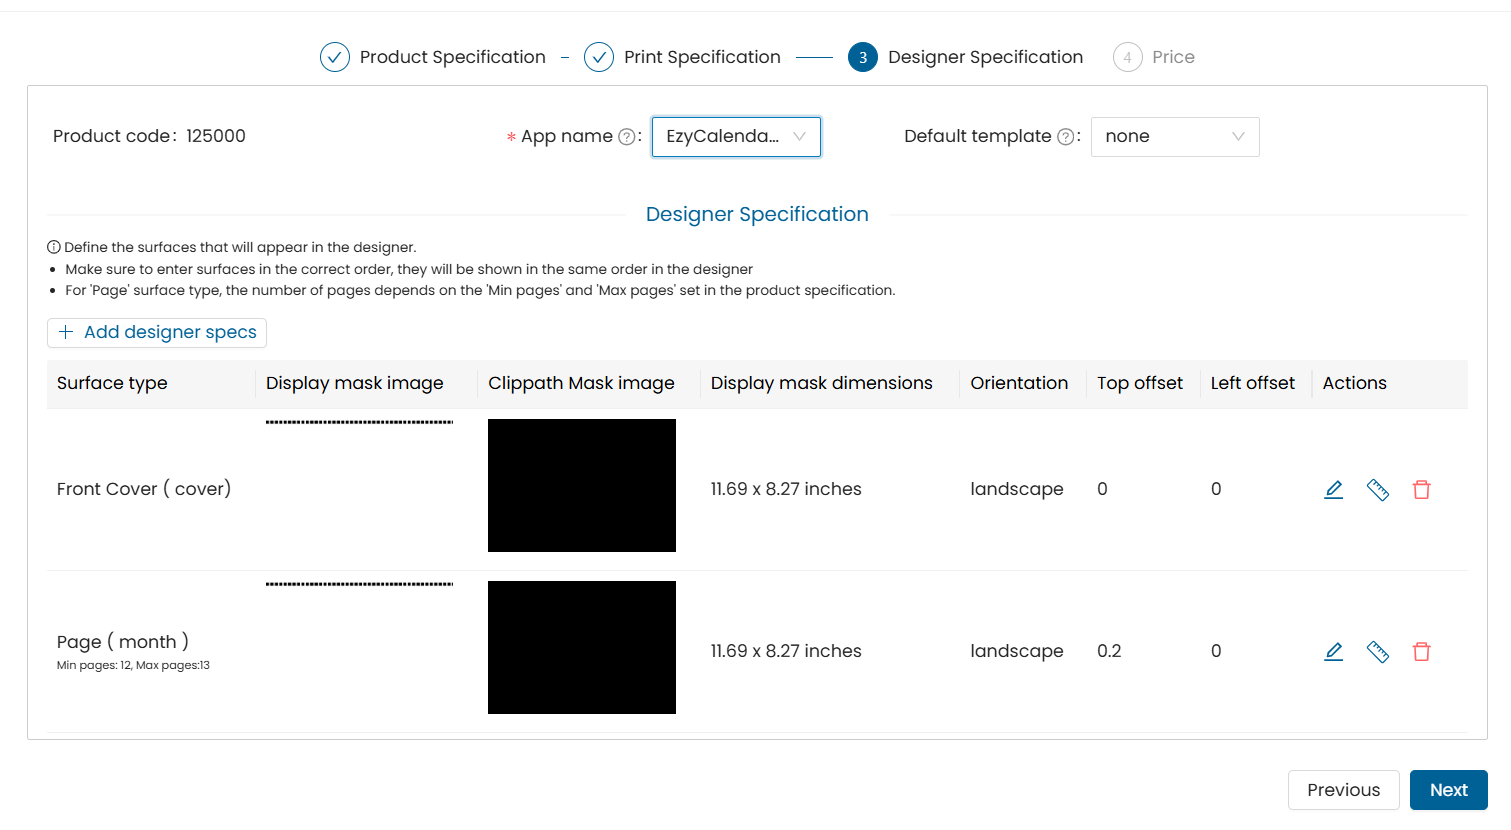
7. Designer Specs
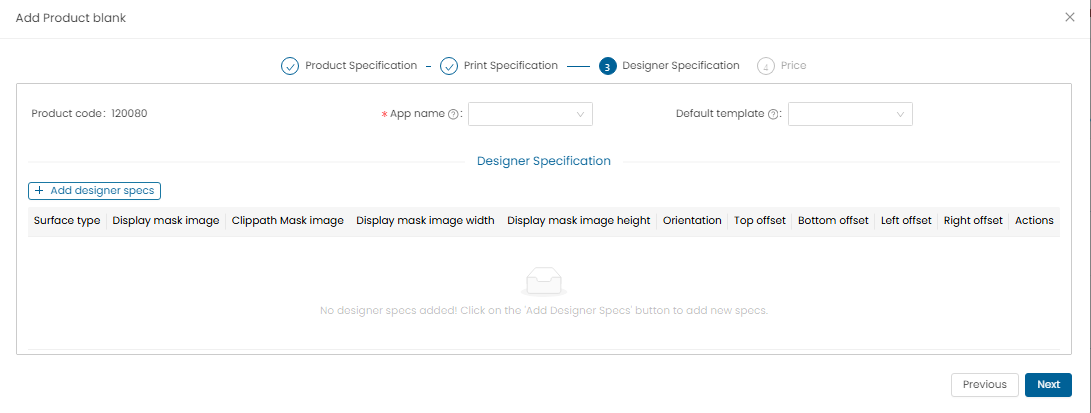
Please note designer specs need to be in inches.
- Select “App name” from the drop-down for example. for the multipage calendar type products, the app name is “EzyCalendar”. According to this selection the product will open in that respective designer.
- Default template : select from the drop down if you want to setup a customized template (Template created through template creator) as default template or keep it as none.
- To add the designer specs click on the “Add designer specs” button.
Add Designer Specs:
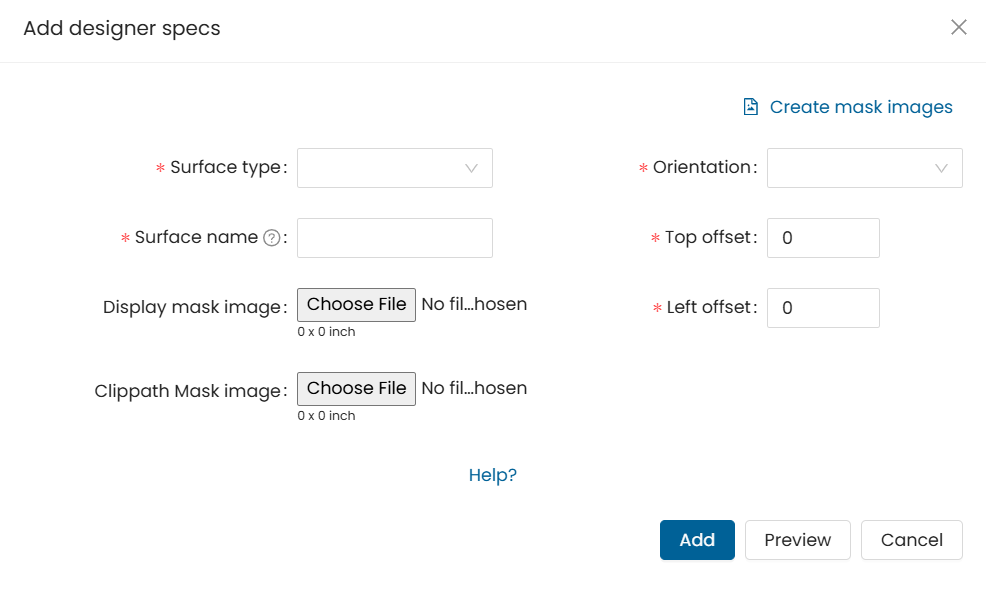
- Surface Type : Select the surface type from the drop-down for which the mask and specs will be added.
- Surface name : Enter a surface name based on the surface type selected.
- Display mask image : Select and upload the Display mask image of the product.
Note :
- The mask image file format should be in .png
- To display a product in the designer we require 2 images so one is Display mask image and other is clippath mask image.
- The product specs and both the mask images specs need to be maintained the same.
- Display mask image width : Enter Display mask image width in inches.
- Display mask image height : Enter Display mask image height in inches.
- There is no recommended size as such as it is dependent on the product specs.
- Orientation : select orientation for the added images as per the uploaded mask.
- Enter Mask offsets (in inches) : Top offset, Left offset . Offset - this is for the additional properties of the mask to be set in terms of the offsets.
- Preview : you can click on the preview button to view the added mask image preview display.
- Once all the required details are entered then to save these details click on the “Add” button.
- Click the “Next” button to go to the Pricing Section
Click Add → Next (Pricing Section)
8. Pricing
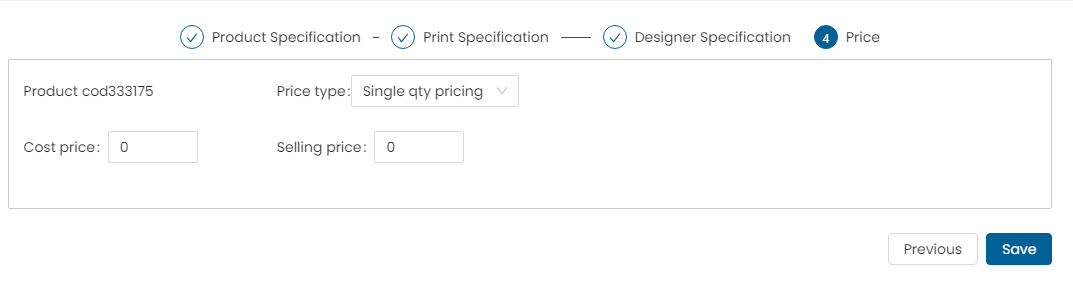
Price type : Select Price type as single qty pricing.
- Enter Cost price & Selling price values.
- Click on the add price button to save the details.
- Click on save button to save the add product form.
Price type : Select Price type as Volume Pricing.
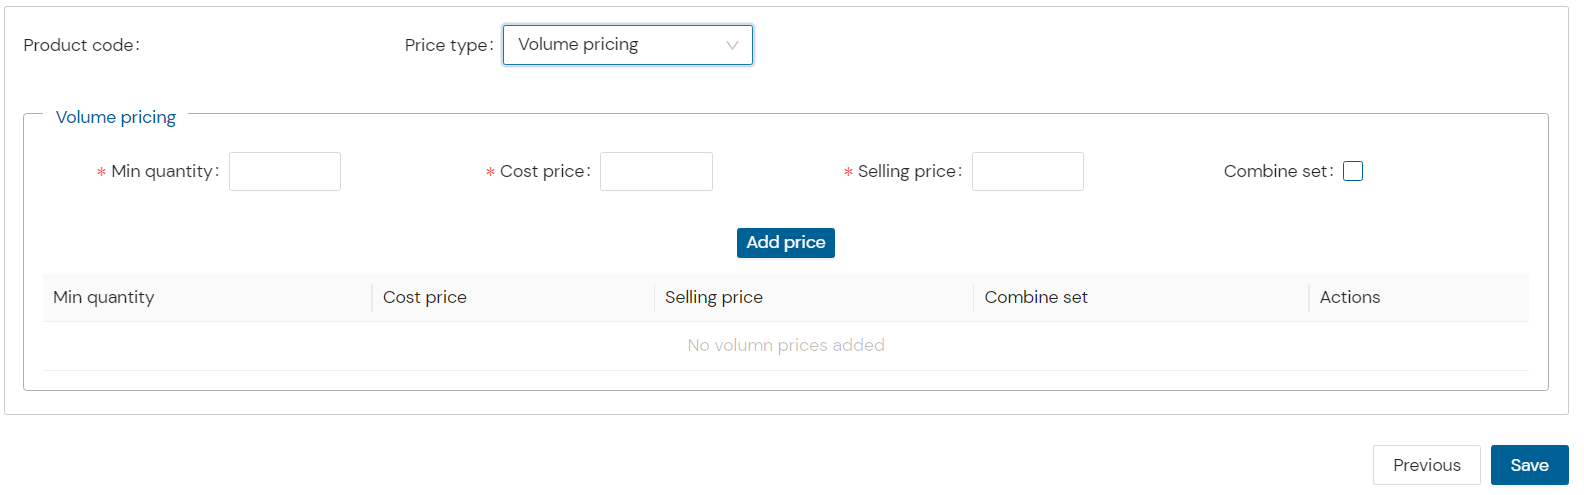
Note : in case of product to be ordered in bulk quantities the volume pricing option to be added.
- Min quantity : enter min quantity.
- Cost price : enter Cost price & Selling price
- Combine set : select the checkbox if the quantity sets are to be combined
- Click on the add price button to save the details.
- Click on save button to save the add product form.
Price type : Select Price type as Attribute level pricing
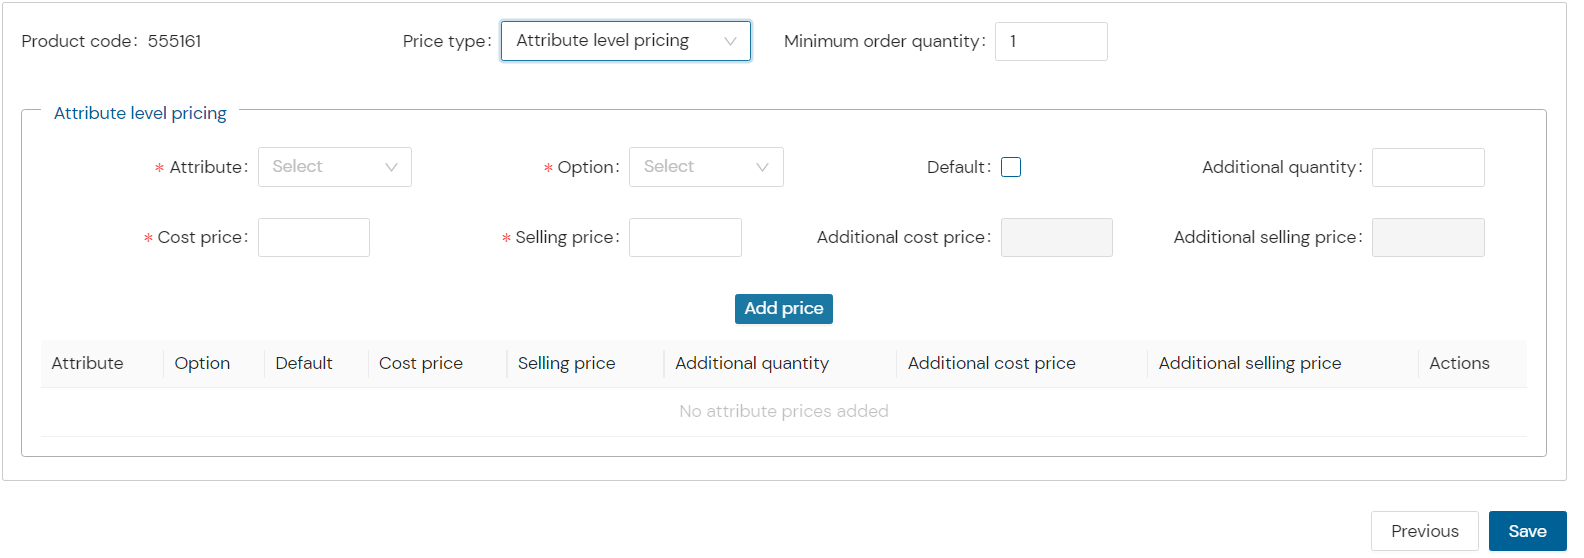
Note : in case of a product where multiple attributes to be set the attribute level pricing can be used.
- Any surface or material on which printing is done. Art paper, Synthetic Paper, Metal, Acrylic
- Select & set pricing for each attribute individually.
- Click on the add price button to save the details.
- Click on save button to save the add product form.
*Note: a product having no attribute for such a product you'll can use single qty pricing. volume pricing is used for a product having min order qty. or to be ordered in bulk. product having multiple attributes with pricing as per the attribute selected. In this case attribute pricing will be used.*
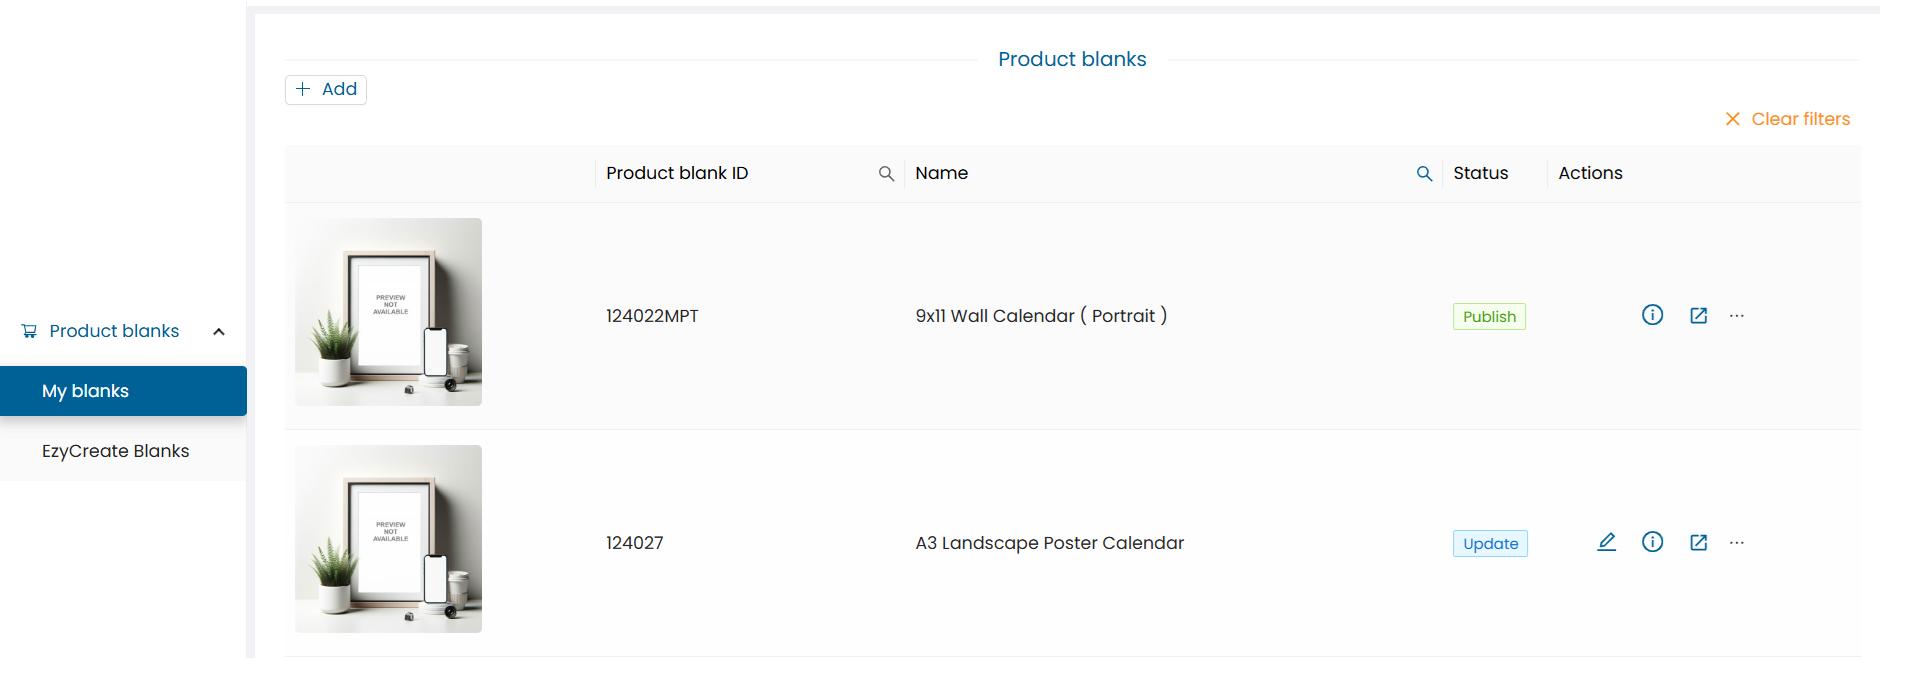
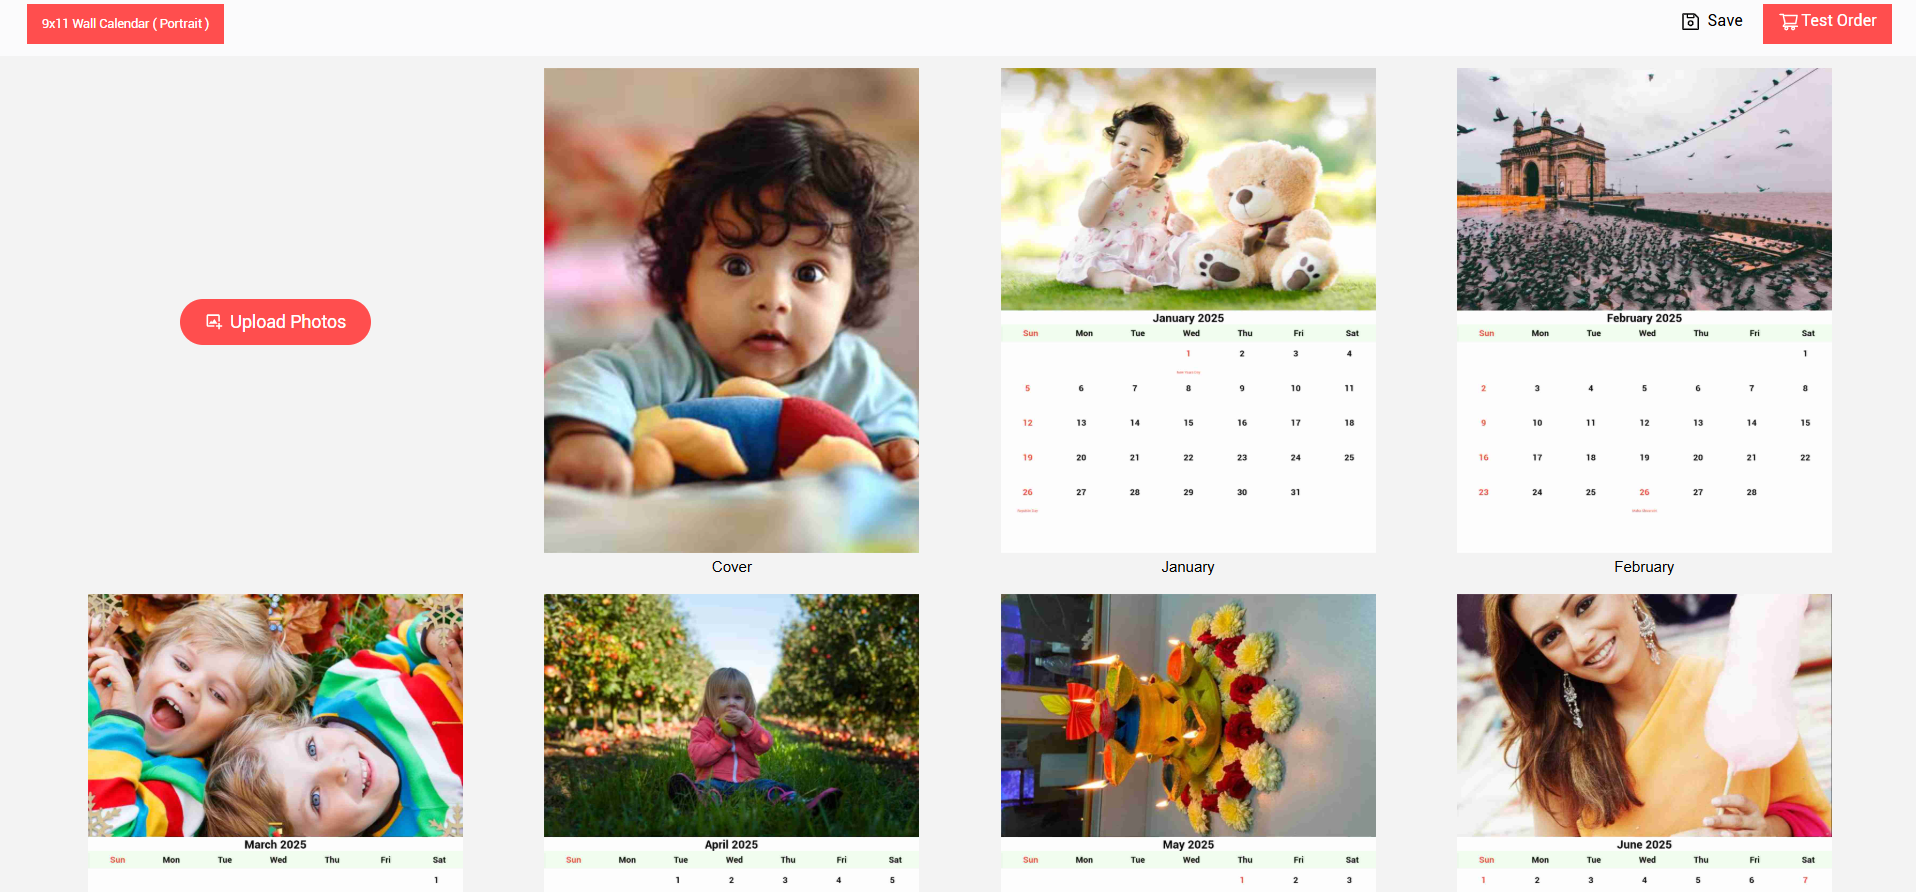
- Once the product is saved, open the product wizard list and it will display the created product.
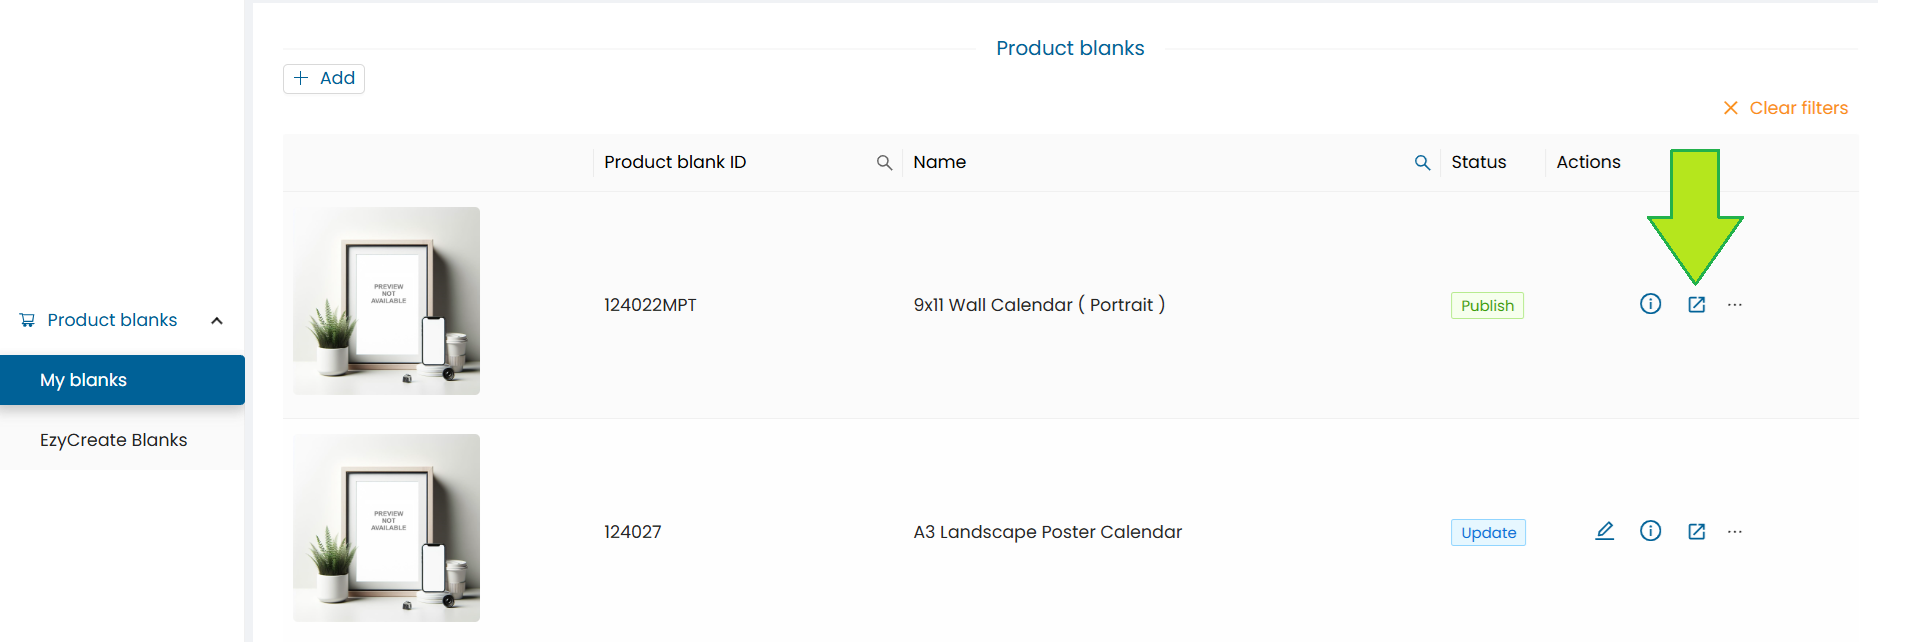
- Click on the “View in designer” button to preview the created product in the designer.
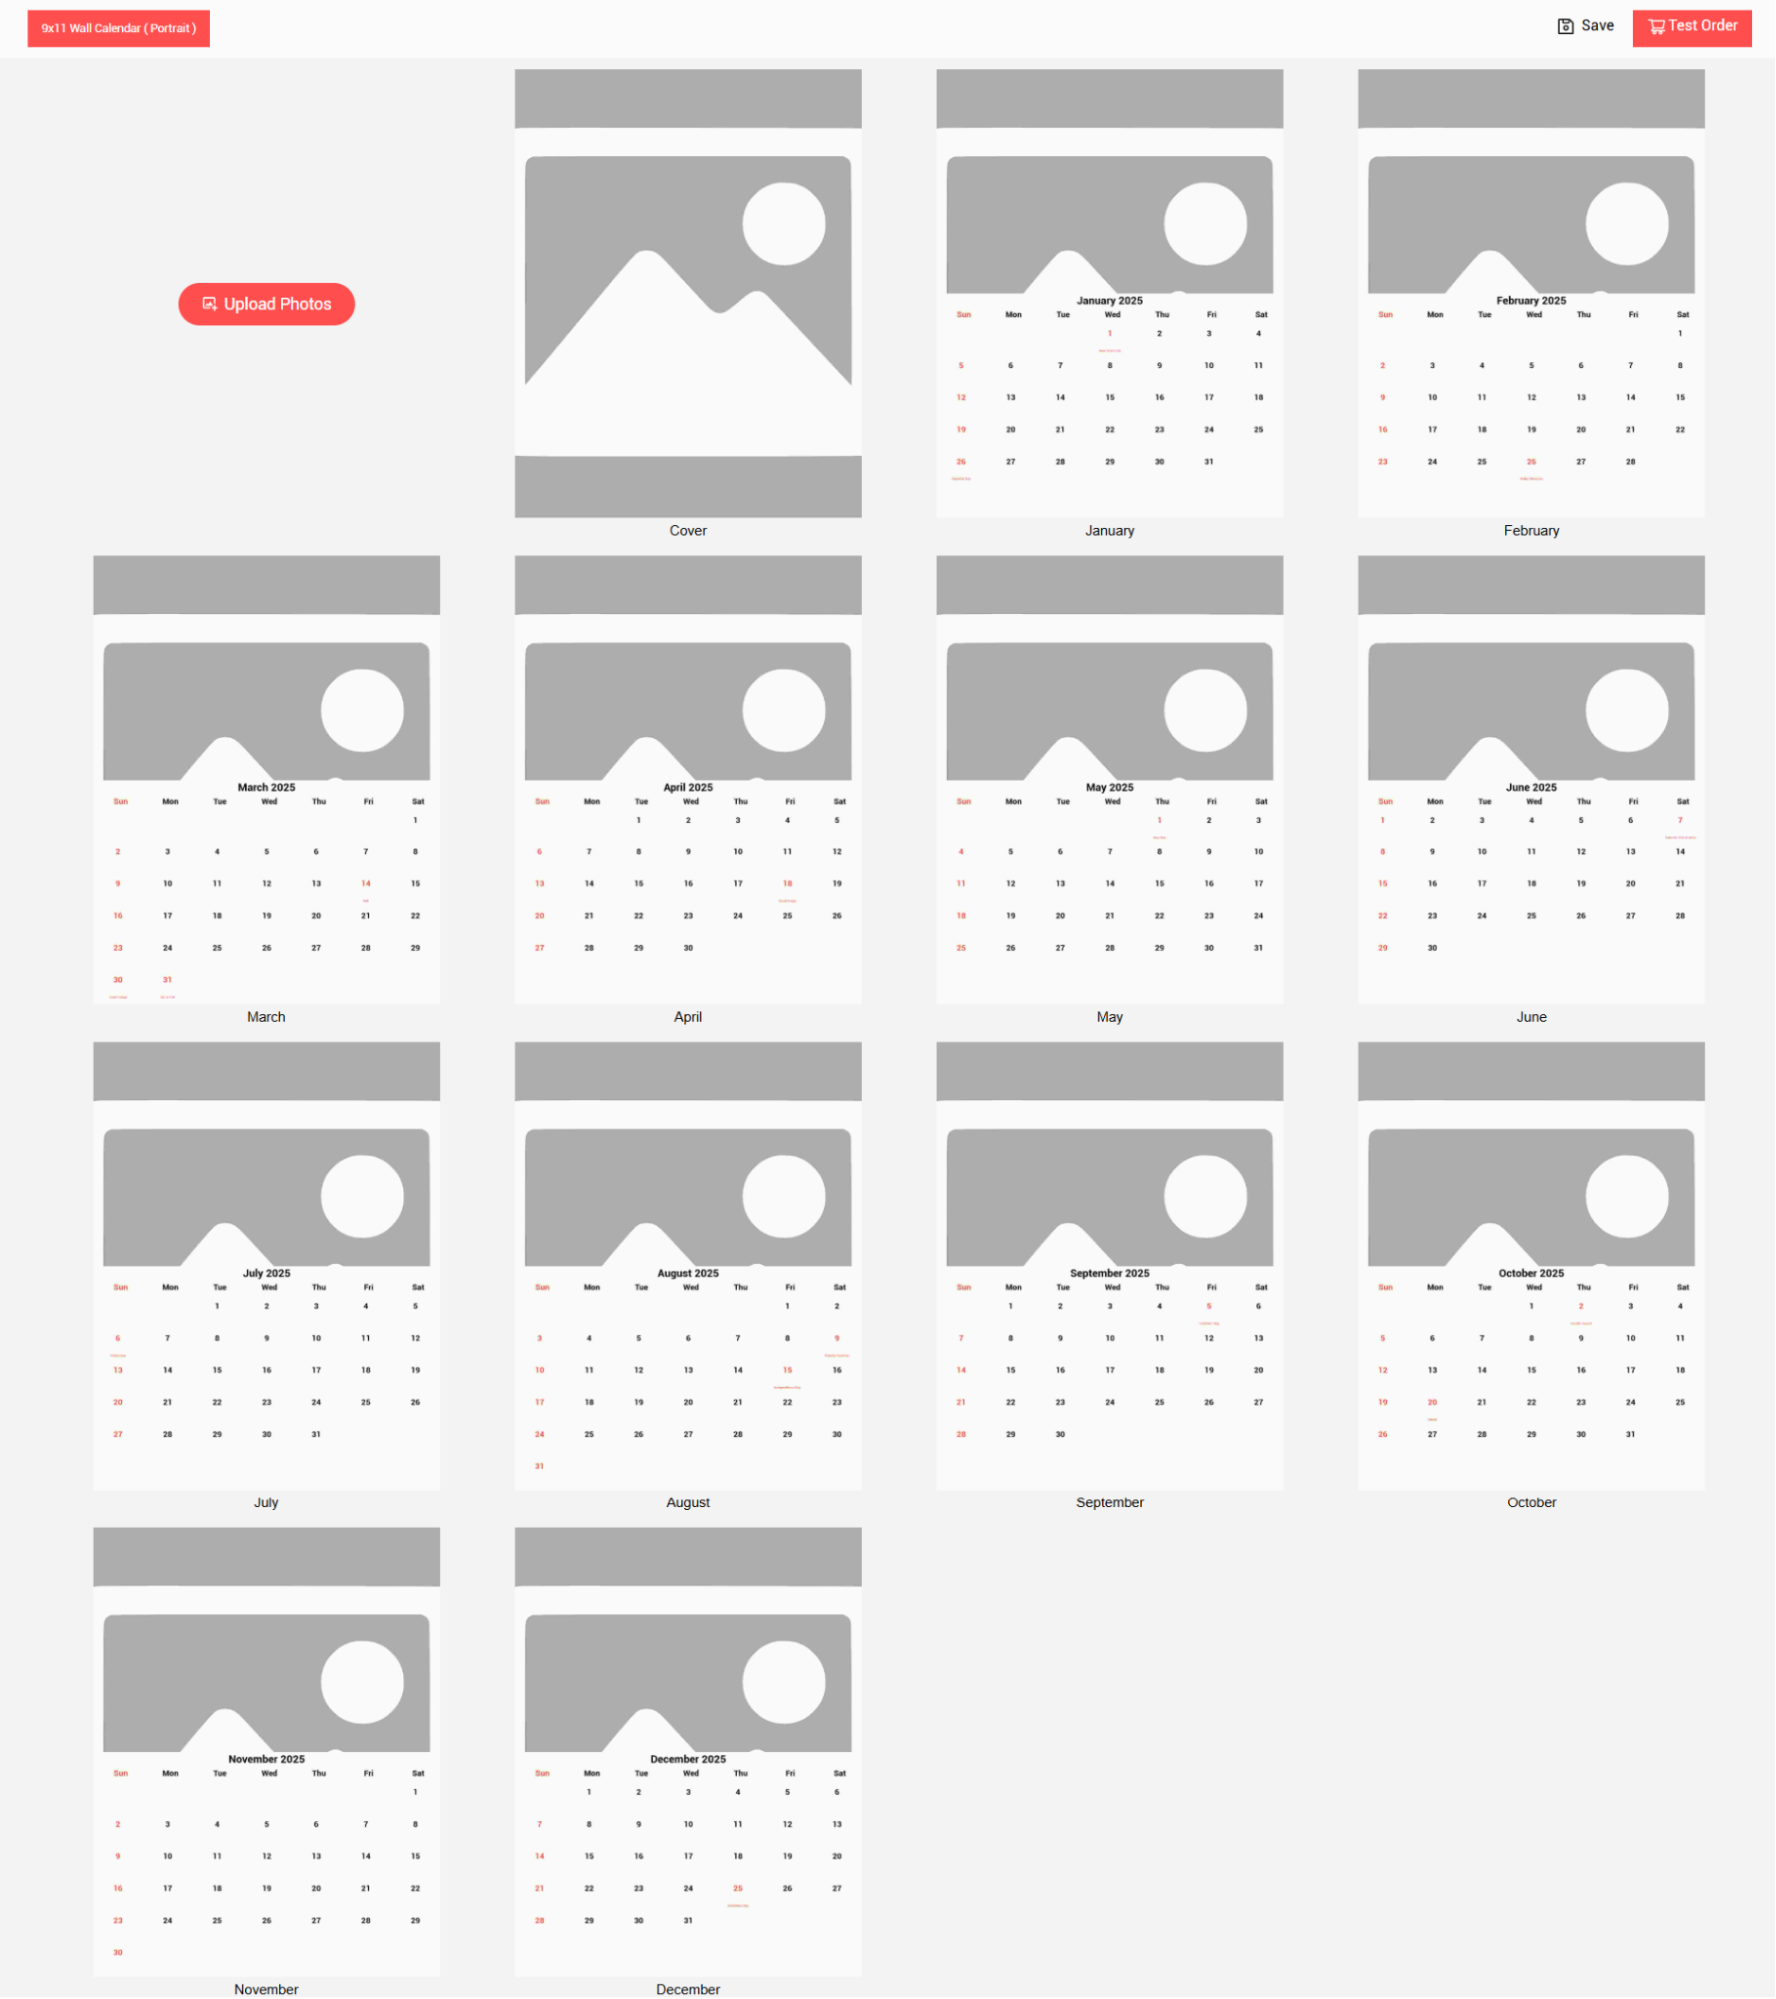
- The designer will open the defined product. Click on the upload photos button.
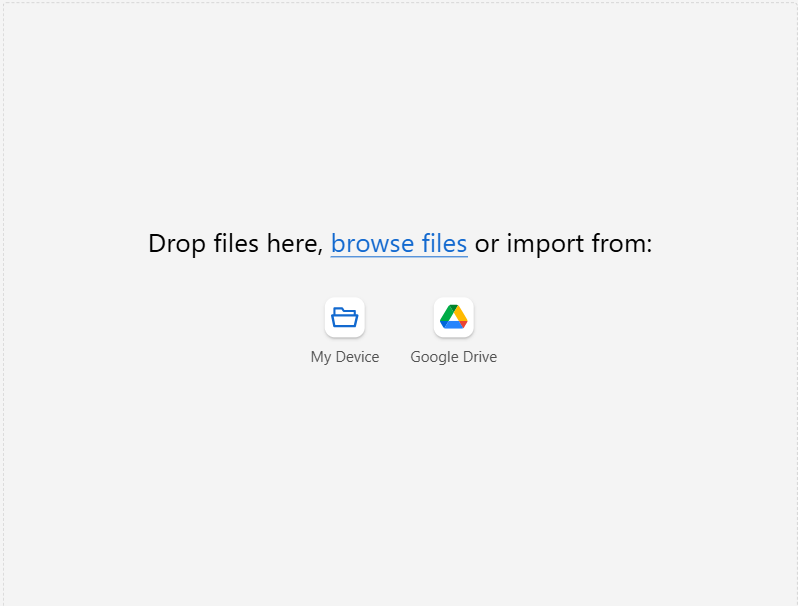
- The upload photo pop-up will be displayed.
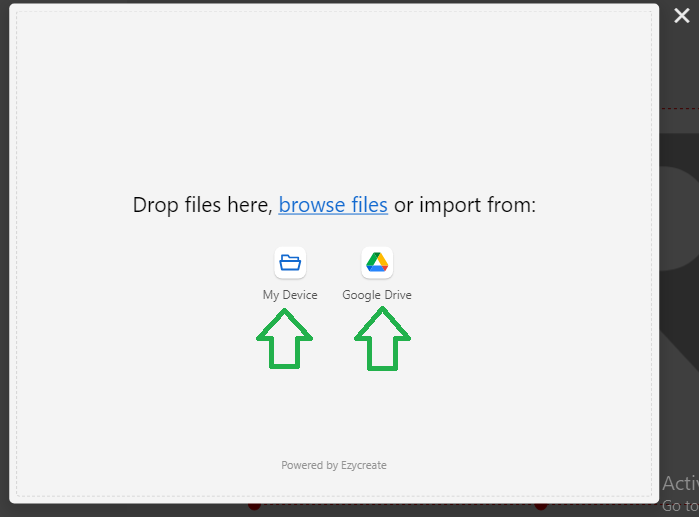
- Click to select files or drag and drop photos onto the uploader.
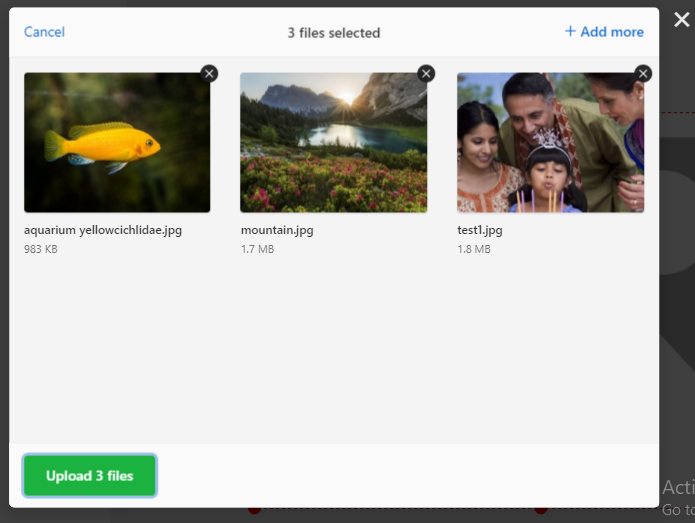
- Click on upload button to upload the added photos
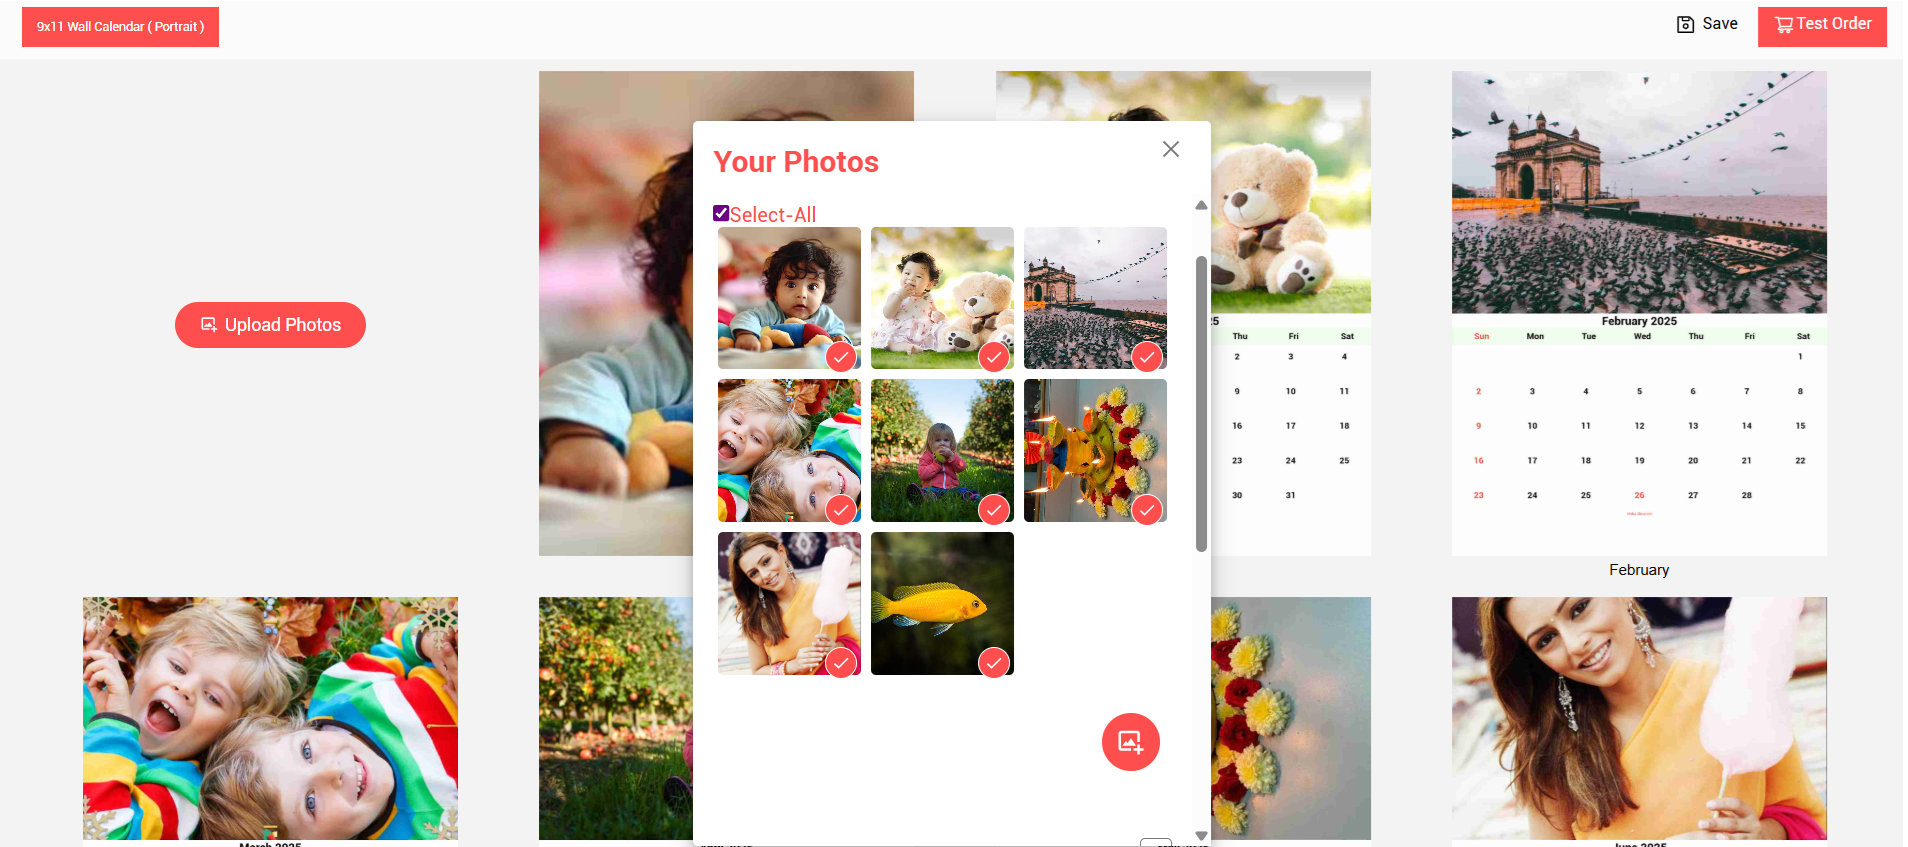
- Once the photos are uploaded, click on the photo to add it to the designer.
- Photo preview will be displayed, now click on the photo to edit
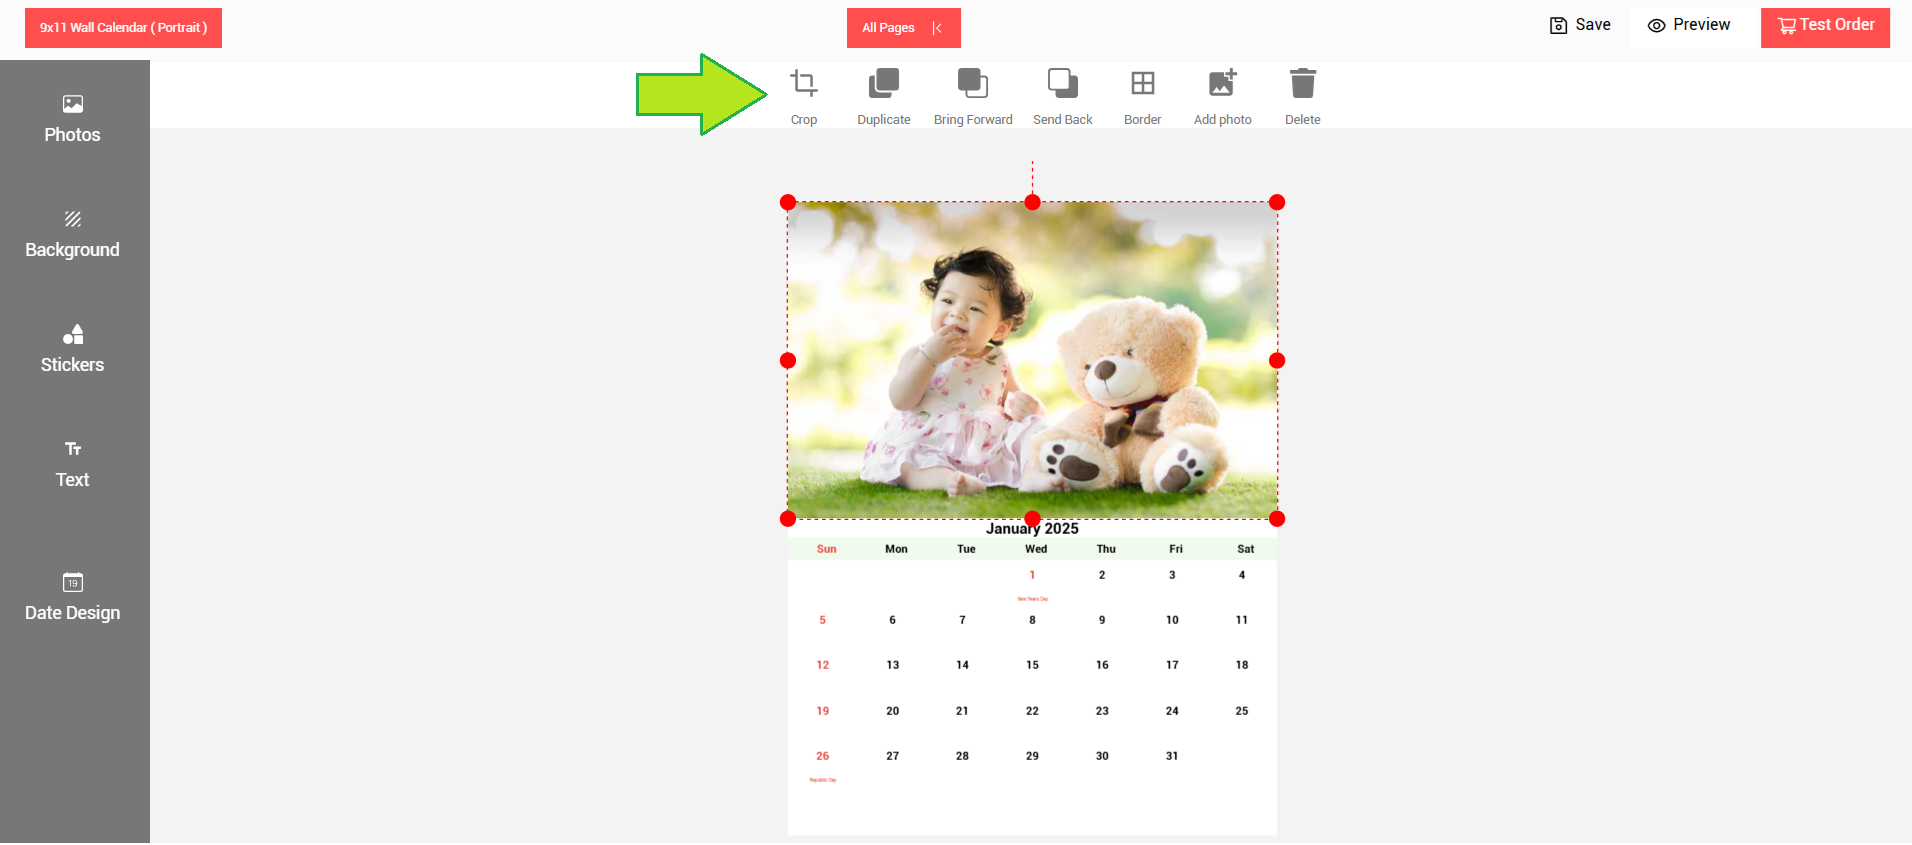
- The photo edit menu will be displayed.
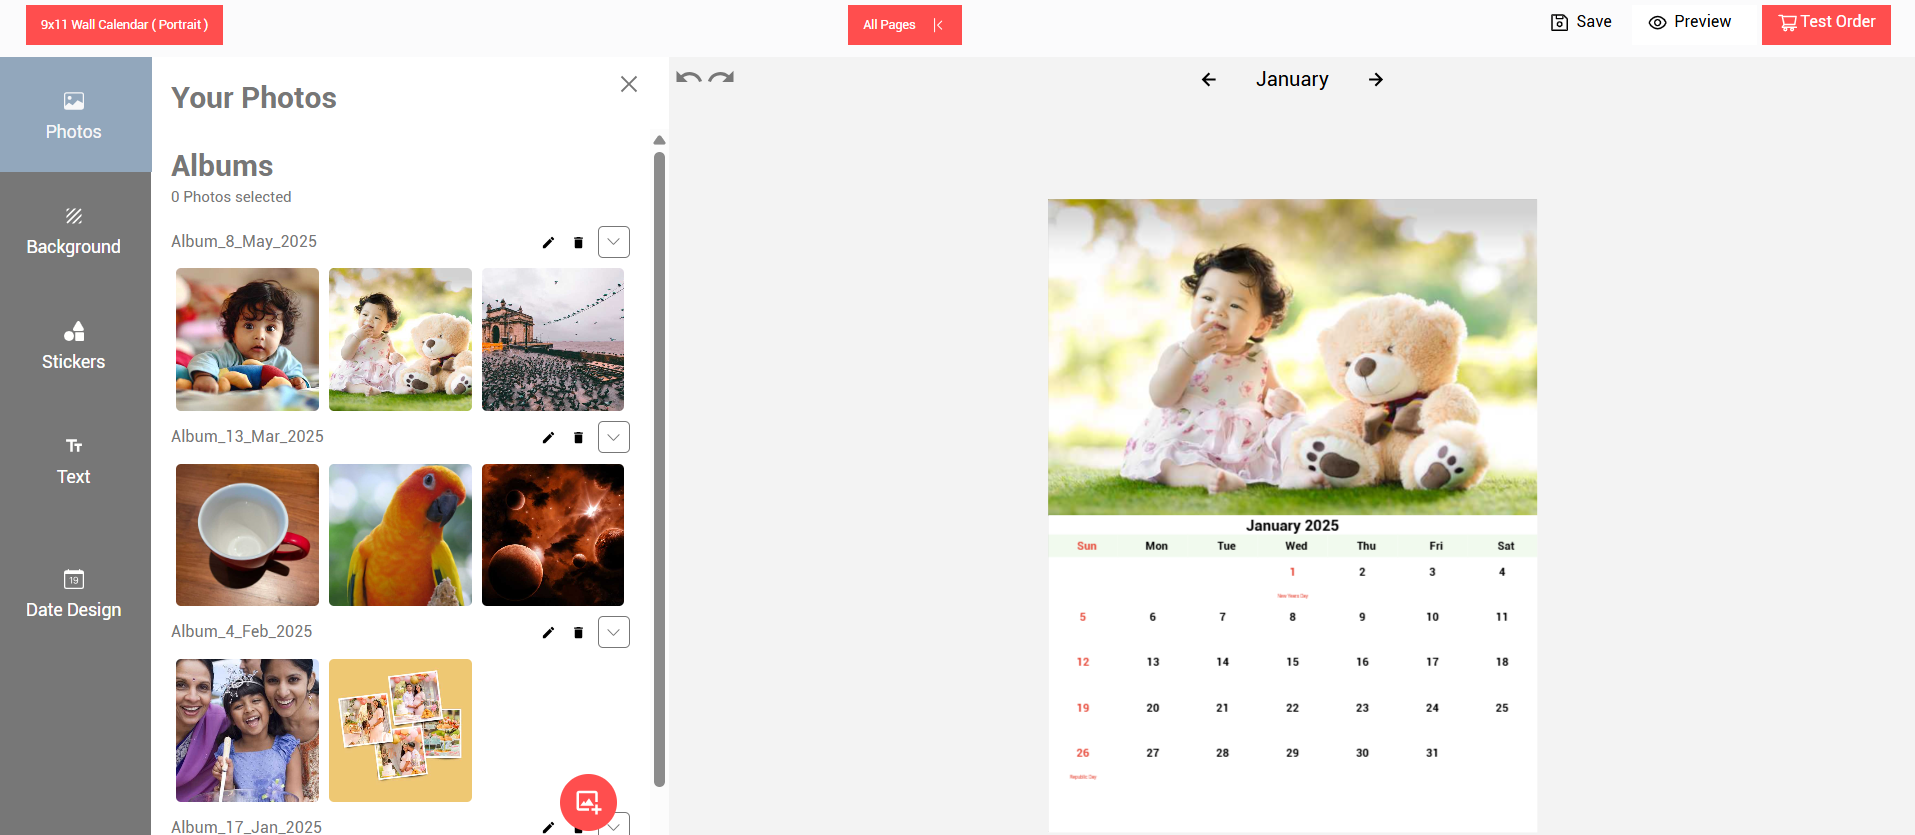
- To add photos, click on the photos tab and select photos from the added albums.
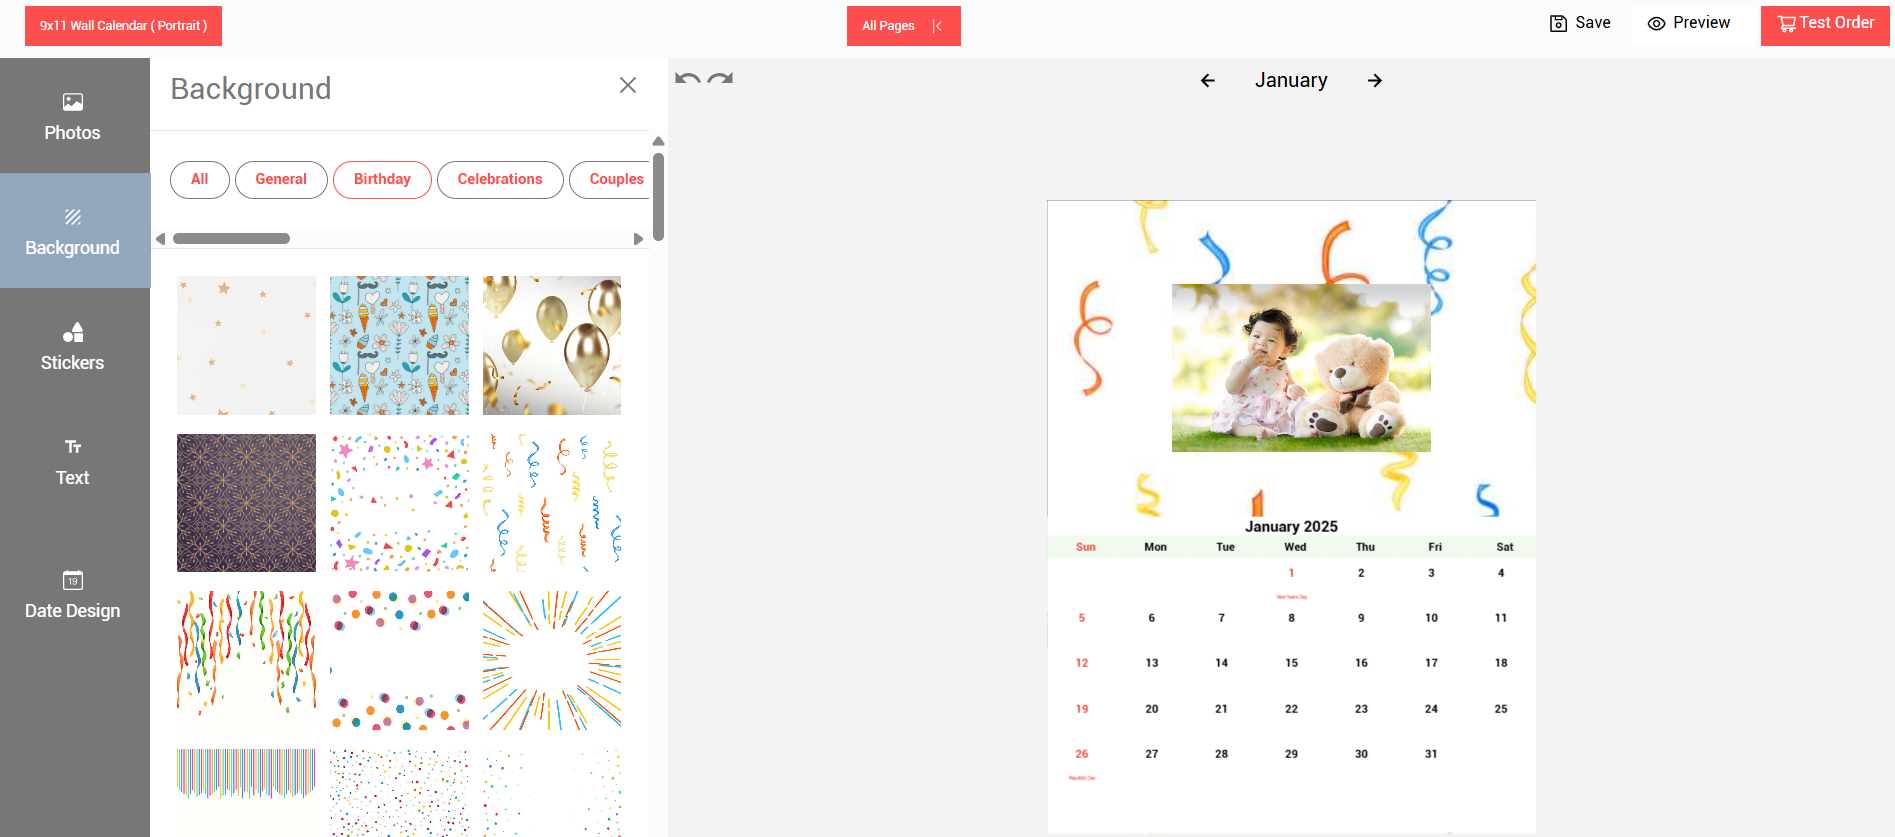
- To add Backgrounds, click on the backgrounds tab and select and add backgrounds from the available categories
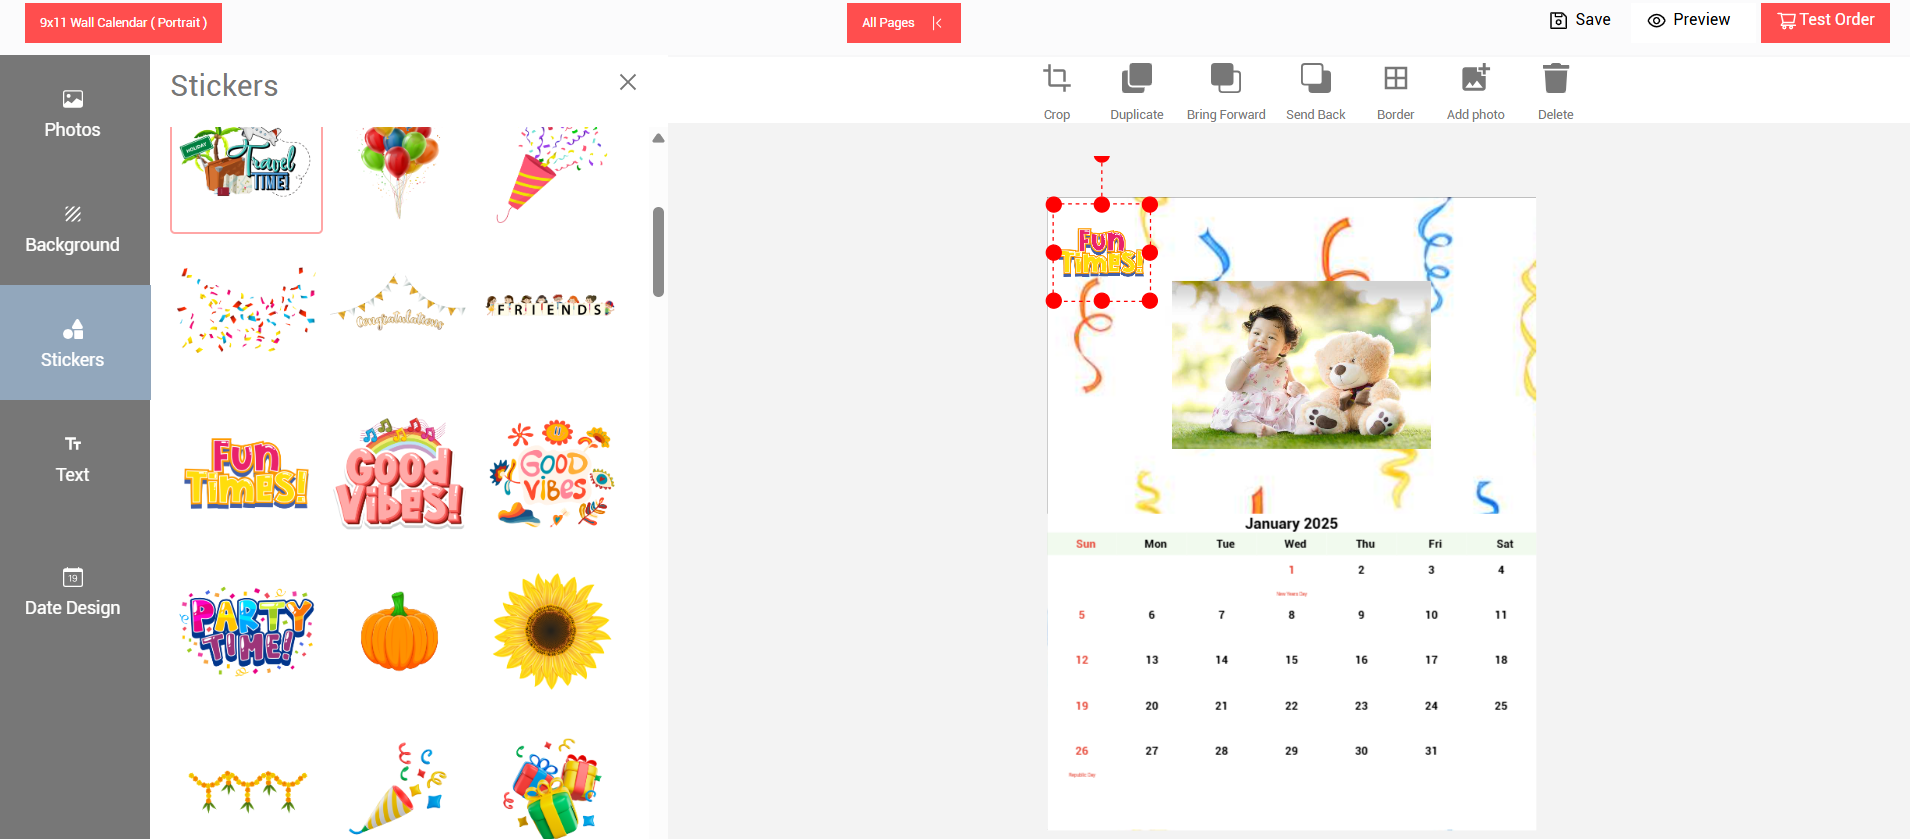
- To add Stickers, click on the stickers tab and select and add stickers from the available categories.
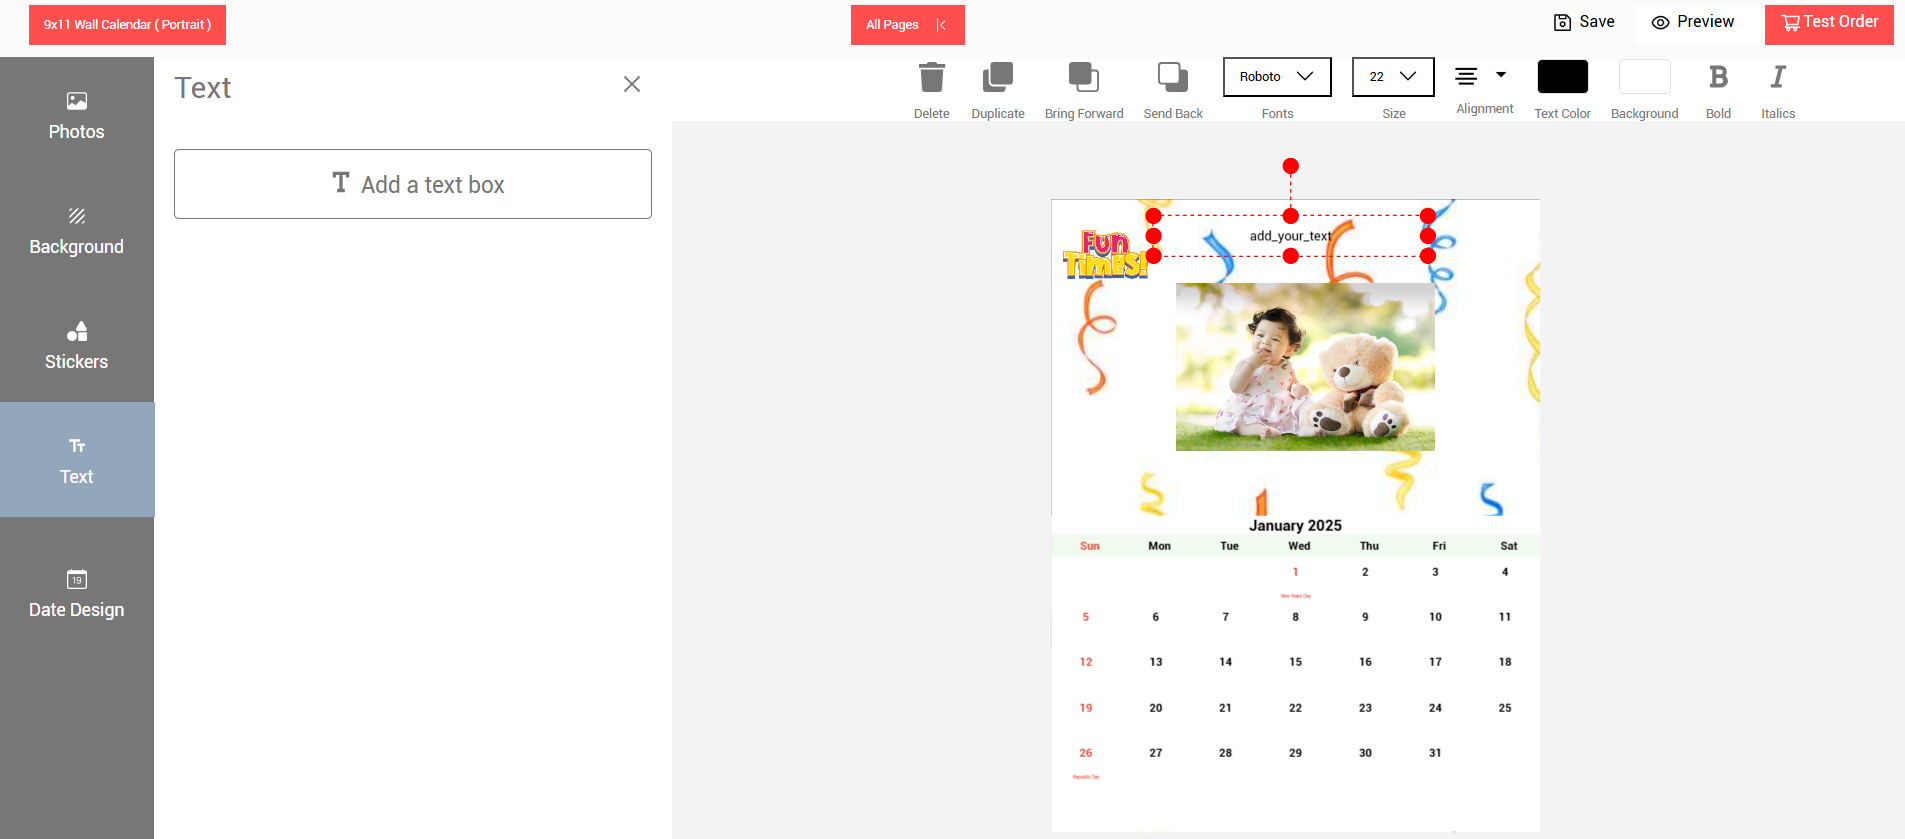
- To add Text, click on the text tab and click on the “Add a text box” option to add a text field.
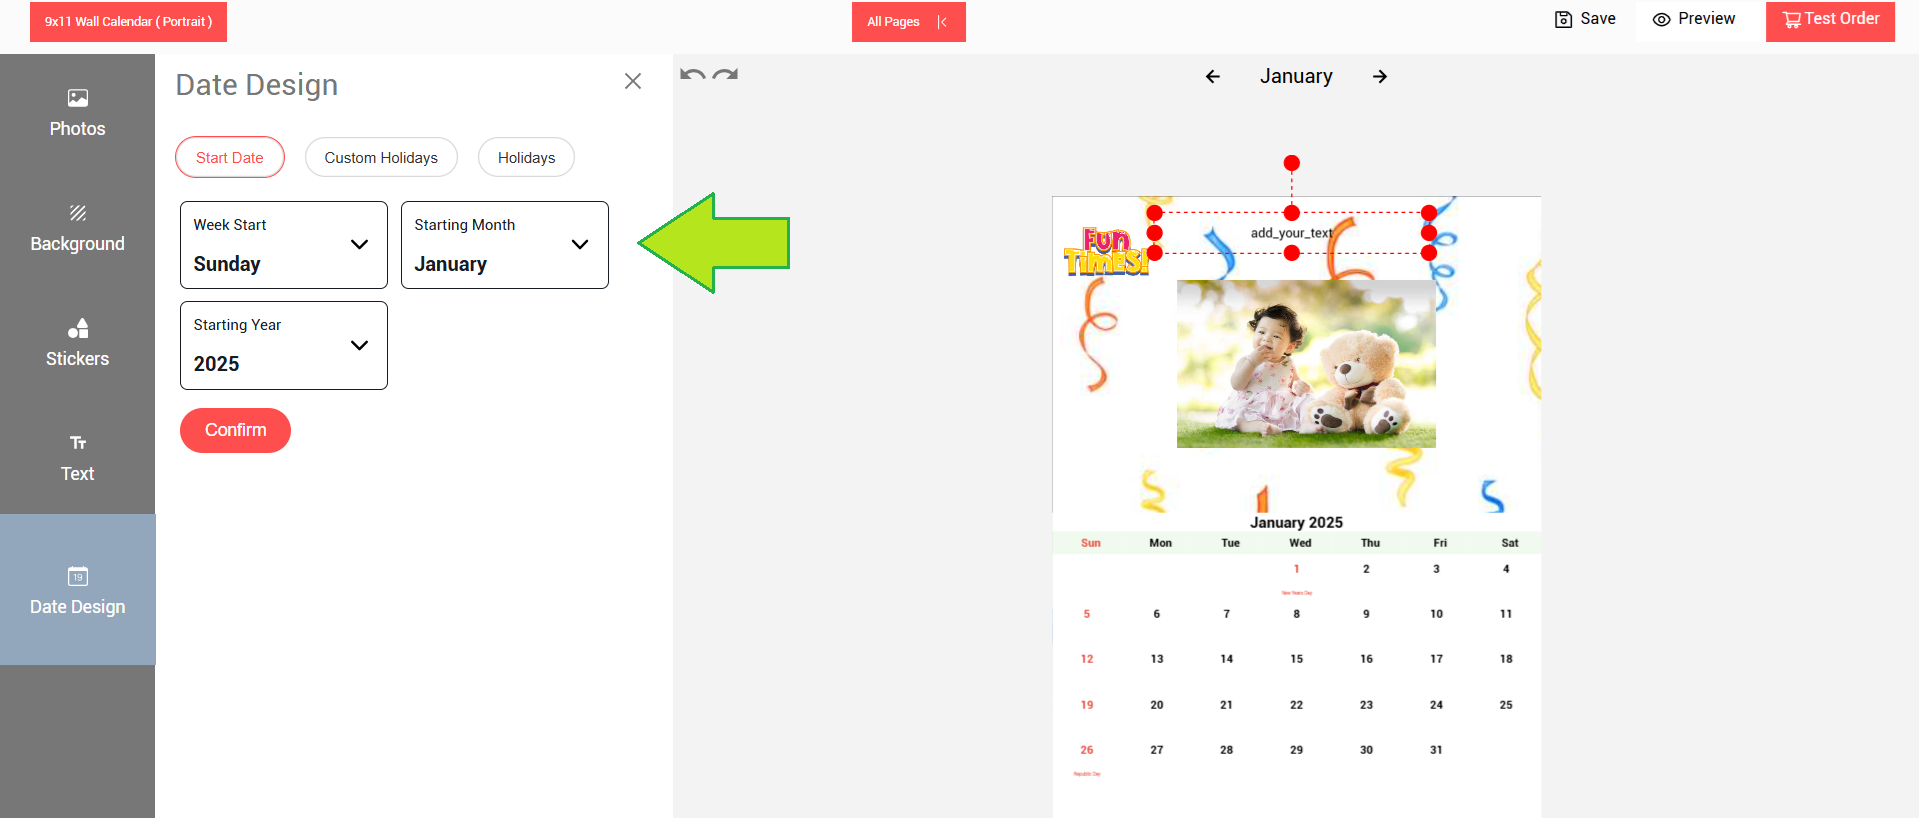
- Select and set the “Start Date” options and click on confirm to apply the settings.
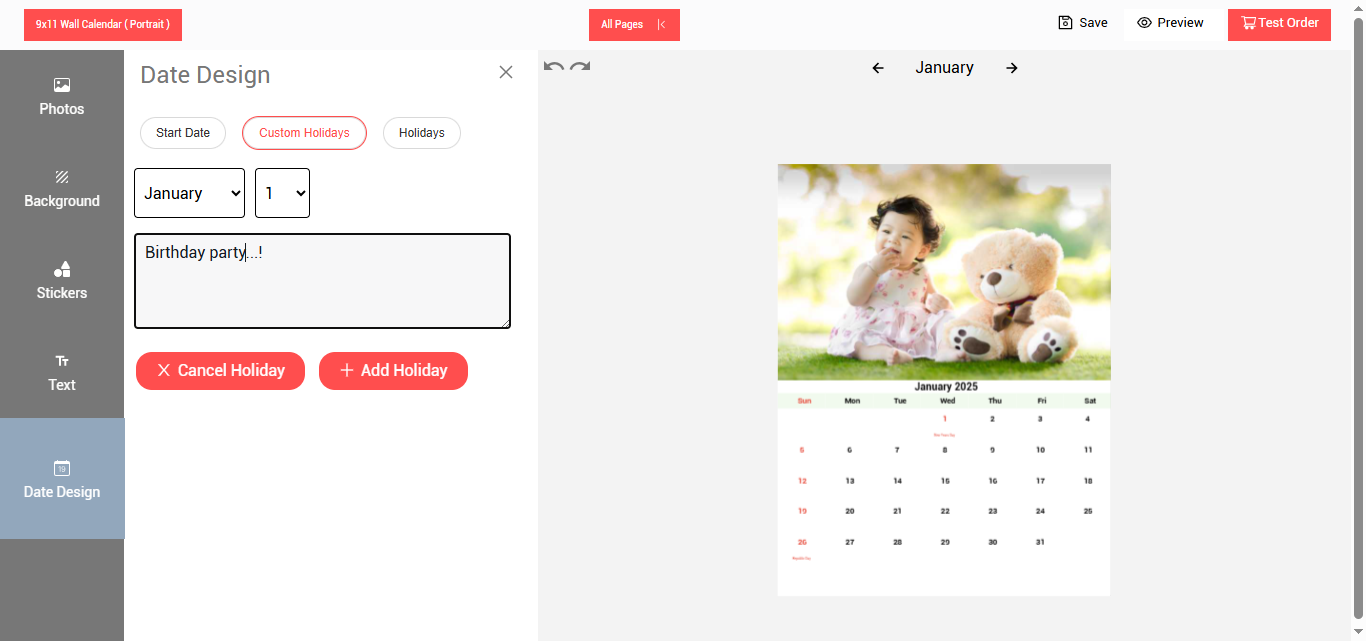
- Select and set any “Custom Holidays” and click on the “+Add Holiday” button to apply the changes.
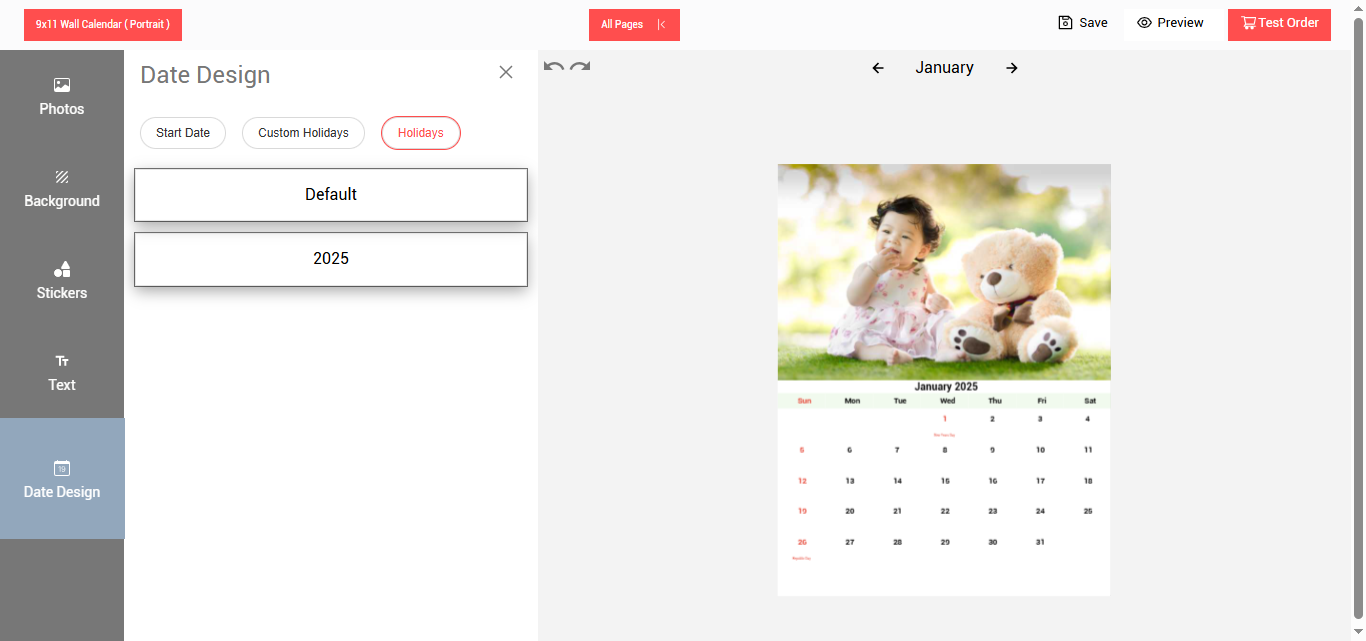
- You can check the list of holidays. Once the editing is done then click on the test order button.
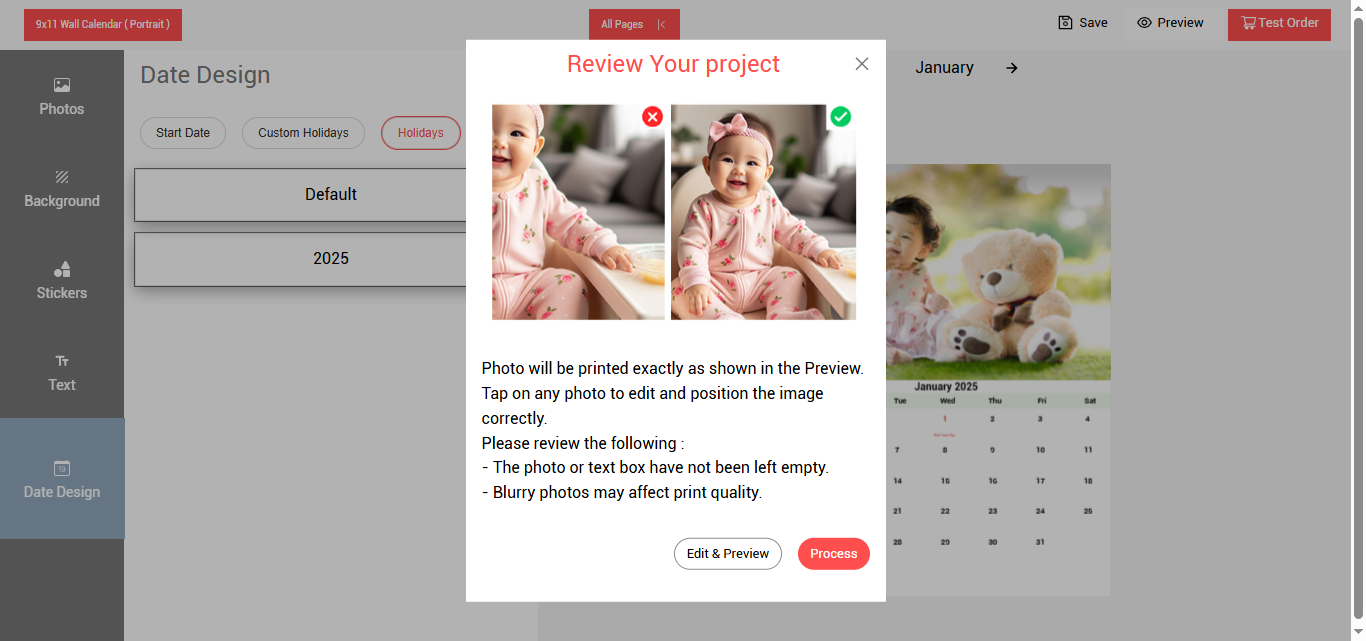
- Click on the process button to continue.
- Will display a message as “Order placed successfully”.
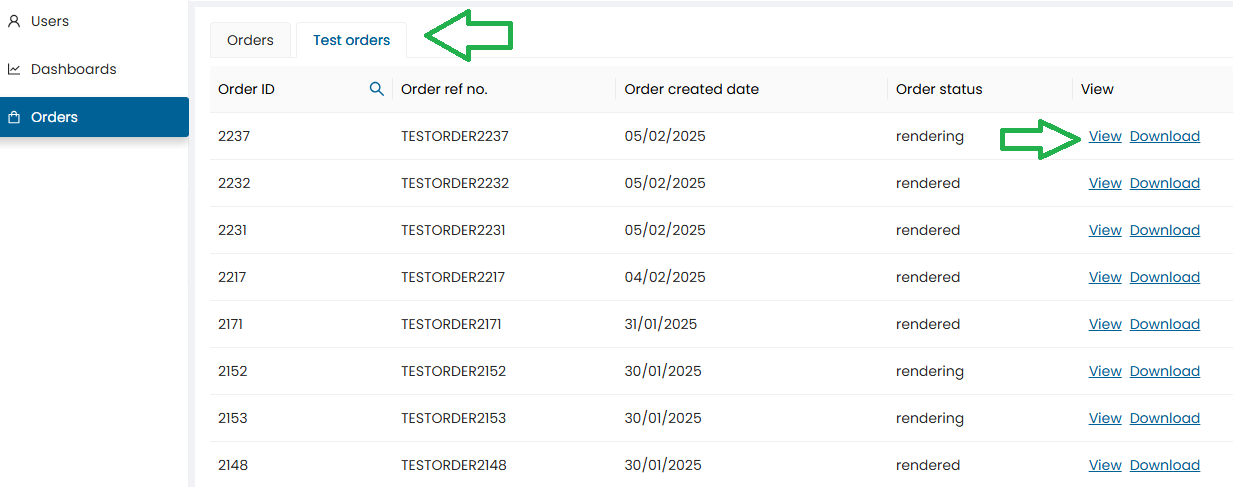
- The order tab will open displaying the recent order placed
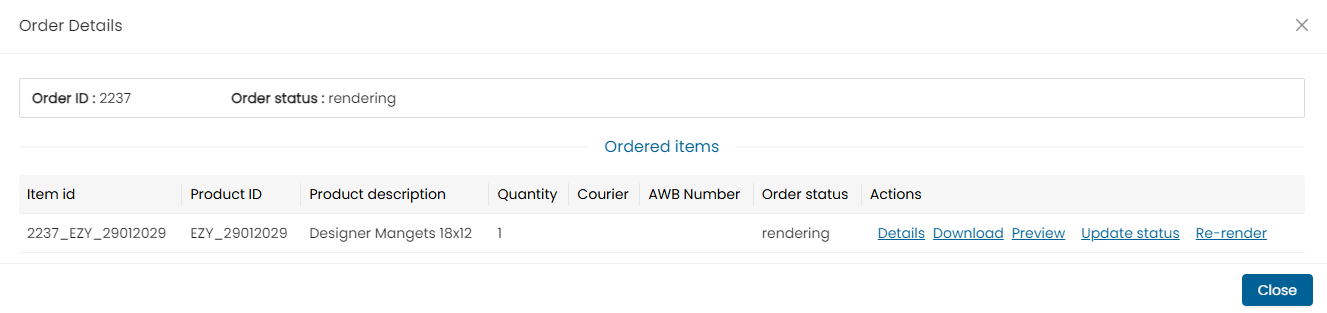
- Click on the ‘view” order details option
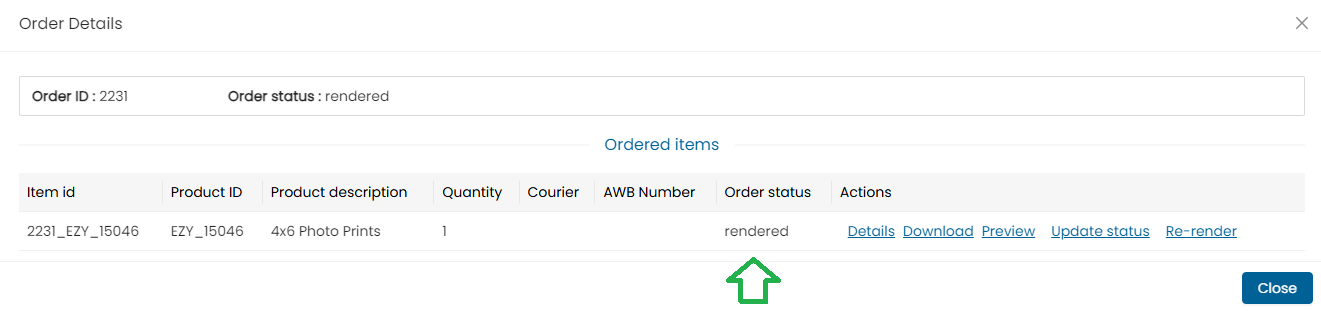

-
Once the test order is placed the order will be rendered by the renderer application, and it will be available in the order screen
-
Check the order status.
-
Once the status is shown as rendered, you can download the order images.
-
Orders can be downloaded using the “Download all” button or you can individually also download single images.
Note : In case of multiple images, users can either download a single image or click on the “Download All” button to download all the images at once
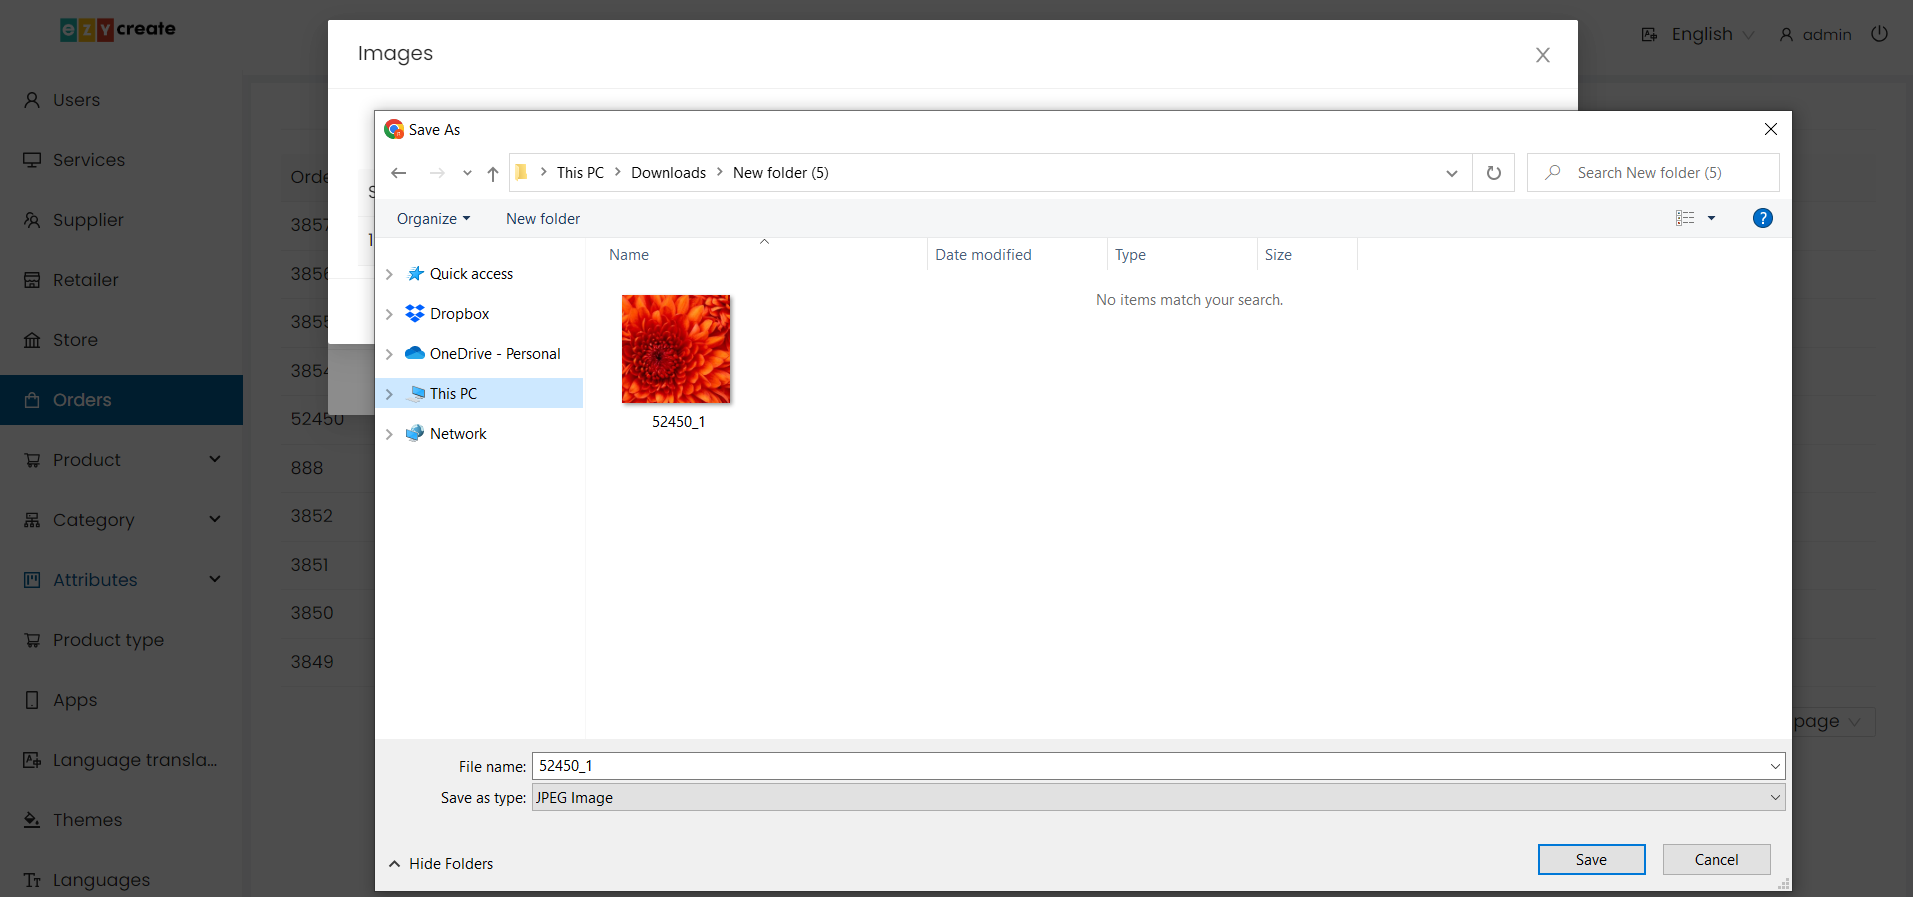
- Select a path to save the test order image.
- Click on the save button.
- The image will get downloaded to the selected location.
- If the order is downloaded using the “Download all” button than a zip file will be downloaded.
The downloaded image can be either sent to the printer for printing or it can be mailed to anyone who can print it.

- Once the order test is passed and the product is ready to be published.
- Go to the product blank dashboard.
- Click on the product setting button from the product blank dashboard.
- Click on the “Publish” button.

- The product status will be updated as “Publish”.
- Once the Product is Published & Templates are Published, Product Blank Specs Cannot be Changed.