製品を作成
SOP: Creating a New Product in EzyCreate
Overview
This document outlines the steps to create a merchandise product in EzyCreate from start to finish. It includes definitions of key terminologies, preconditions, and a detailed, step-by-step process.
Key Terminologies
Product Blank: A foundational base item (e.g., mug, t-shirt) that includes only basic definitions such as dimensions and type. It does not include pricing, eCommerce configurations, templates, or designs.
Example: A standard 11oz mug with no associated template or sales info.
Product: A market-ready version that includes all attributes necessary for selling, including pricing, eCommerce metadata, and at least one design template.
Product Types:
Customizable Product: End users can personalize this using the design tool (e.g., add images, text).
Merchandise Product: Pre-designed product (e.g., branded merch) that may or may not allow image uploads.
Template: A design layout applied to a product blank.
Template Group: A collection of templates with similar designs, used to organize variants.
Variant: A version of the product that varies by design, size, color, etc., within the same template group.
SKU (Stock Keeping Unit): A unique identifier for each variant.
Merch Album: A group of pre-uploaded images used in product customization.
Preconditions
- The user is logged into the EzyAdmin.
- The user has appropriate permissions to create/manage products.
- At least one product blank and one published template must be available.
How to Create a Customizable Product
Step 1: Navigate to Product Creation

- Log in to EzyAdmin.
- In the left sidebar, go to Products → My Products.
- Click + Create new product.
Step 2: Select a Product Blank
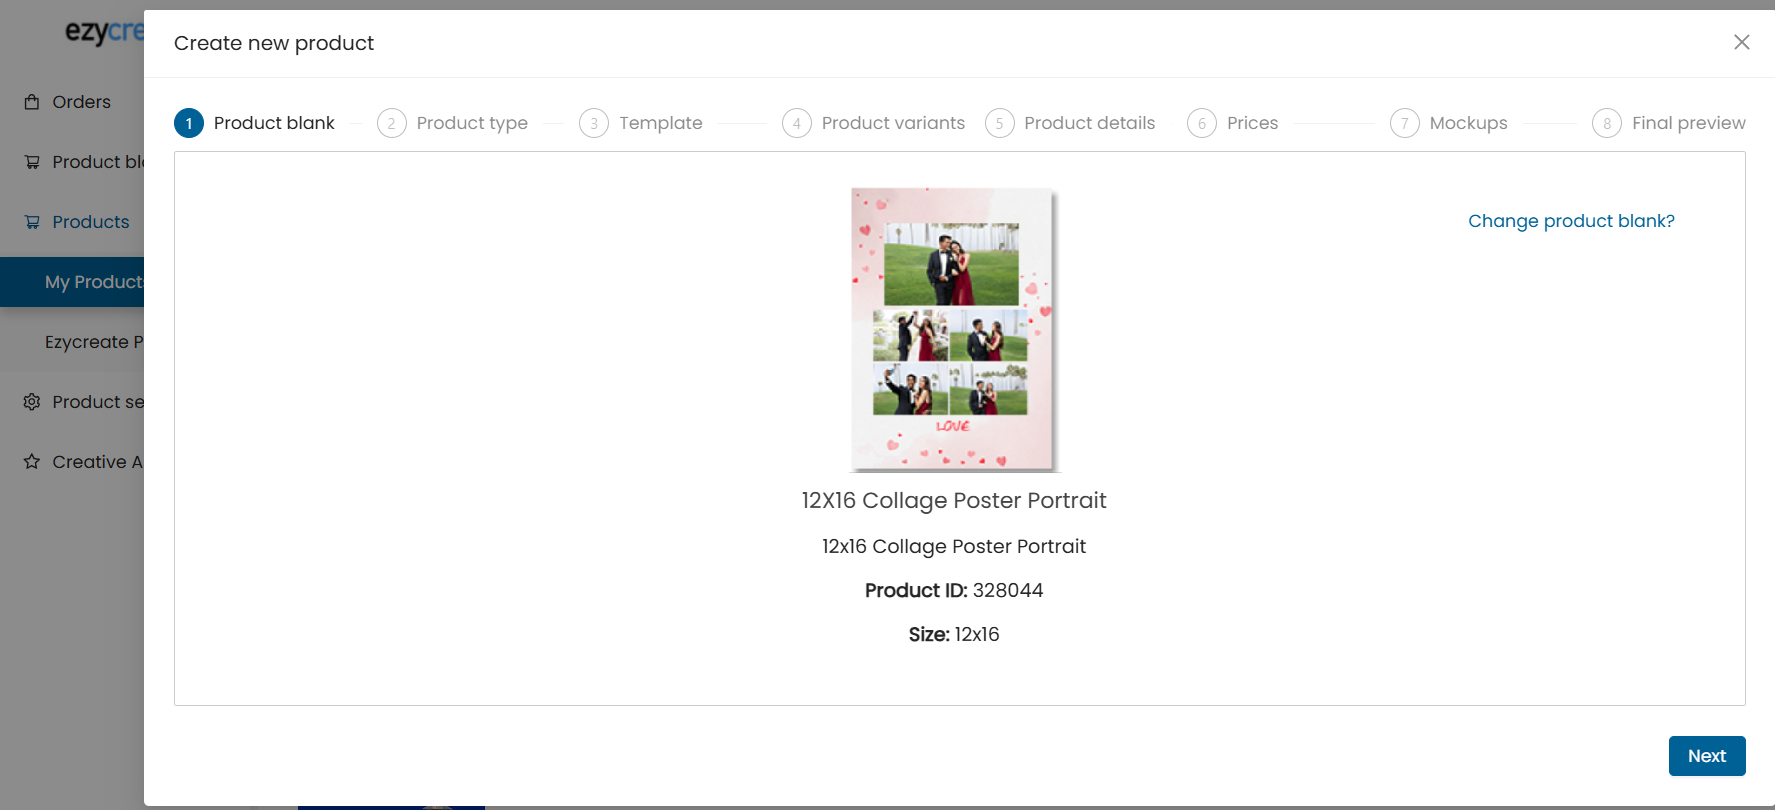
- Under Step 1 - Product Blank, click Select product blank.
- Choose a base item (e.g., Standard Mug).
- Preview the selected product blank (name, ID, size, description).
- Click Next.
Step 3: Choose Product Type
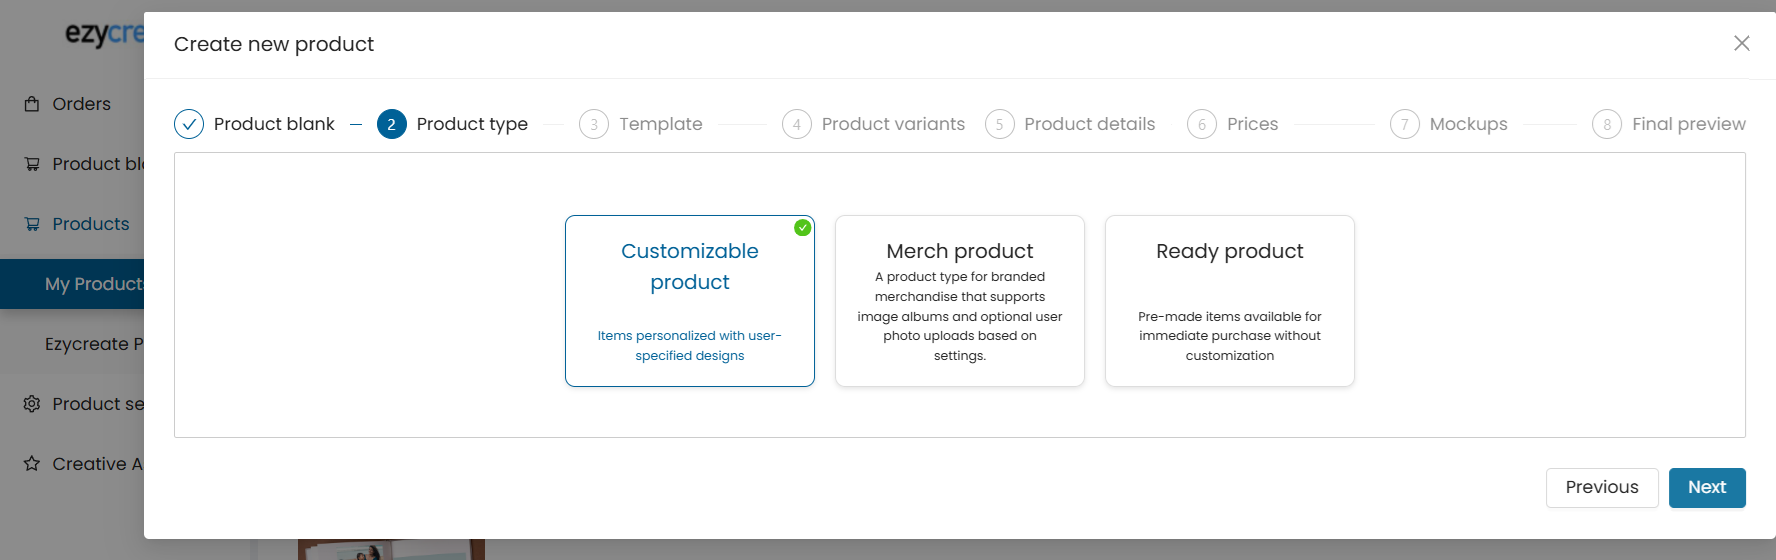
- In the Product Type tab, select:
- Customizable product,
- Click Next.
Step 4: Select Template
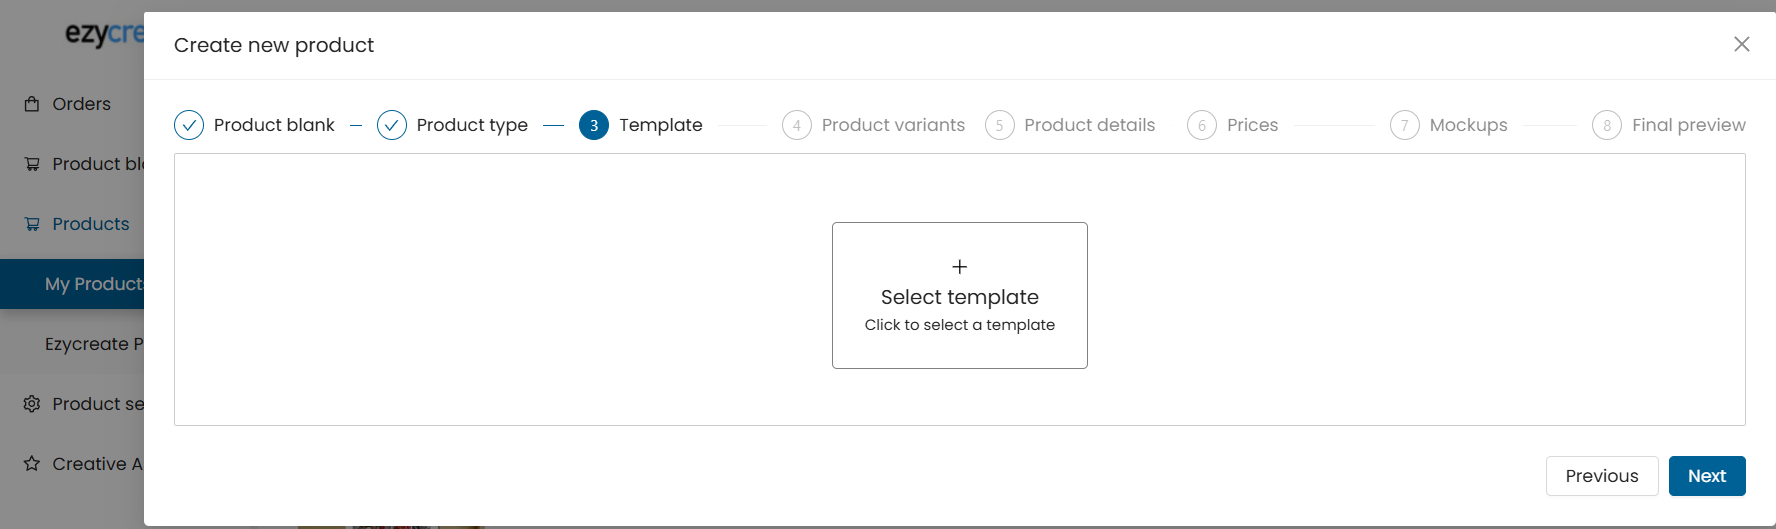
- Click Select a template.
- Choose a template design.
- Note: If your template does not appear, ensure it is published.
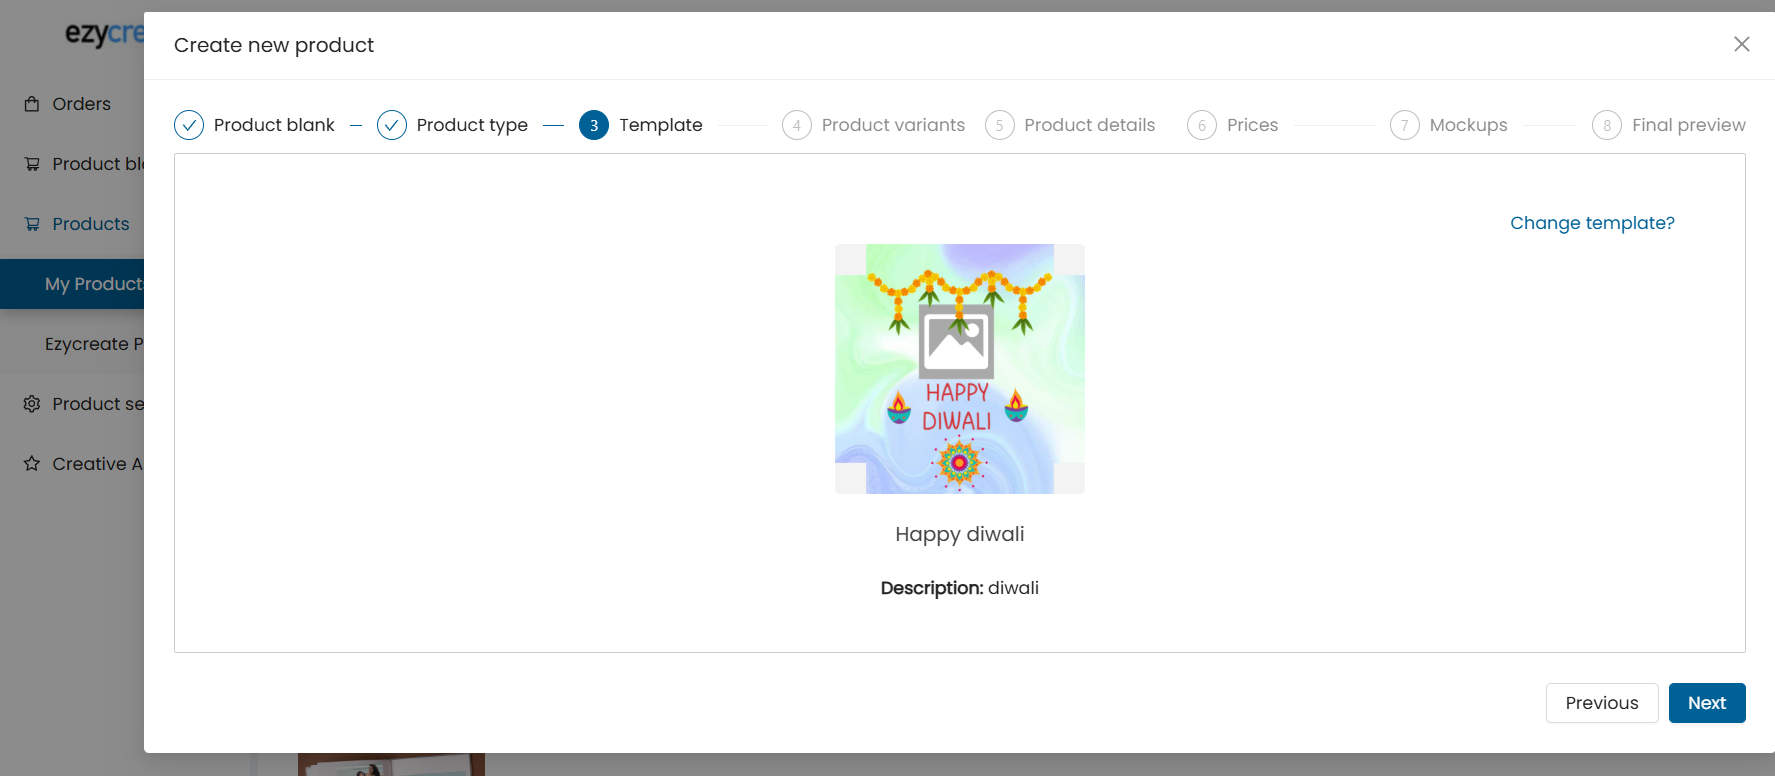
- Click Next.
Step 5: Add Product Variants
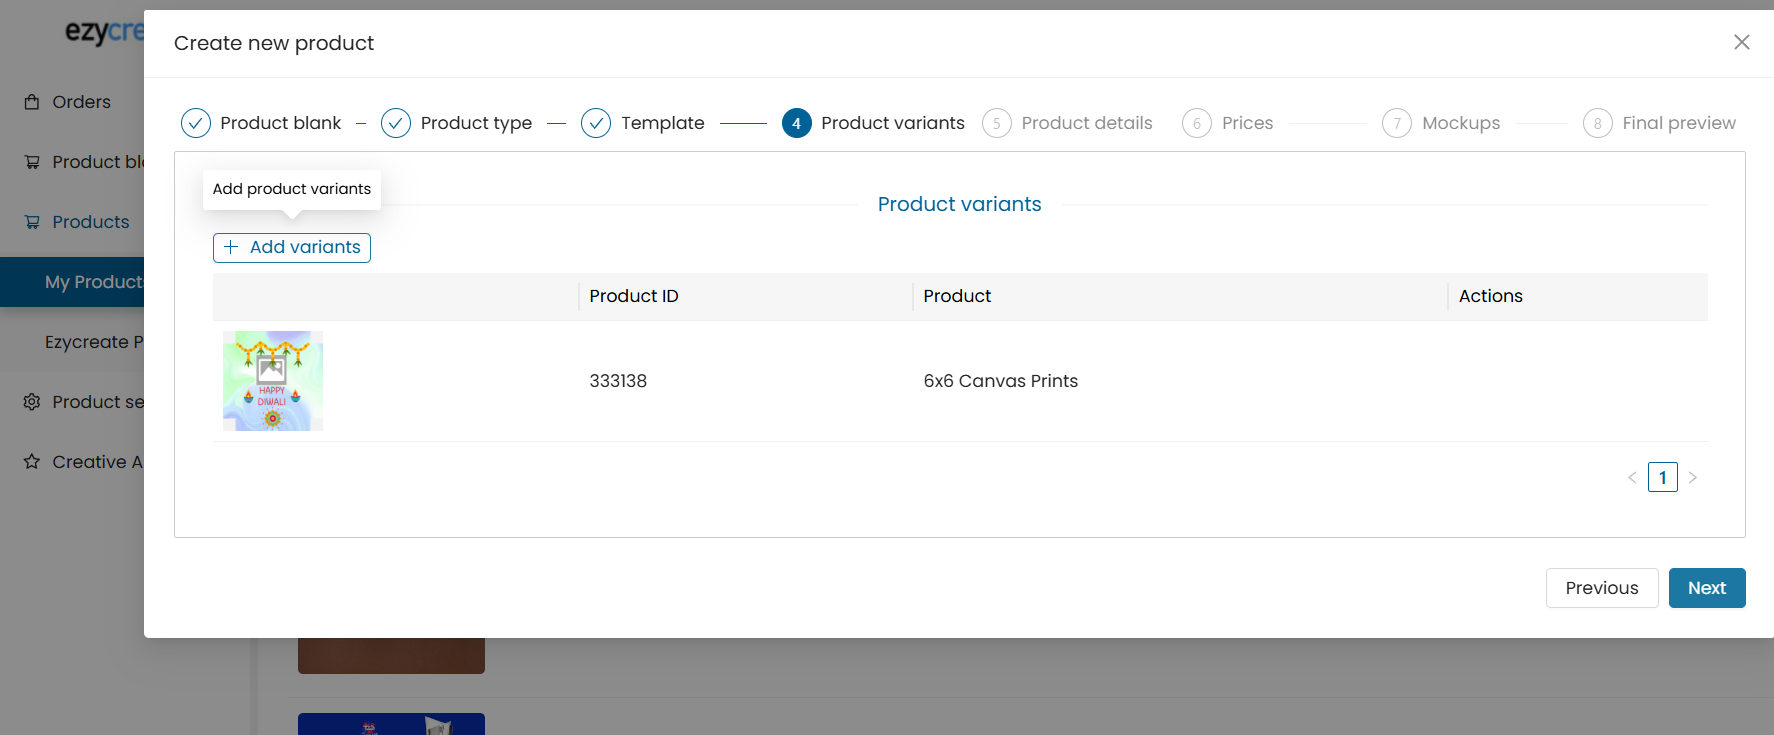
- In the Product Variants tab:
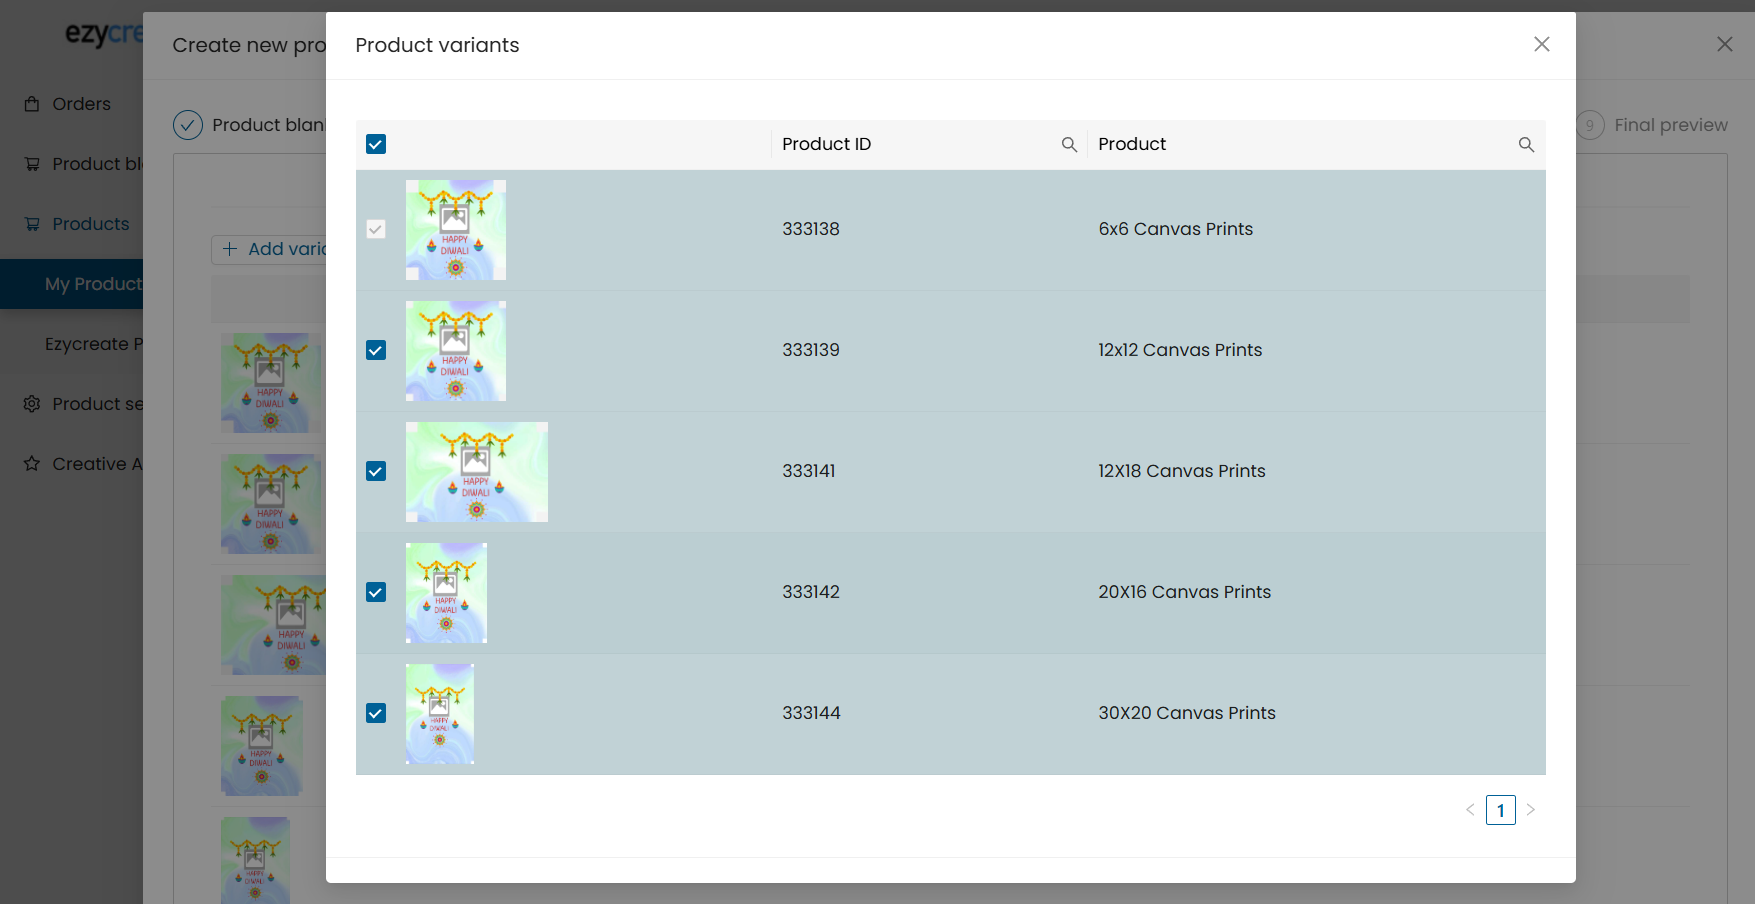
- Click + Add variants.
- Only designs from the same template group can be added.
- Use the "Set default" option to mark one variant as the default.
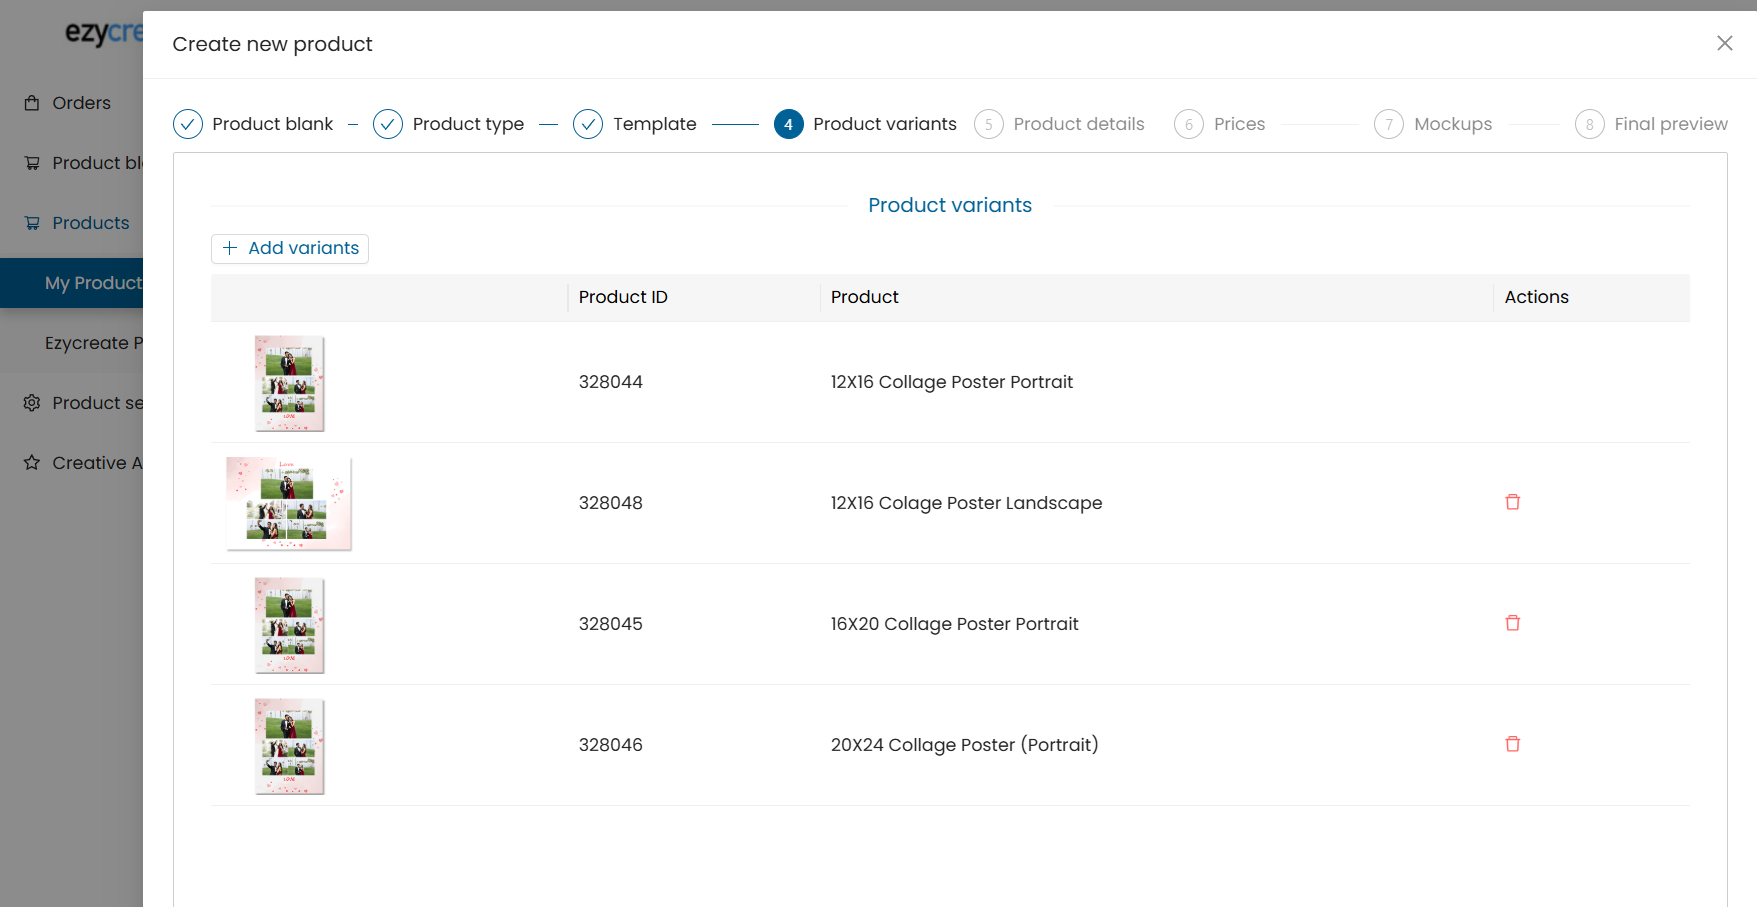
- Use the trash icon to remove a variant.
Important:
- All variants must be visually unique.
- All variants must belong to the same template group.
- One variant must be marked as default.
- Click Next.
Step 6: Enter Product Details
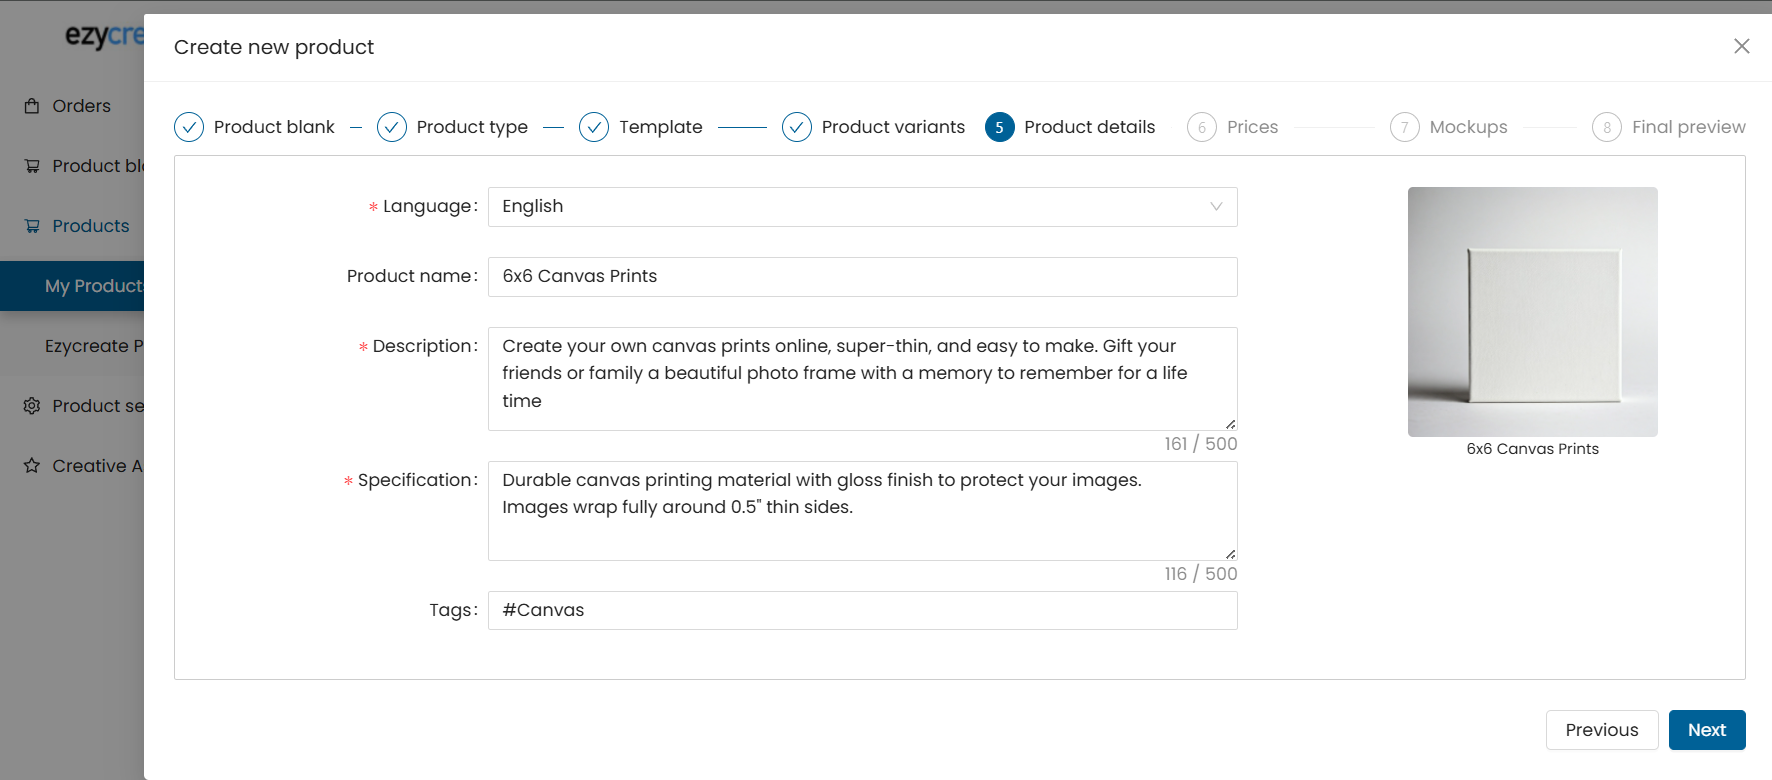
- Select the product language (e.g., English).
- Fill in:
- Product Name
- Description
- Specifications (materials, dimensions, etc.)
- Tags (used for filtering and search)
- Click Next.
Step 7: Set Product Prices
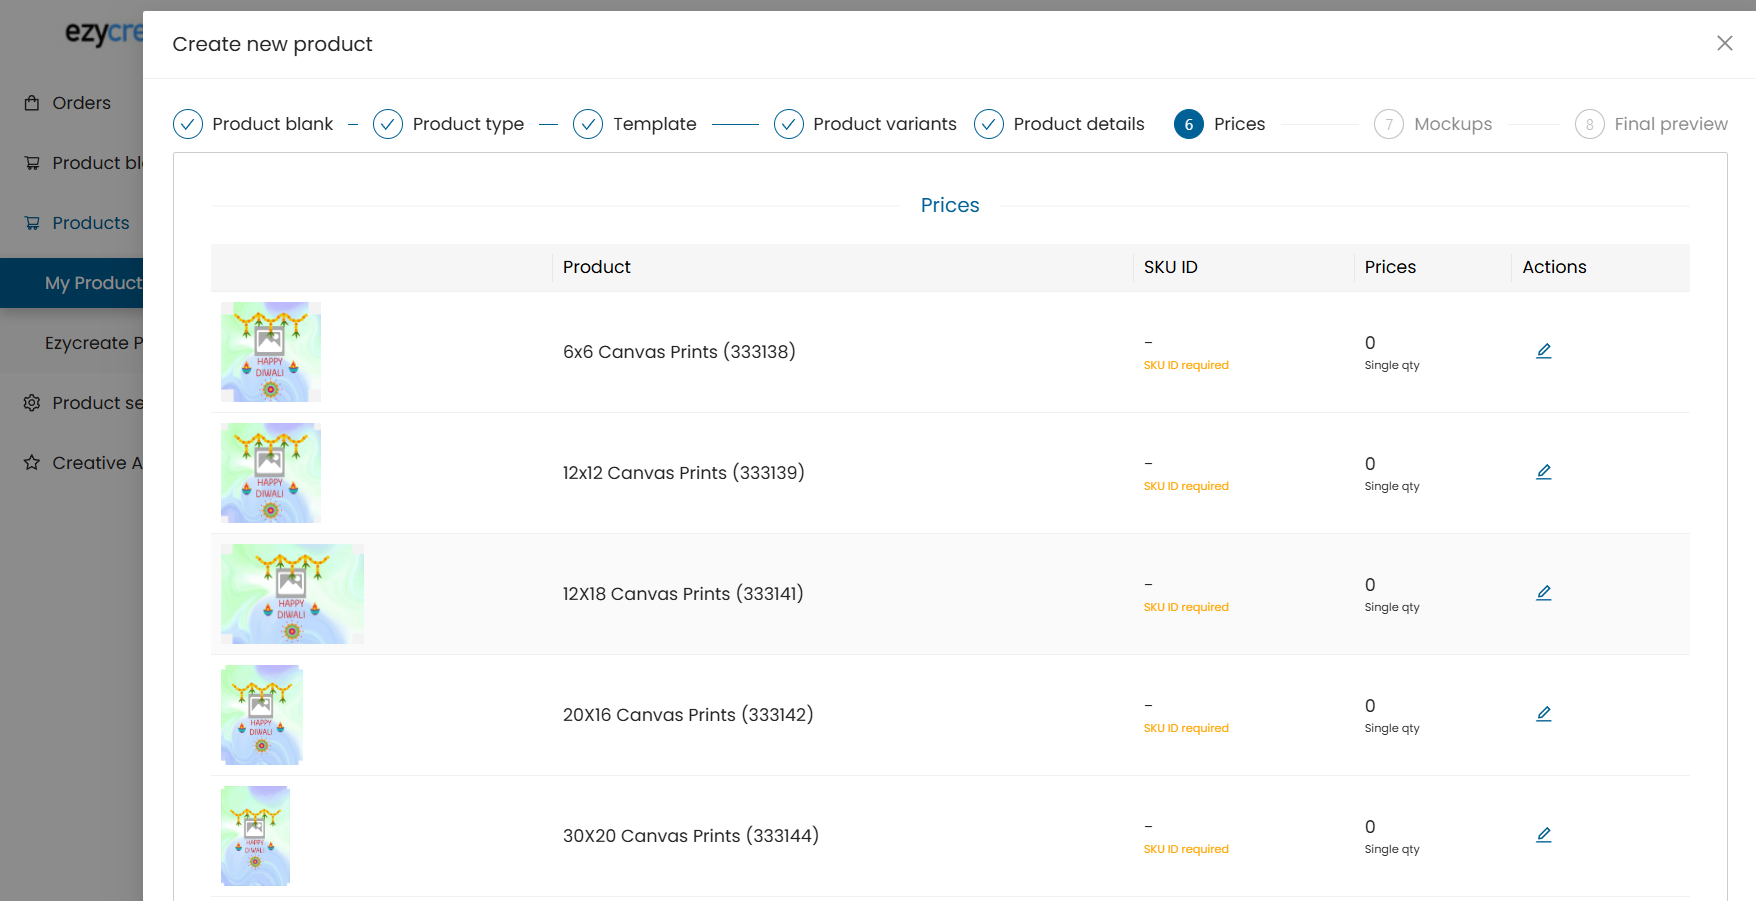
- All added variants will be shown with editable:
- SKU
- Price
- Click the Edit icon for each to update pricing.
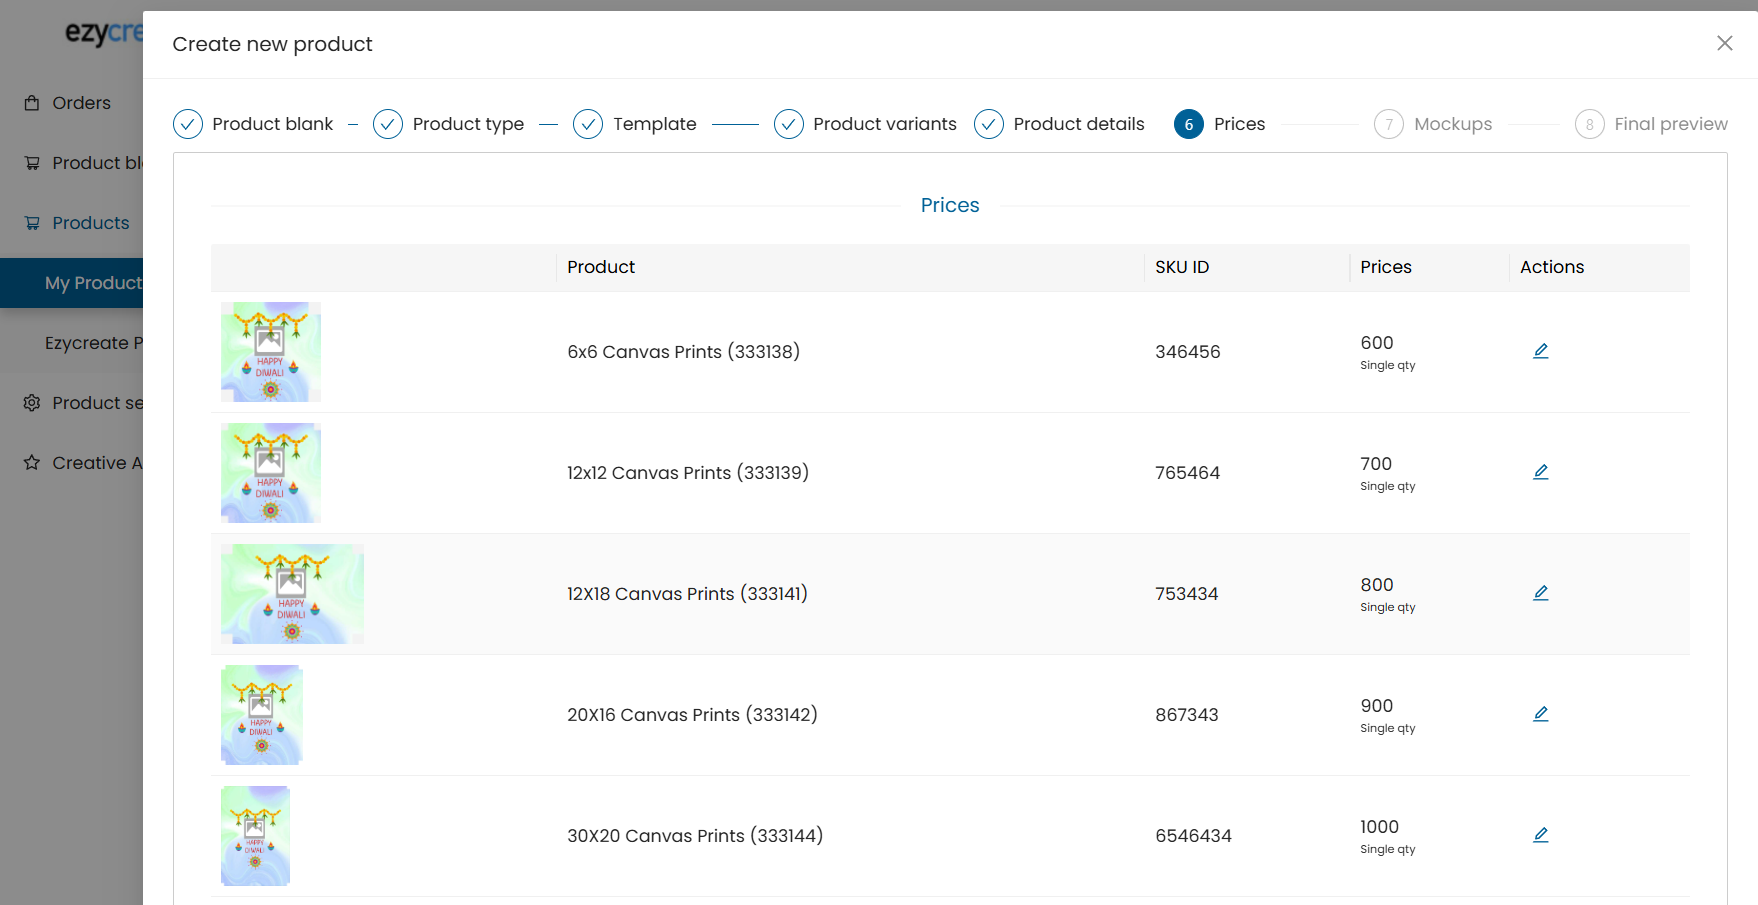
- Click Save after updating each entry.
- Click Next.
Step 8: Upload Mockup Images
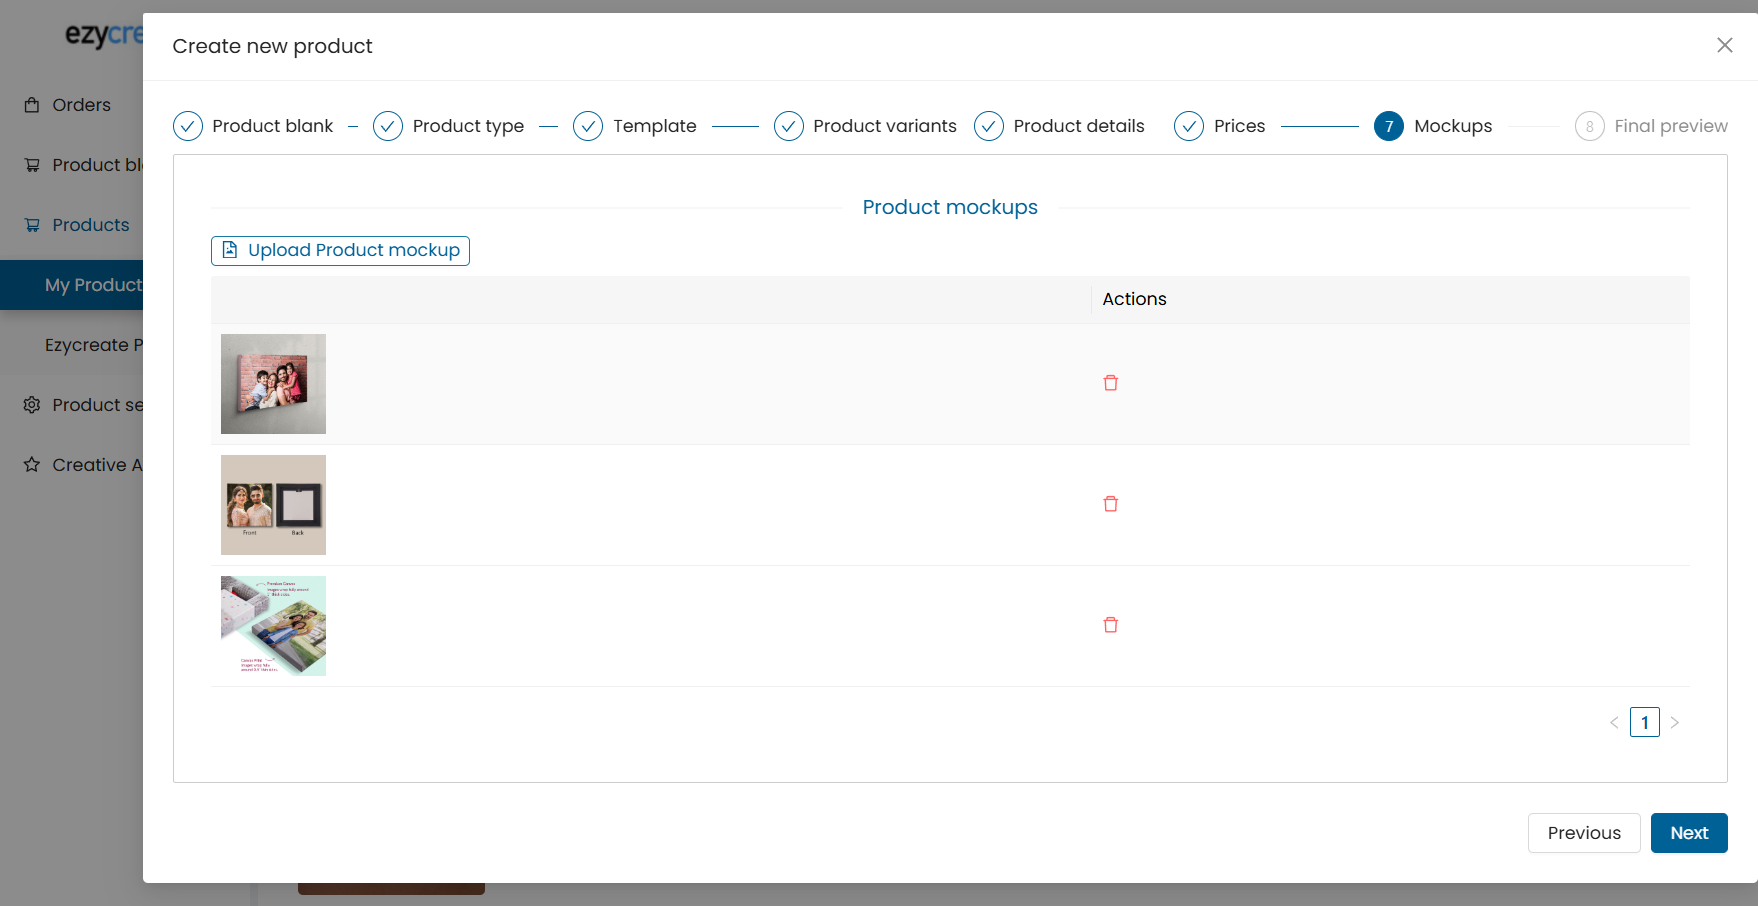
- Upload visual previews/mockups.
- Ensure the mockups visually represent the template accurately.
- Click Next.
Step 9: Final Preview and Save

- Review all information:
- Product details
- Variants
- Pricing
- Albums
- Mockups
If everything is correct, click Save.
Your product is now ready for publishing and sale on the platform. If you need additional guidance or encounter issues during setup, please contact the support team at support@ezycreate.com.