3D Preview
How to Add 3D Preview
Glossary:
glb file The GLB format is a versatile and widely-used 3D file format.
mesh It refers to the collection of vertices, edges, and faces that defines the shape of a 3D object in space.
Login
- Open the website link.
- Enter valid login details and click on the login button.
You will reach a welcome dashboard:
Dashboard of configured products Click on the product to load a list of existing products.
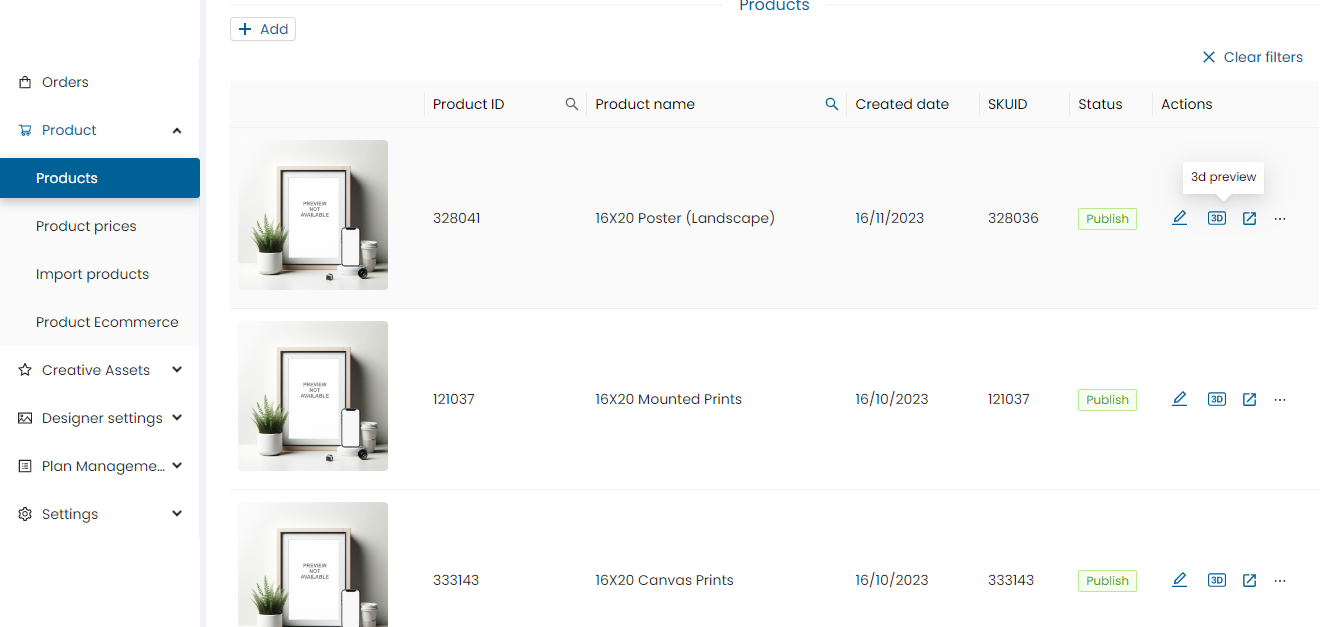
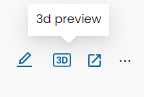
To add a 3D preview, click the 3D preview icon.
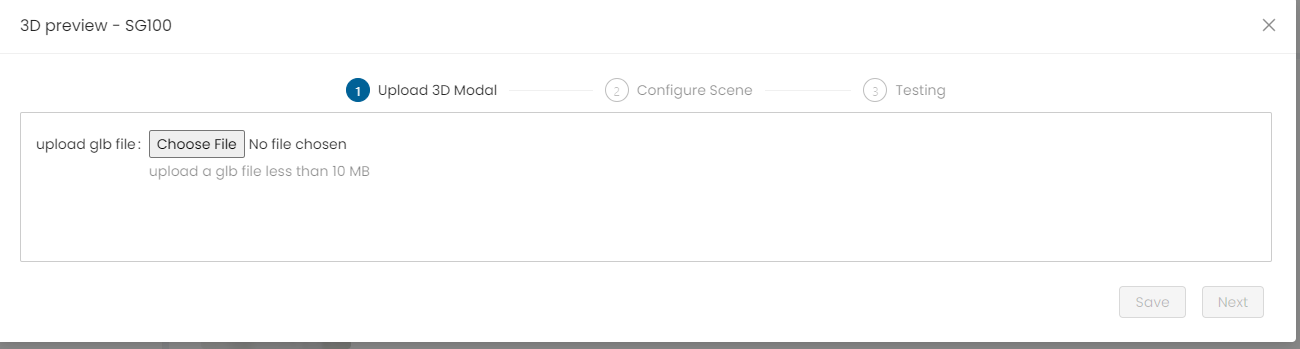
3D preview form will be displayed:
There are three stages to add and test the 3D preview:
- Upload 3D model
- Configure the model
- Test the 3D preview
Upload 3D Model
After clicking on the 3D preview button, a form will be displayed:
-
Upload the .glb file of the 3D model of the product
-
Note:
- It supports only .glb files
- Upload .glb file less than 10 MB
Model Creation
Model creation can be done by using any modelling software but we advise on using Blender. This should follow the rules and examples mentioned in the below doc: 🔗 https://docs.google.com/document/d/1C5GxjMVLQp9Bdx7qzq7AV6-DBi590quakPaxKPNs7ss/edit#heading=h.ahtmuoqxdac3
You can also refer to editing mesh: 🔗 https://docs.google.com/document/d/1m2_o-G-6sKrrfcyDG90eD8dyUOlyGKBJ/edit
Note: These docs are created considering Blender for creating the model and UV mapping help.
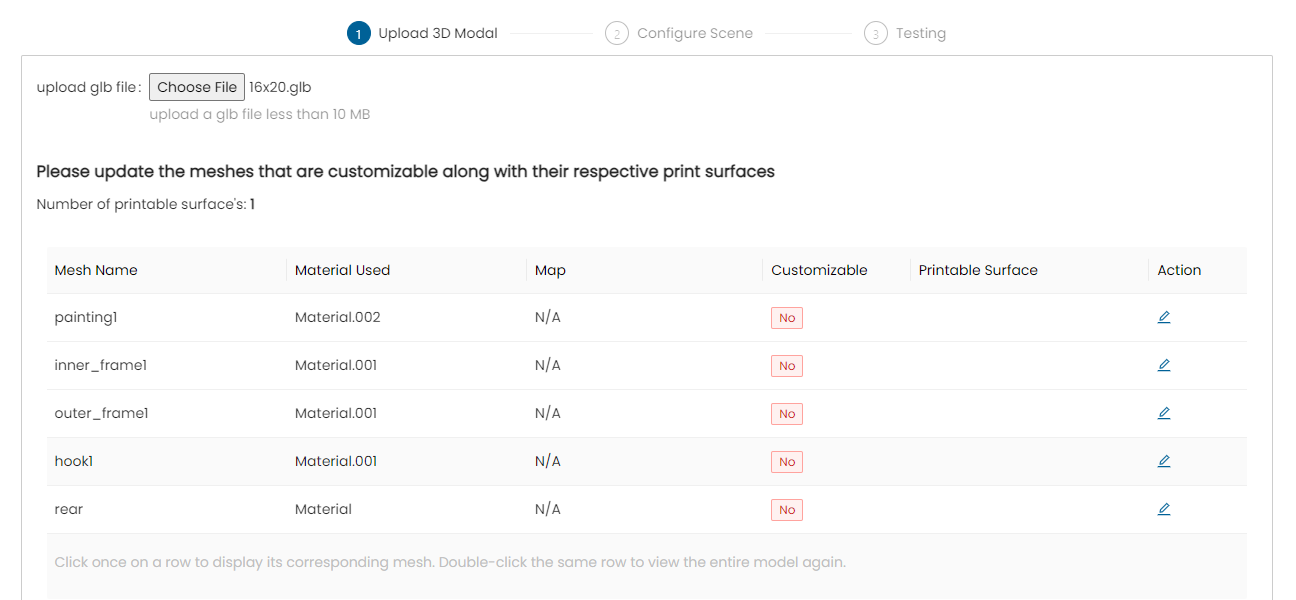
The .glb file will upload and display:
- The glb file will upload and display the mesh details, the number of surfaces of the product, and the 3D model view.
- Select any mesh to see the mesh 3D model
- Double click on mesh will show the whole 3D model
- On the top of the form will show the product code
- Close button - click on close button to close the 3D preview form
To change mesh name and make it a printable surface, click on the Action button
Mesh Edit Form will be displayed:
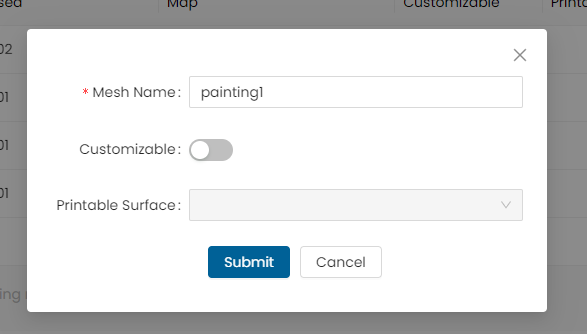
-
Mesh name – click on the field and edit the mesh name
- Note: Space and special characters are not allowed
-
Customizable – enable it to make mesh customizable
-
Printable surface – select surface from the dropdown
- Note: It will show surface name which is mentioned in the product configuration
-
Submit – click to submit the form
-
Close / Cancel – click to cancel the edit form
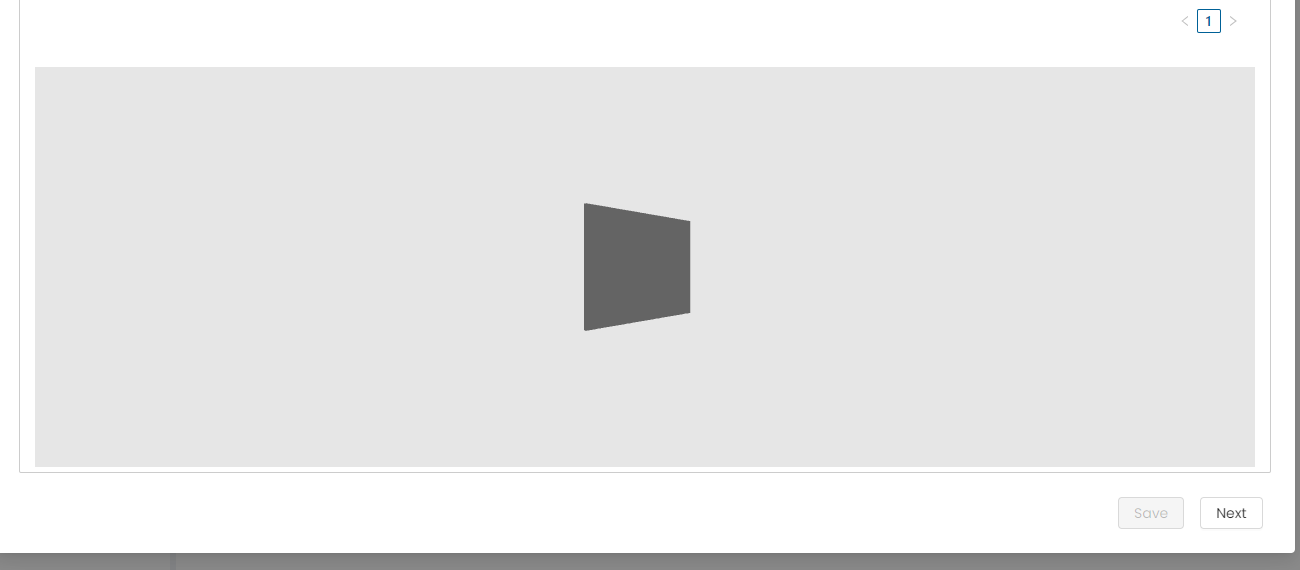
A 3D model will show along with the mesh list
Configure Scene
After editing the mesh form, click on Save and Next to configure the model. In this stage, users can configure the model visibility and view. Initially, this form will be set with default values.
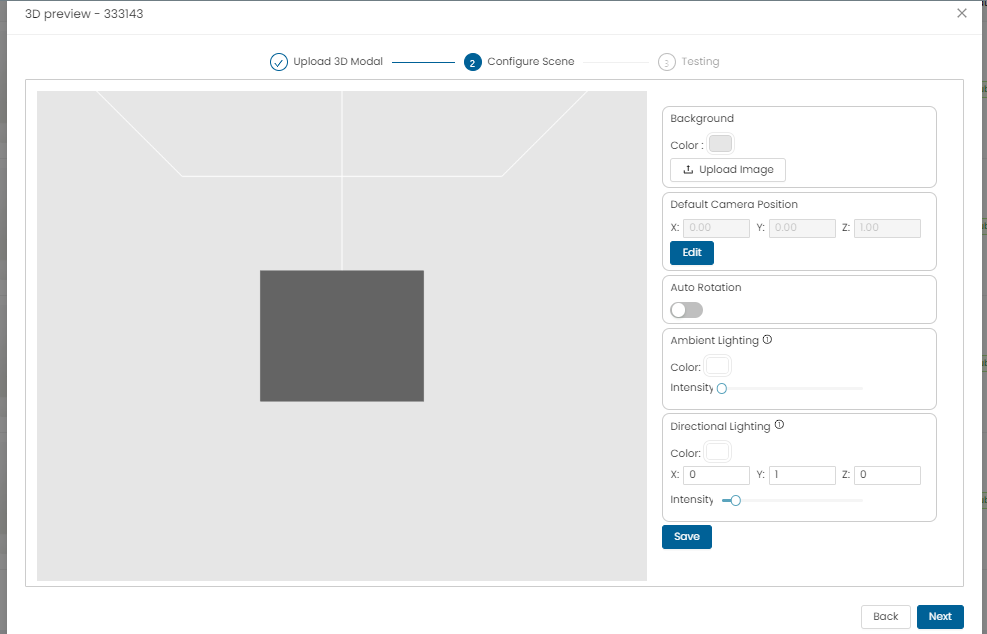
- Background color – click on the background color and select any color to apply background color on 3D model
- Background image – click on upload image and add any image (PNG, jpeg)
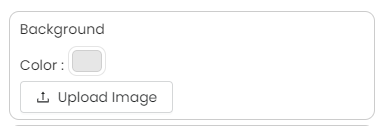
Blur: This option will appear only after the background image is uploaded. Users can blur the image by sliding the bar for a better 3D model view.

Default Camera Position
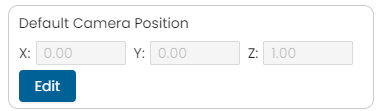
The default camera position is the initial viewpoint from which the user sees the 3D model when the user first opens it. This X, Y, Z position is carefully chosen to provide the best overall view of the model. Click on Edit and add X, Y, Z position.
Auto Rotation

Auto rotation is a feature that continuously rotates the 3D model on its own, allowing users to see the model from all angles without manually adjusting the view.
Ambient Light
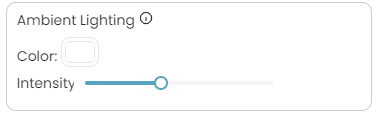
Ambient light in 3D models is a non-directional, background illumination that evenly lights up the scene, filling in shadows and revealing details. Both the color and the intensity of the light can be adjusted for a better view of the model.
Direction Lighting
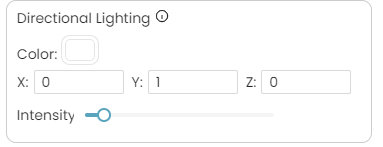
Directional light in 3D models is a light source that emits rays in a specific direction, creating shadows and highlights to define the shape and form of objects within the scene. Both the color and the intensity of the light can be adjusted for a better view of the model.
- Back – click to change the .glb file and edit the printable surface
- Save – click to save all the settings of the configuration
- Cancel – click to close the configuration form
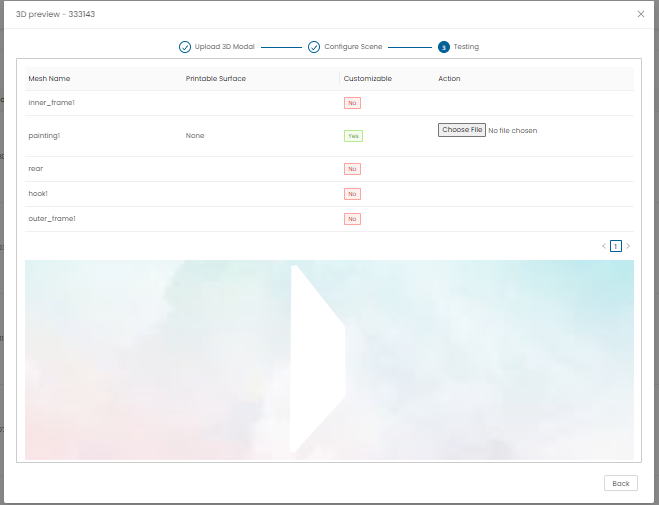
Testing the 3D Preview
In this stage, all details of the model will show: e.g., Mesh name, Printable surface, and Customizable status.
For testing the 3D preview model:
- Click on Upload image and upload a preview image.
- The 3D model will reflect all the configuration settings with the applied image as the user has set.
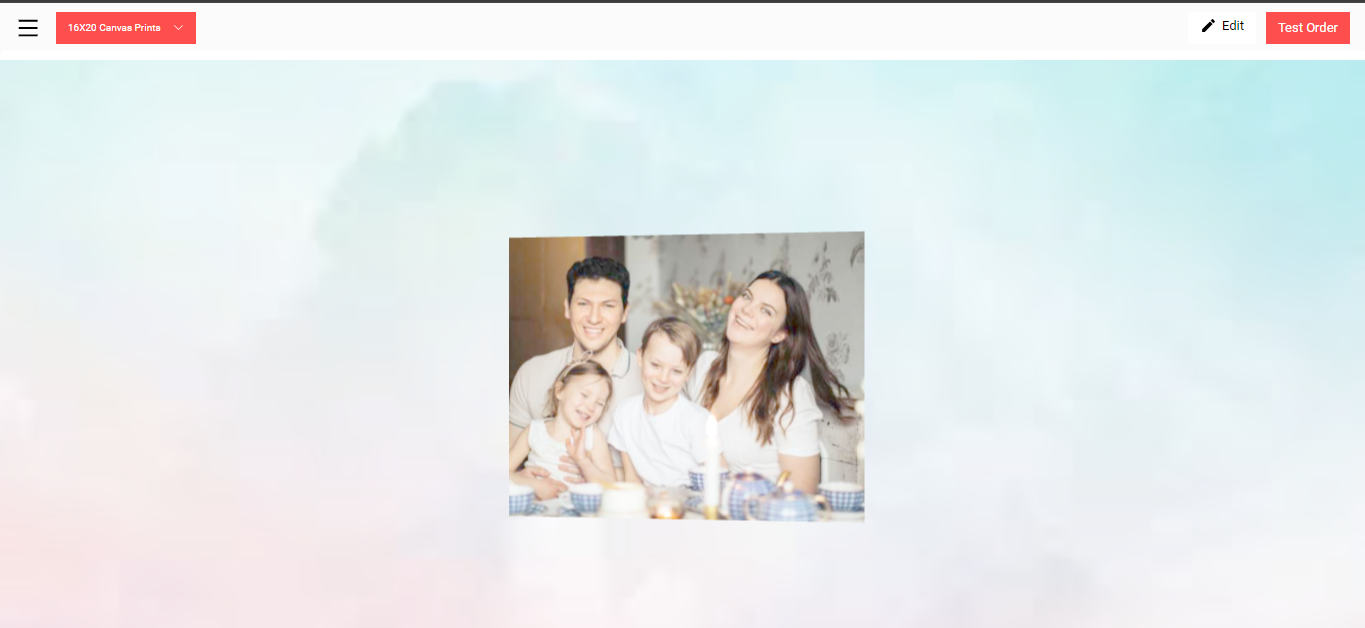
Designer
Open the 3D preview configured product on the designer, design the product, and click on Preview. This 3D preview will show as configured in the admin.
3D Preview of Canvas
🔗 https://drive.google.com/file/d/1vH0kk3Tj7pYVUeAGHuKEISAlWXu_7kaS/view?usp=sharing
Note: The product has to be set to 3D in product configuration for the 3D preview to be visible in the designer.
User Interactions
Rotation:
- Mouse: Click and drag the left mouse button to rotate the model. This allows the user to view the model from different angles.
- Touchscreen: Use one finger to swipe and rotate the model.
Zooming:
- Mouse: Use the scroll wheel to zoom in and out.
Touchscreen: Pinch with two fingers to zoom in and out.
Need Help?
If you're stuck, don’t worry — just email us at support@ezycreate.com