WordPress Plugin Setup
EzyCreate and Wordpress Plugin
- One-click product synchronization
- Built-in visual designer
- Automated order routing
- Instant fulfillment-ready files
- Increased conversions & customer satisfaction
Prerequisites
- ✓ WordPress 5.8+
- ✓ WooCommerce 6.0+
- ✓ PHP 7.2+
- ✓ MySQL 5.7+
- ✓ EzyCreate credentials
Installation Steps
Step 1: Download & Upload Download plugin ZIP file and upload via WordPress Plugins → Add New
Step 2: Activate Plugin Click "Activate" to enable EzyCreate integration
Step 3: Configure settings Navigate to Settings and enter your EzyCreate credentials
Step 4: Sync & Start Selling Sync product catalog and start adding customizable products to your store.
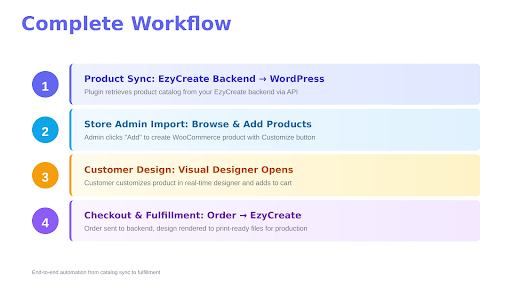
To Get Started…
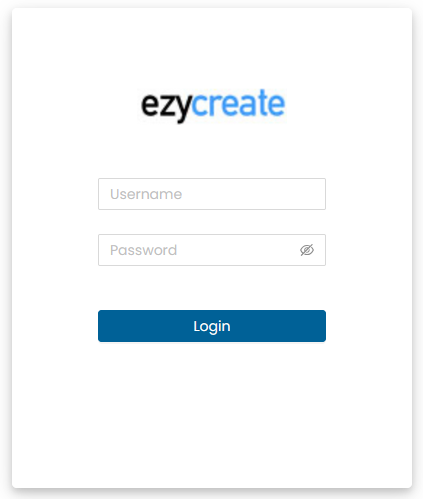
Login to Ezycreate Admin with the login credentials
Create your products using product blank and template, add variants, prices and images.
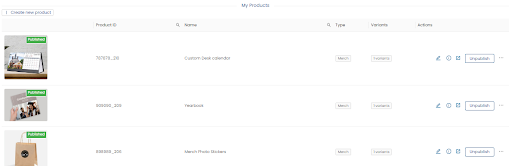
Publish products to be available on your site.
Wordpress plugin Installation.
Download plugin and install in plugin directory.
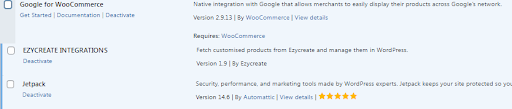
On successful installation, Ezycreate menu will show up in the navigation.
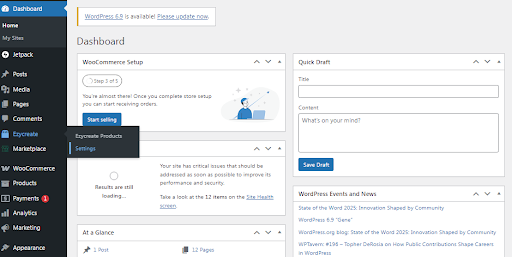
Enter credentials to connect store with ezycreate

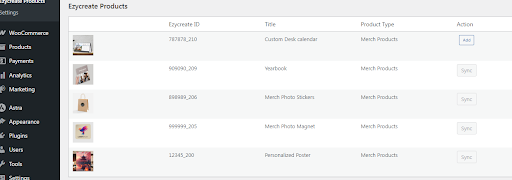
Now click on Ezycreate products, list of products published in ezycreate will be displayed. Click on add to add to wocommerce product.
Wordpress Product Page with customise button.
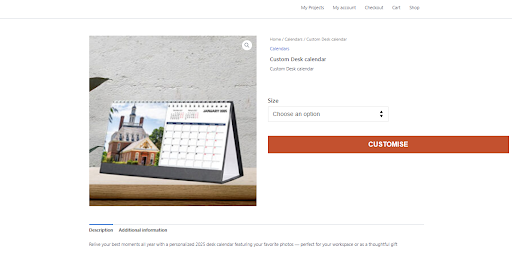
Invoke designer on click of customise.

Click on Add to cart button to redirect to your website
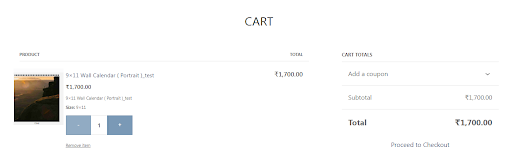
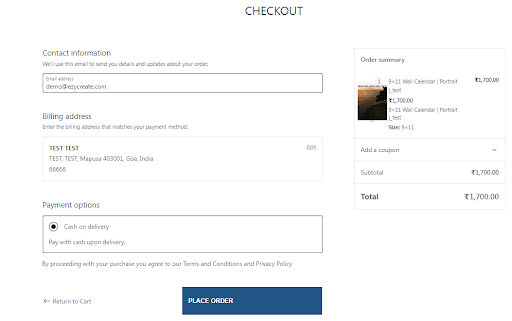
On checkout,
Order received by Ezycreate
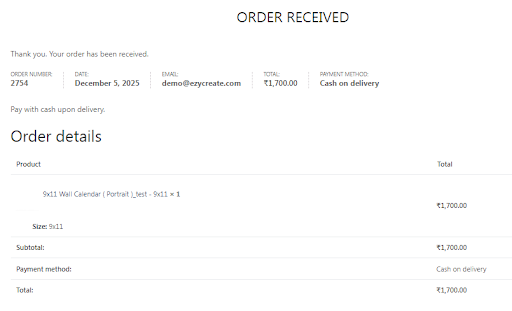
The print ready files can be downloaded and sent to fulfillment.
