Mask Image Generation
Guidelines for Creating a Mask Image Using Photoshop
Introduction:
A Mask Image is a crucial component of a design editor. It helps visualize how a design will appear on an actual product by acting as a The mask image is essentially a transparent PNG that contains product details such as material texture, folds, shadows, highlights, and the exact borders of the product shape.
This document explains the step-by-step process to create a mask image for a T-shirt product using Adobe Photoshop (CC version).
Prerequisites
Before you begin, ensure you have:
- Adobe Photoshop CC (Version 24 or above recommended)
- A high-quality T-shirt product image
- Overall T-shirt product dimensions (artboard size)
- Print / design area dimensions
1. Generate a Mask Image (or) a Background Image
Step 1
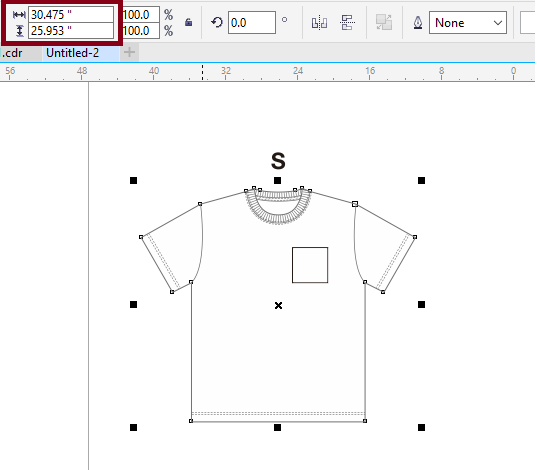
To Create The Mask image for T-Shirt Product.First we need to know the Artboard area (T-Shirt Dimension) of the Mask image
Step 2
Launch Adobe Photoshop on your PC or laptop.
Step 3
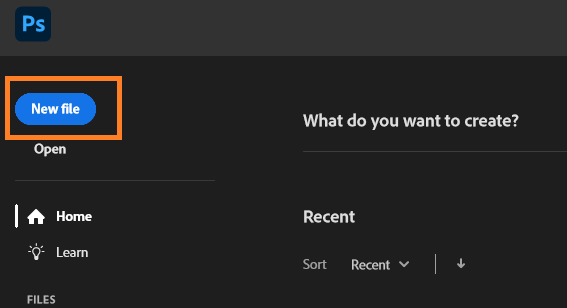
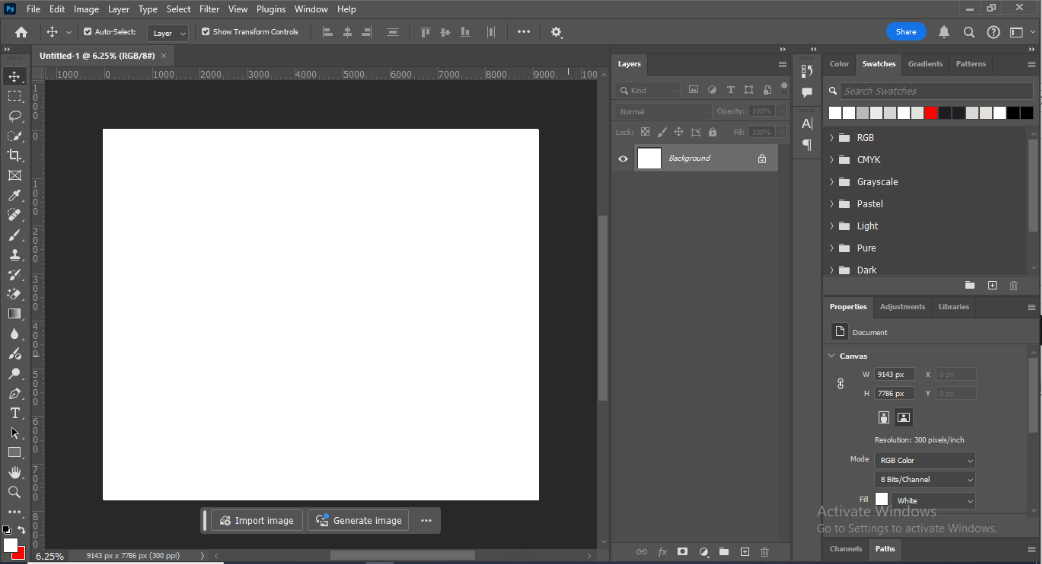
Create a New File
Click File → New to create a new document for the mask image.
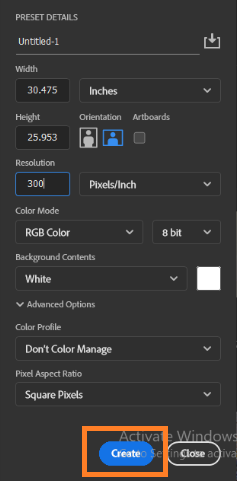
Step 4
Enter Document Settings
Set the following values:
- Unit: Inches
- Width & Height: As per T-shirt product specification
- Resolution: 300 DPI
- Color Mode: RGB Color
Click Create.

Step 5
A white artboard with a locked background layer will appear. Ensure the Layers panel is visible on the right side of Photoshop
Step 6
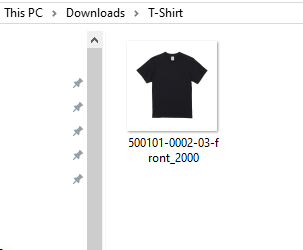
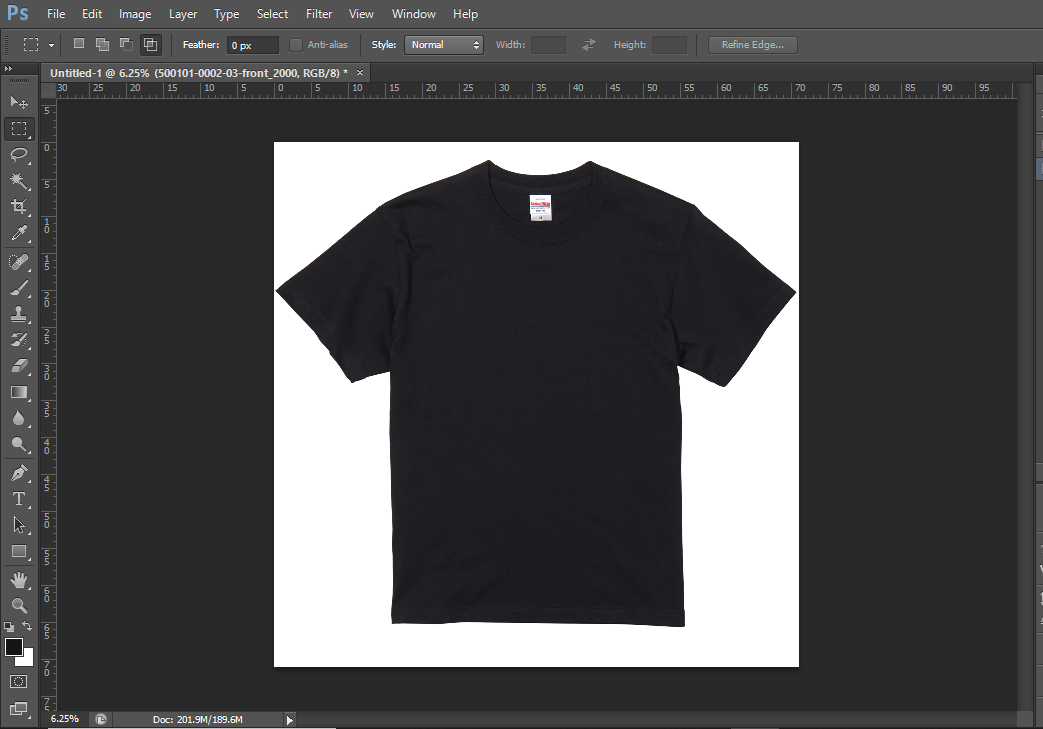
Place the T-shirt Image
- Select the T-shirt product image
- Paste it onto the artboard
- Resize it to match the artboard dimensions
Tip: Use Ctrl + T and hold the Alt key while resizing to scale proportionally from all sides.
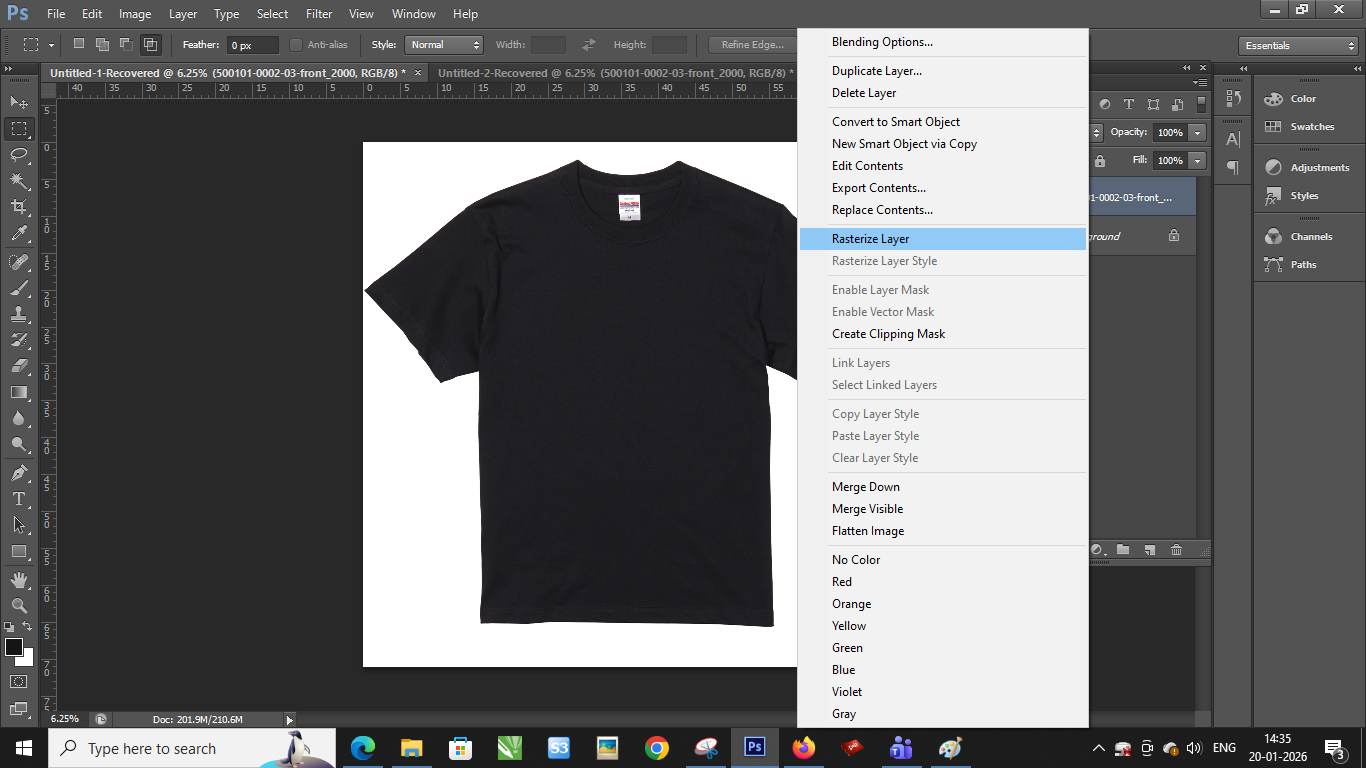
Step 7
Rasterize the T-shirt Layer
In the Layers panel:
- Right-click on the T-shirt layer
- Select Rasterize Layer
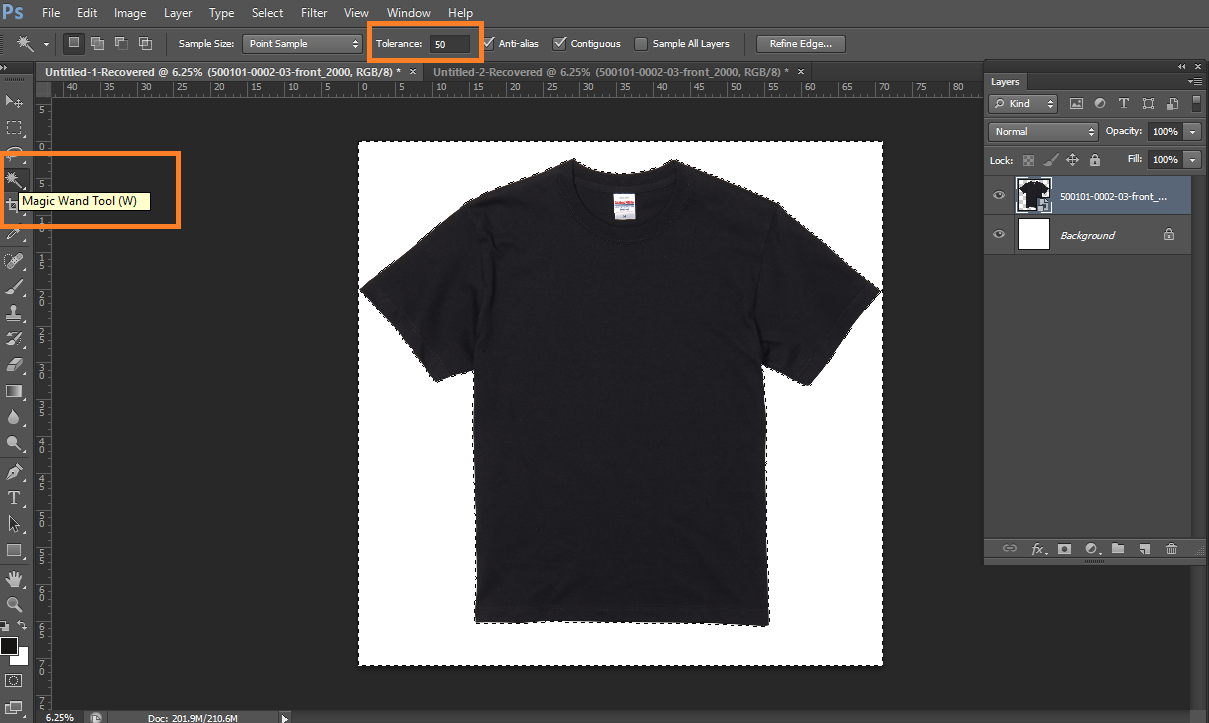
Step 8
Remove the Background
- Select the Magic Wand Tool
- Set Tolerance to an adjustable value (Recommended: 50)
- Click on the white background behind the T-shirt
- Press Delete
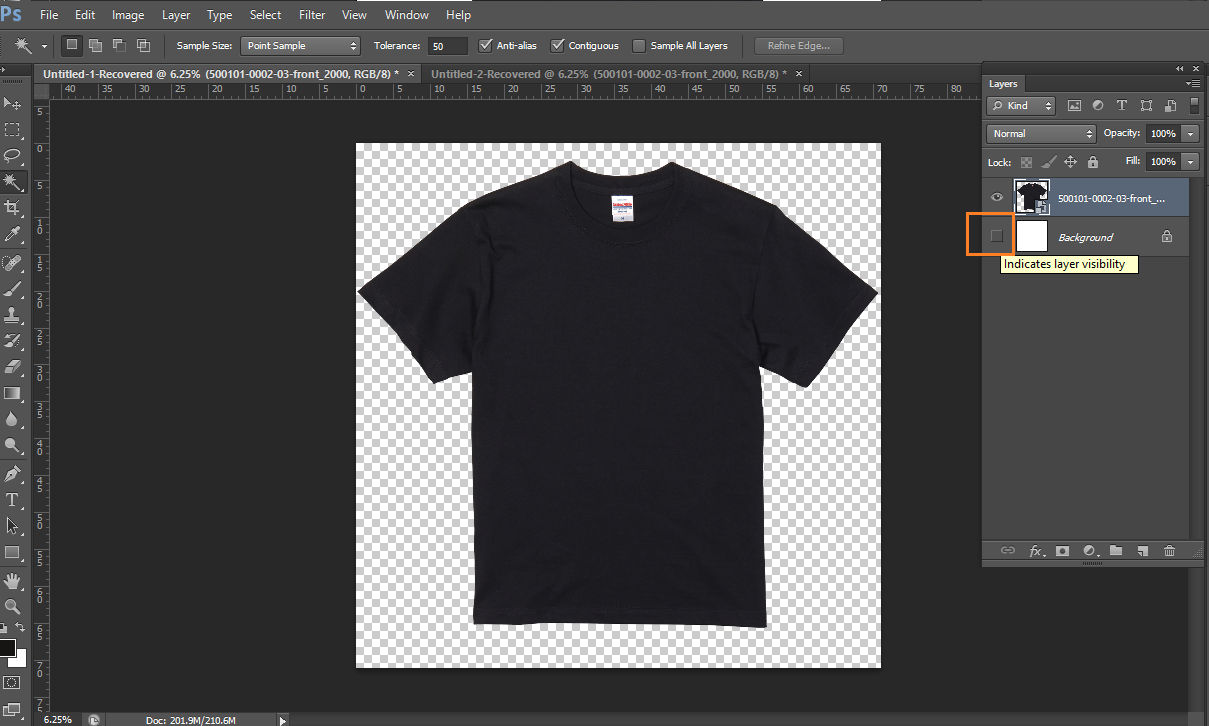
Step 9
Clean Up the Selection
- Turn off the background layer by clicking the eye icon
- Press Ctrl + D to deselect the active selection
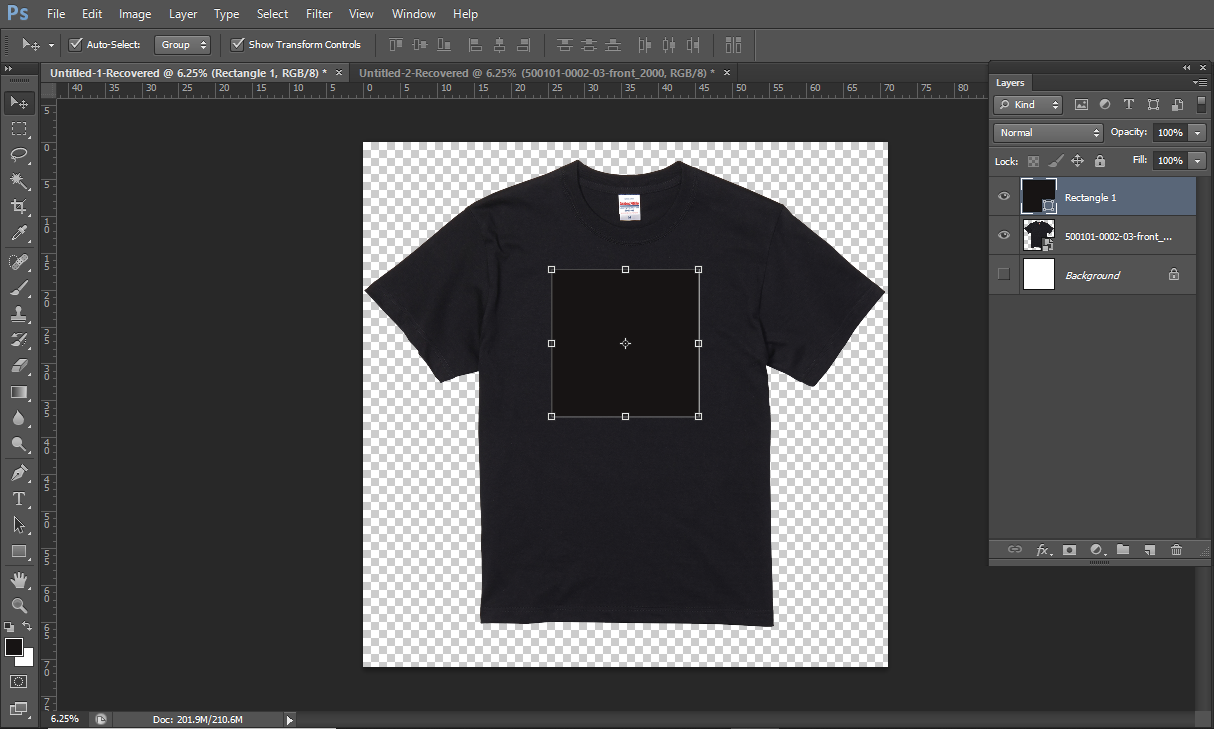
Step 10
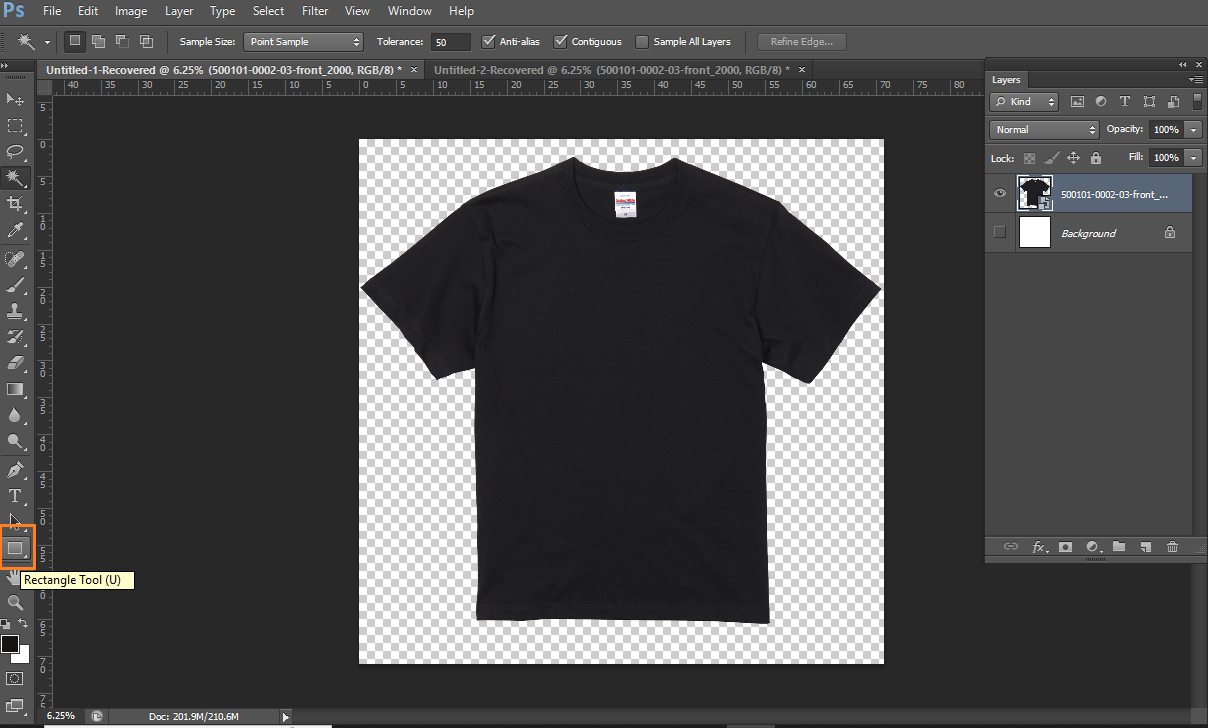
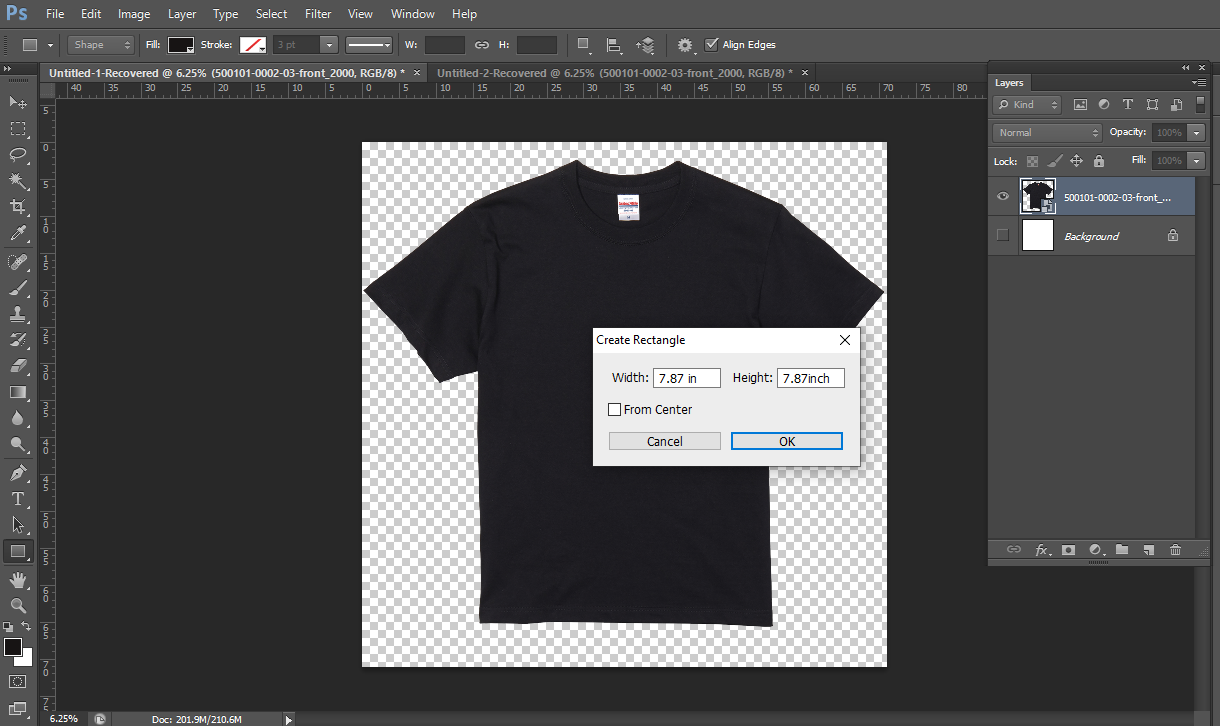
Creating the Design / Print Area
Draw the Print Area
- Select the Rectangle Tool from the toolbar
- Left-click on the artboard
- Enter the print area width and height as per specifications
- Click OK
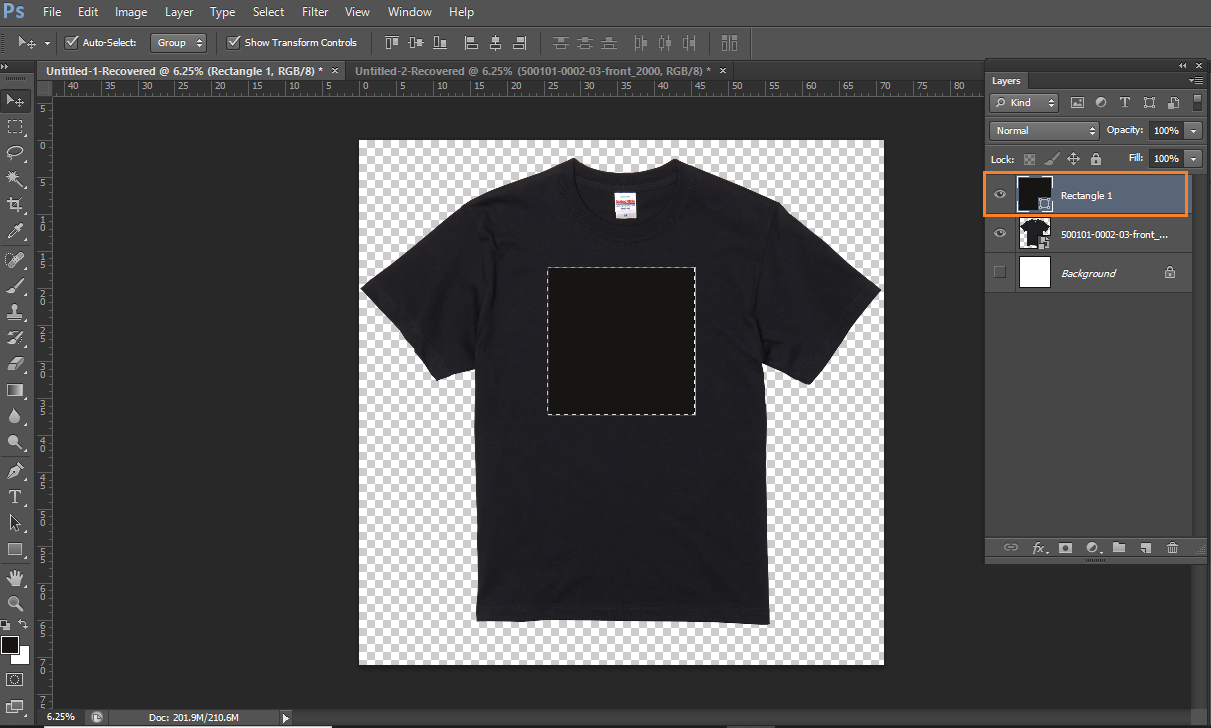
Step 11
Extract the Design Area from the T-shirt
- Select the Rectangle layer
- Hold Ctrl and click on the rectangle thumbnail
- Select the T-shirt layer
- Press Ctrl + J to duplicate the selected area
This creates a separate design-area layer.
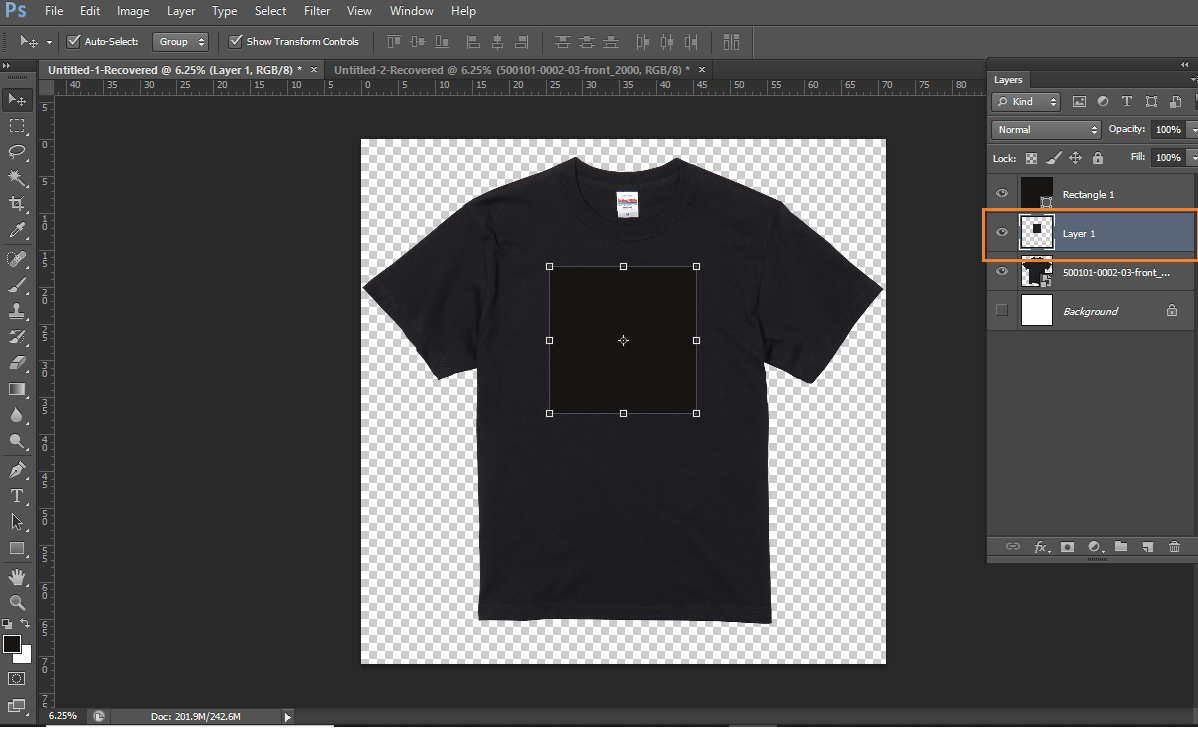
Step 12
Select the Rectangle layer, hold Ctrl, click on the rectangle thumbnail, then select the T-shirt layer and press Ctrl + J.
Step 13
The above step is done to Cut the Design area part from the T-Shirt
Click on eye icon of design area and off the layer. The product image is now ready.

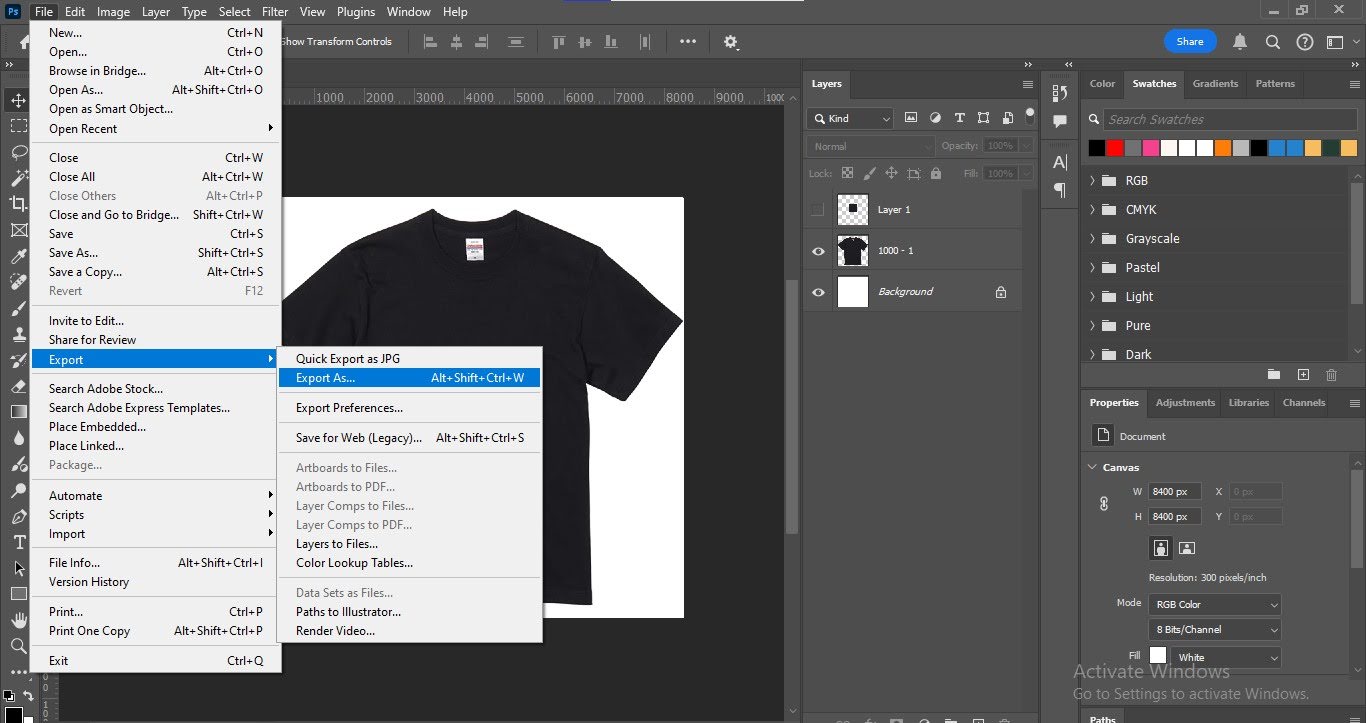
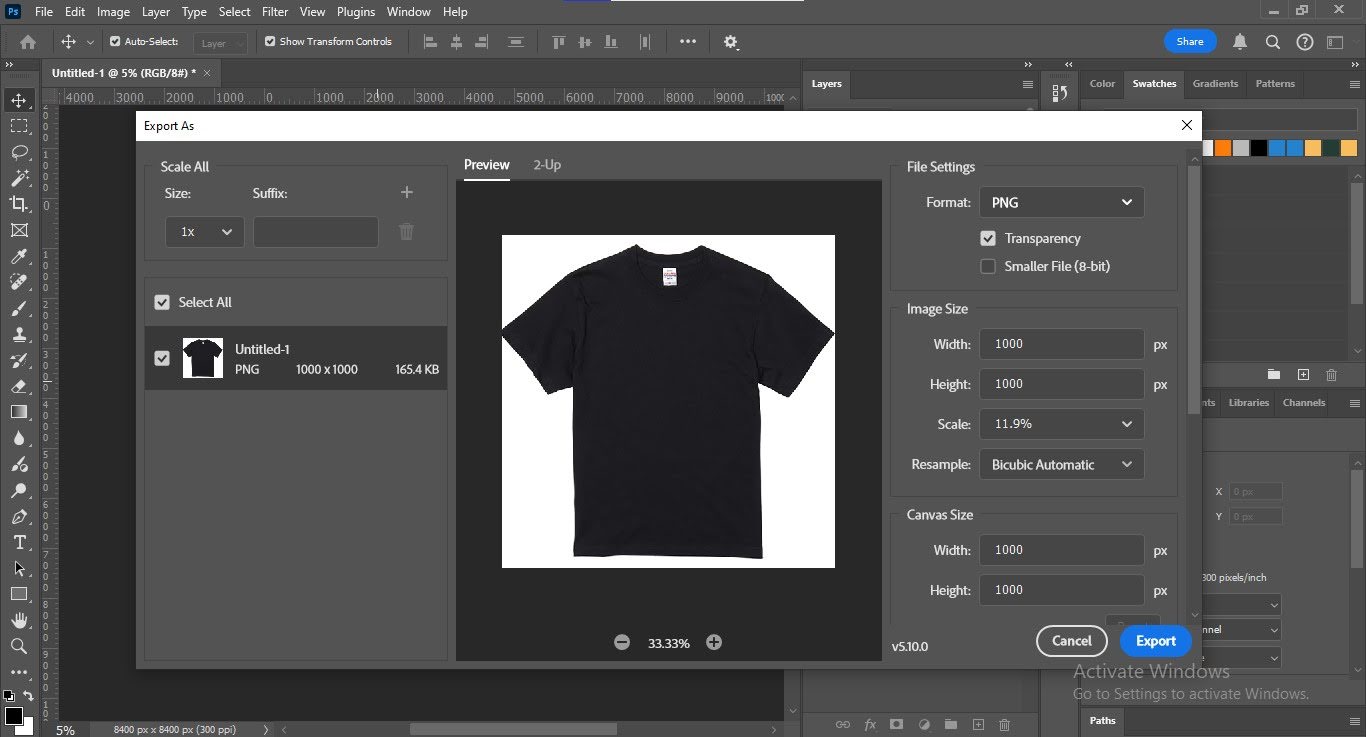
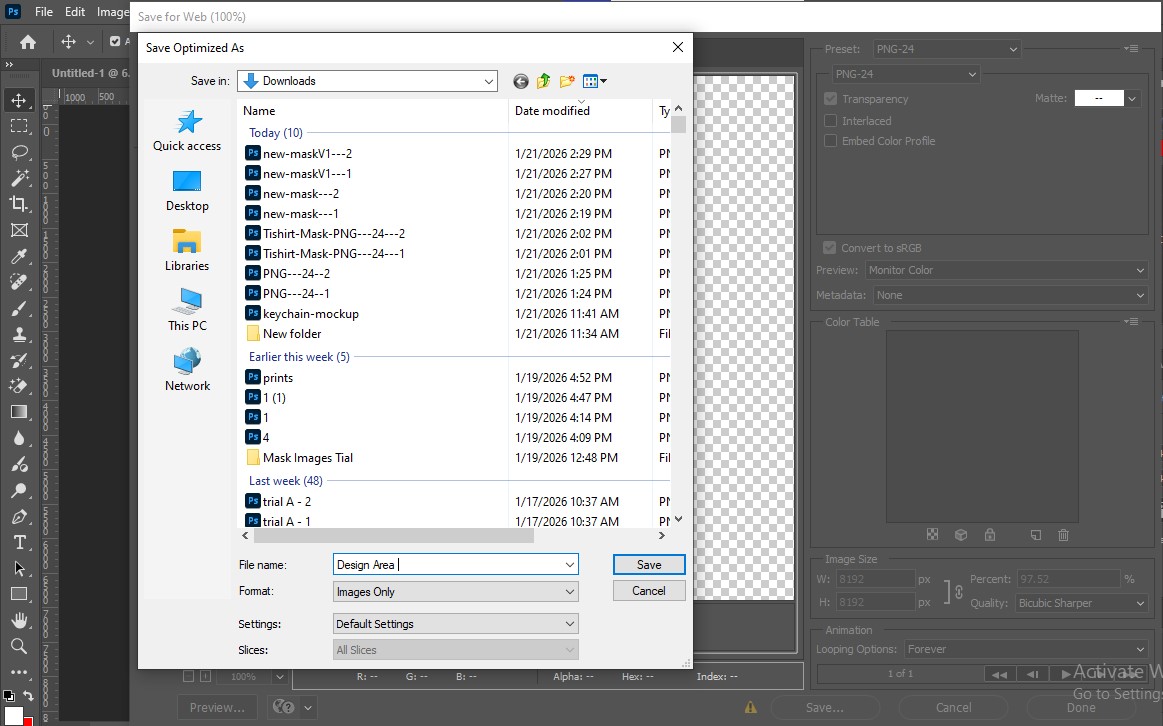
Step 14
Save the Product Mask Image
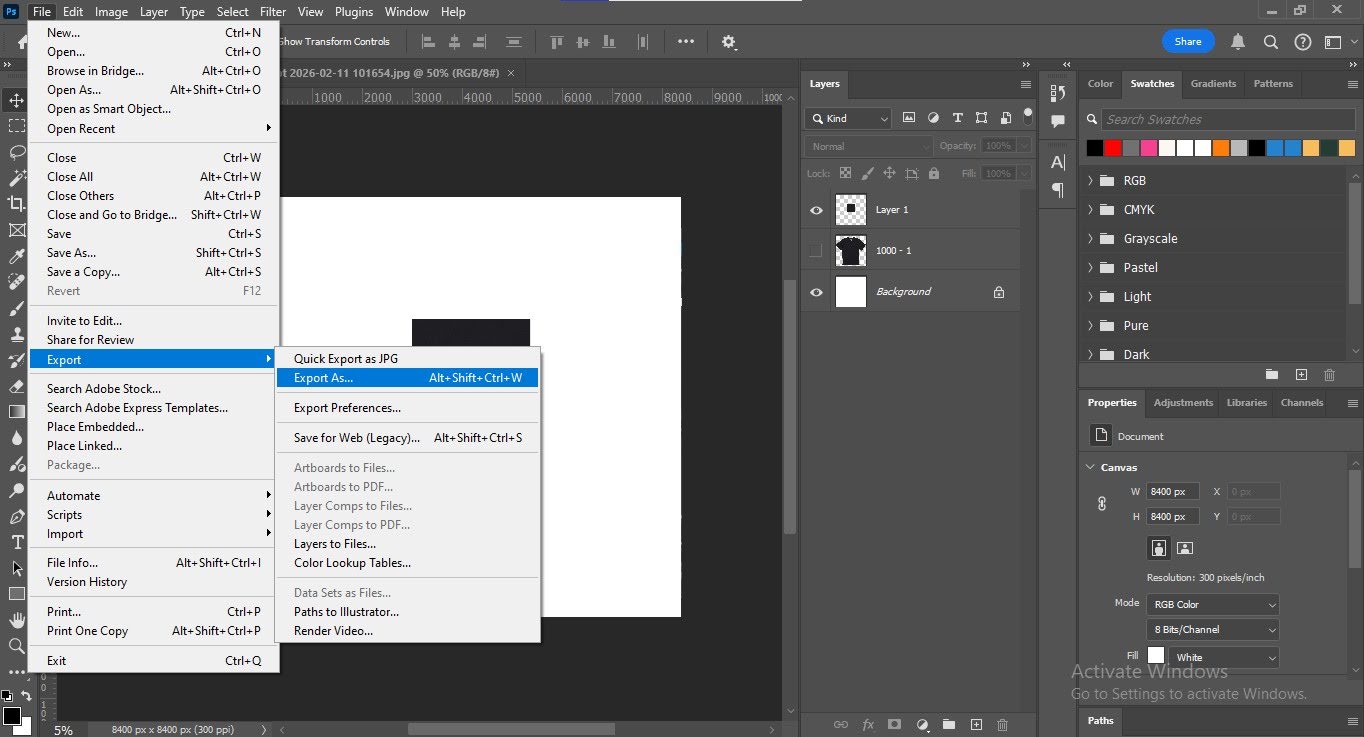
- Go to File → Export → Export As.
- Use the following settings:
-
-
Format: PNG
-
Transparency: Enabled
-
Width & Height: Set between 800 px – 1000 px (to reduce the mask image size)
-
Click Save and choose the desired folder.
Step 15
Save the product image in the desired folder
Step 16
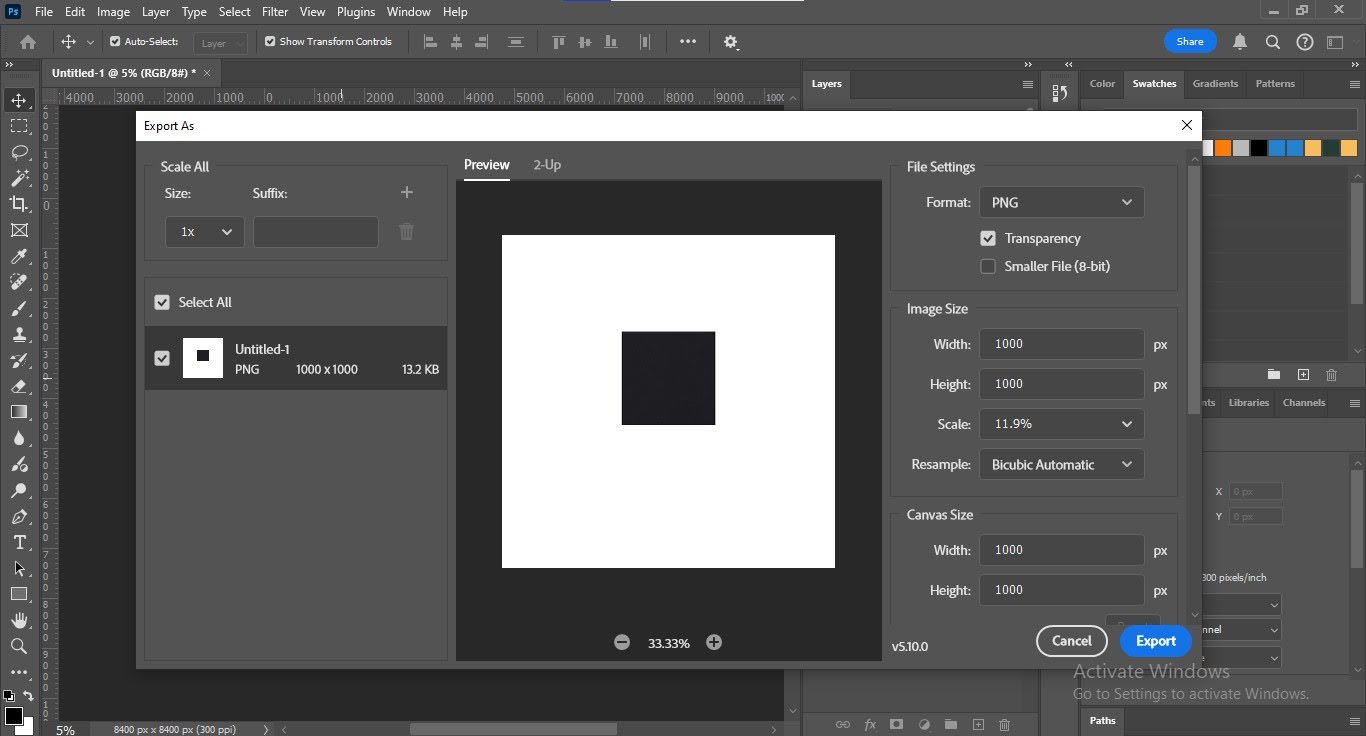
Save the Design Area Mask Image
- Go to File → Export → Export As.
- Use the following settings:
-
-
Format: PNG
-
Transparency: Enabled
-
Width & Height: Set between 800 px – 1000 px (to reduce the mask image size)
-
Click Save and choose the desired folder.
Step 17
Save the product image in the desired folder.
Need Help?
If you're stuck, don’t worry — just email us at support@ezycreate.com