Introduction:
The Ezyadmin is a cloud based product management portal for your
products. The Ezydesigner makes use of creative assets like cliparts and backgrounds that can be used while designing your personalized products.
The creative assets currently are of two types
Cliparts and backgrounds.
Clipart can be a great way to add personality and flair to your personalized products. It can be used to create custom designs that are unique to your brand or customer.
They gives customers the freedom to create truly unique designs. You could also provide a library of free clipart that customers can use.
How to Add Clipart
Index
- Introduction
- Login to Ezyadmin
- Access Cliparts
- Add a New Clipart
- Successfully Added Clipart
- Edit Clipart
- Preview Clipart
- Create Template Using Cliparts
- Template Creator Tab
- Use Added Clipart in Template
Login to Ezyadmin

- Enter valid login credentials and click on submit button.
Access Cliparts
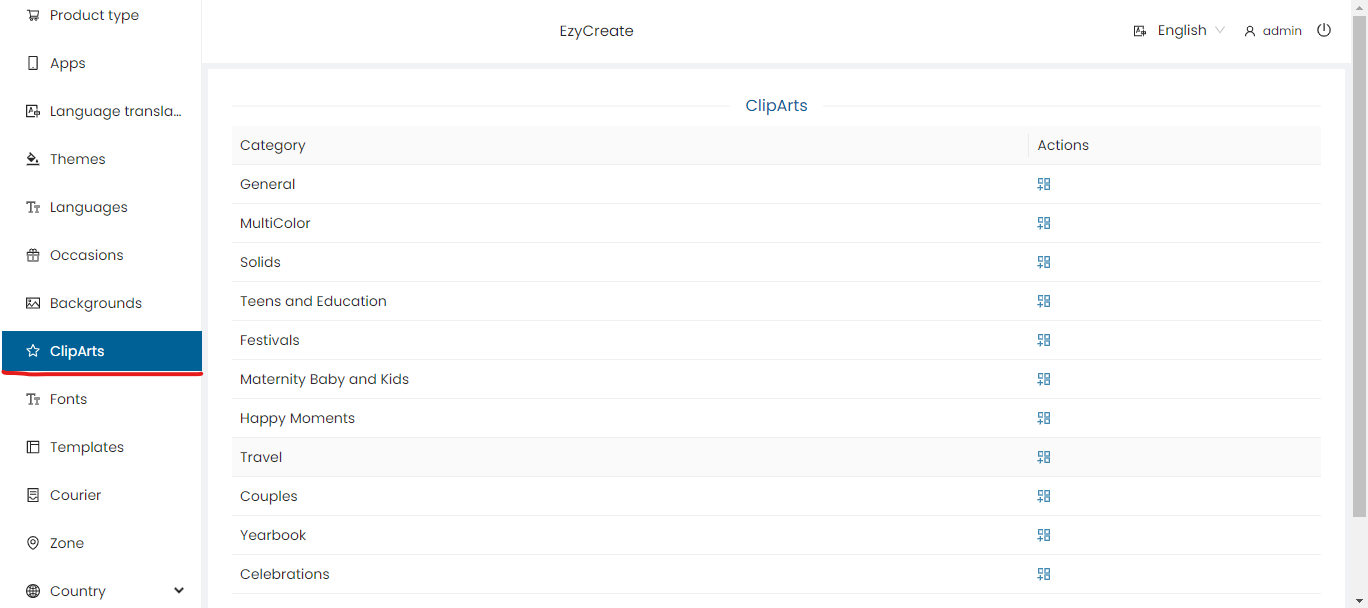
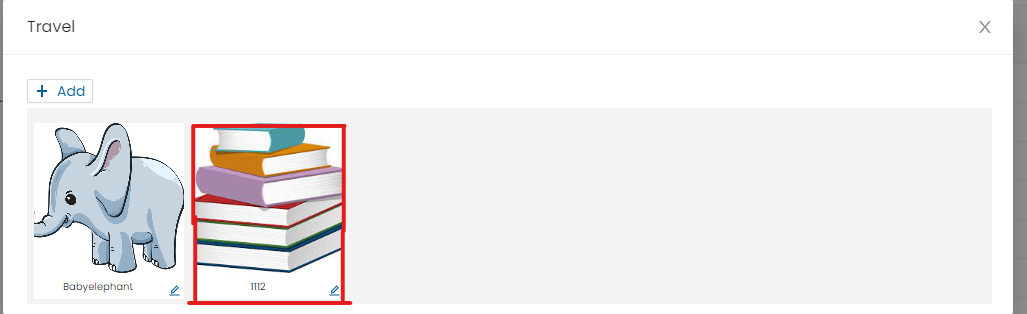
- Click on the Clipart tab on the sidebar. Will display the list of occasions
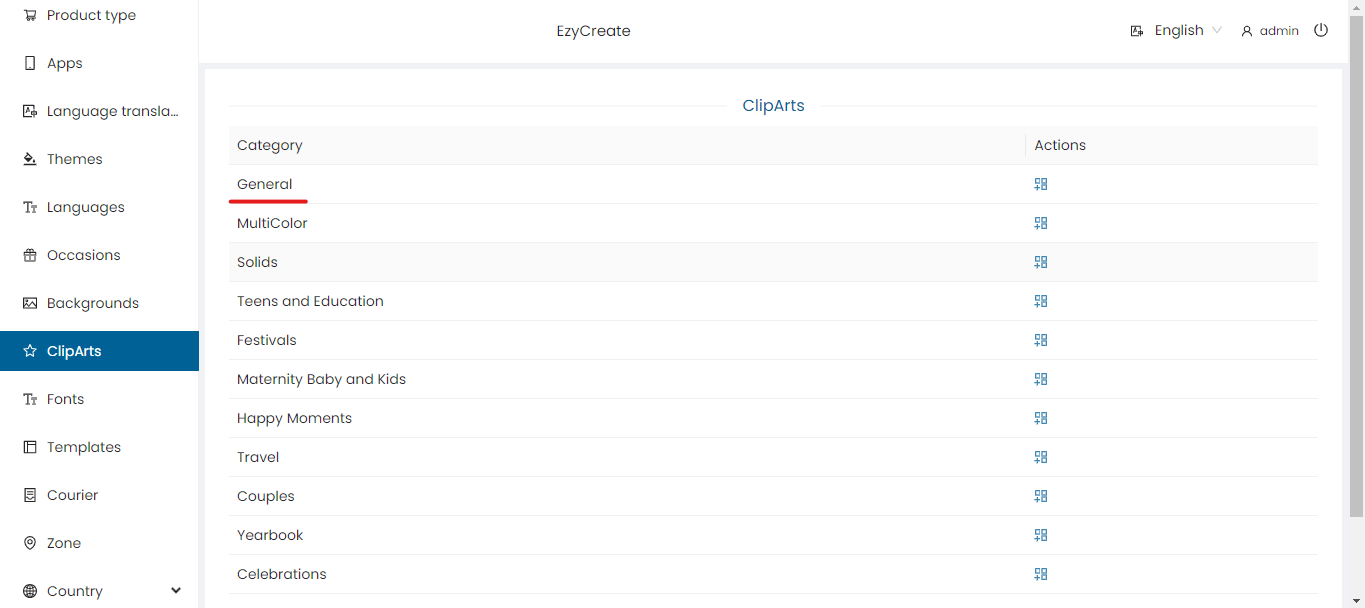

- Select any occasion/category Example: 'Birthday', 'Festivals' etc. Will display the list of added clipart
Add a New Clipart

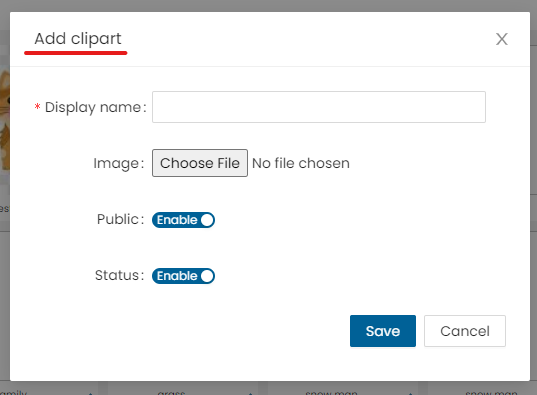
- To add a new clipart click on the “Add” button. Will open an Add form
- Display name: Enter the display name.
- Image: Click on Choose file and upload PNG or JPEG clipart image.
- Public: Enable/disable Example: “Enable ‘Public’ to make the clipart available to users.”
- Status: Click on the slider button to set the status of the clipart. This allows the user to enable or disable a clipart.
- Save: Save newly added clipart
- Cancel: Cancel the form
Successfully Added Clipart
Edit Clipart

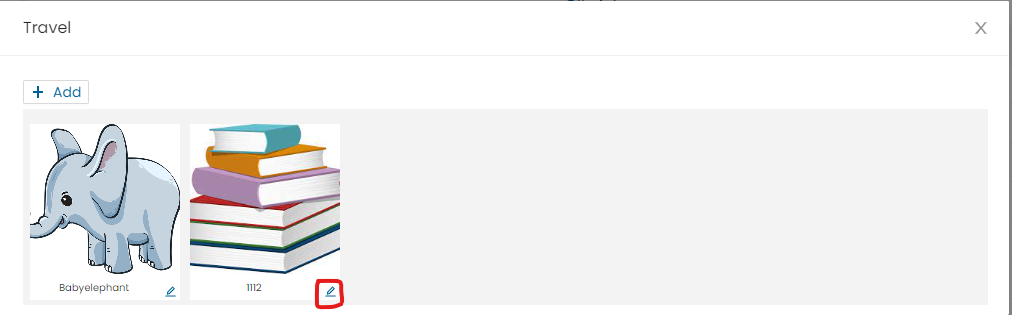
- Click on edit symbol to edit the added clipart.

- Edit form will open
- Display name: Edit the display name
- Image: Click on Choose file and re-upload/change clipart image
- Public: Enable/disable
- Status: Click on the slider button to change the status of the clipart. This allows the user to enable or disable a clipart.
- Save: Save the changes
- Cancel: Cancel the changes
Preview Clipart
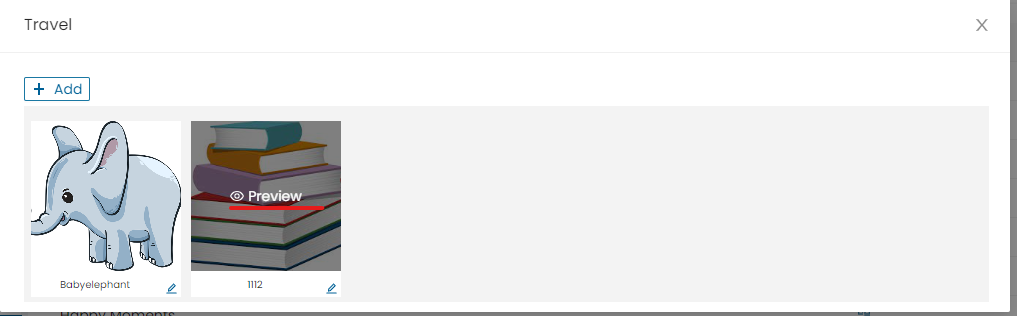
- Click the eye icon to preview the clipart. Use Zoom In/Out buttons to adjust the view.
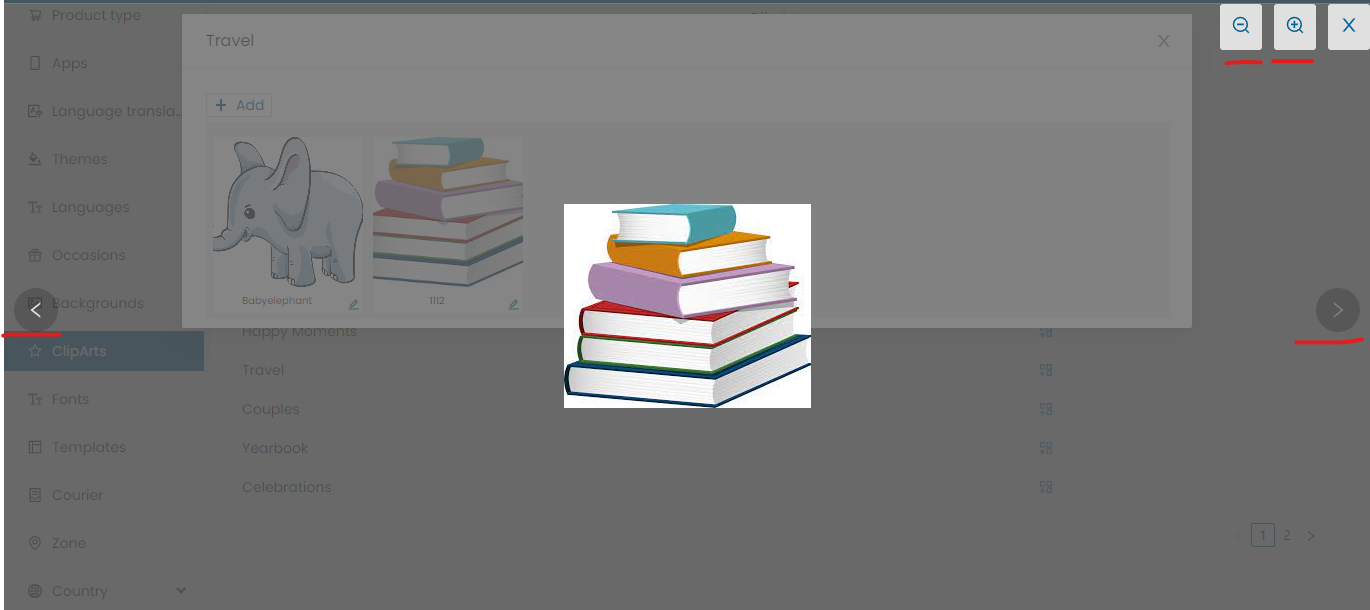
- Zoom in: Click ‘Zoom In’ to enlarge the clipart preview
- Zoom out: Click on Zoom Out to reduce the image view
- Close: Click to close view page
- Next: It will show the next listed clipart view
- Previous: It will show the previous listed clipart view
Create Template Using ClipArt's
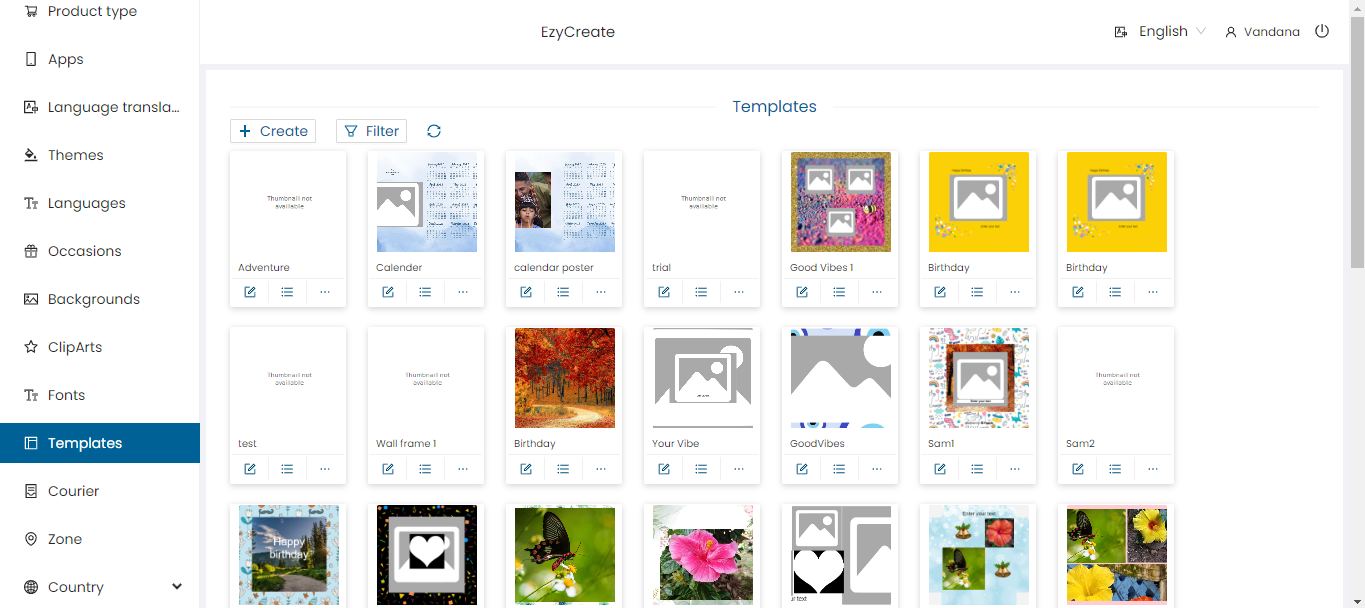
- Click on Templates to load the list of existing templates
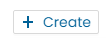
- Click the “Create” button to create blank new templates.
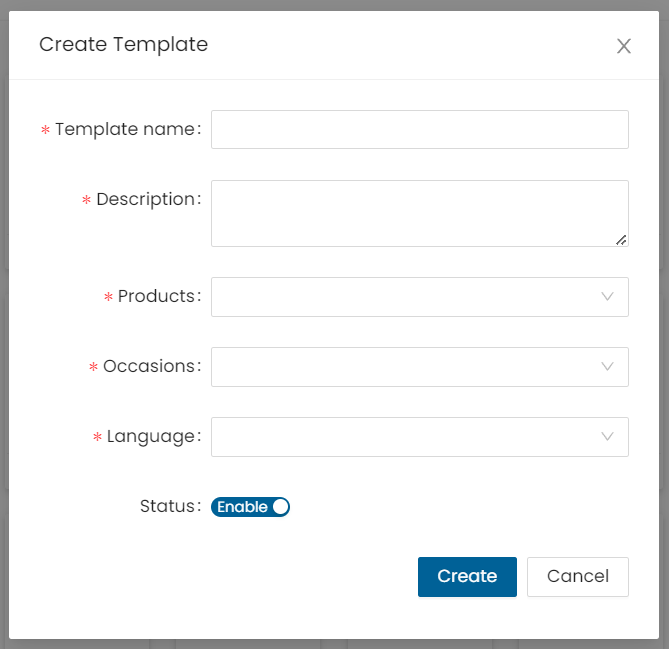
- Template name: Enter the Template name (displayed in the Ezydesigner)
- Description: Enter the description of the template
- Products: Select a product from the product dropdown list
- Occasions: Select an occasion from the occasion dropdown list
- Language: Select a language from the language dropdown list
- Status: Click on the slider button to change the status of the template. This allows the user to enable or disable a template
- Cancel: Click on the cancel button to cancel the template form
- Create: Click on create button to create the template. The template is created
Template Creator Tab
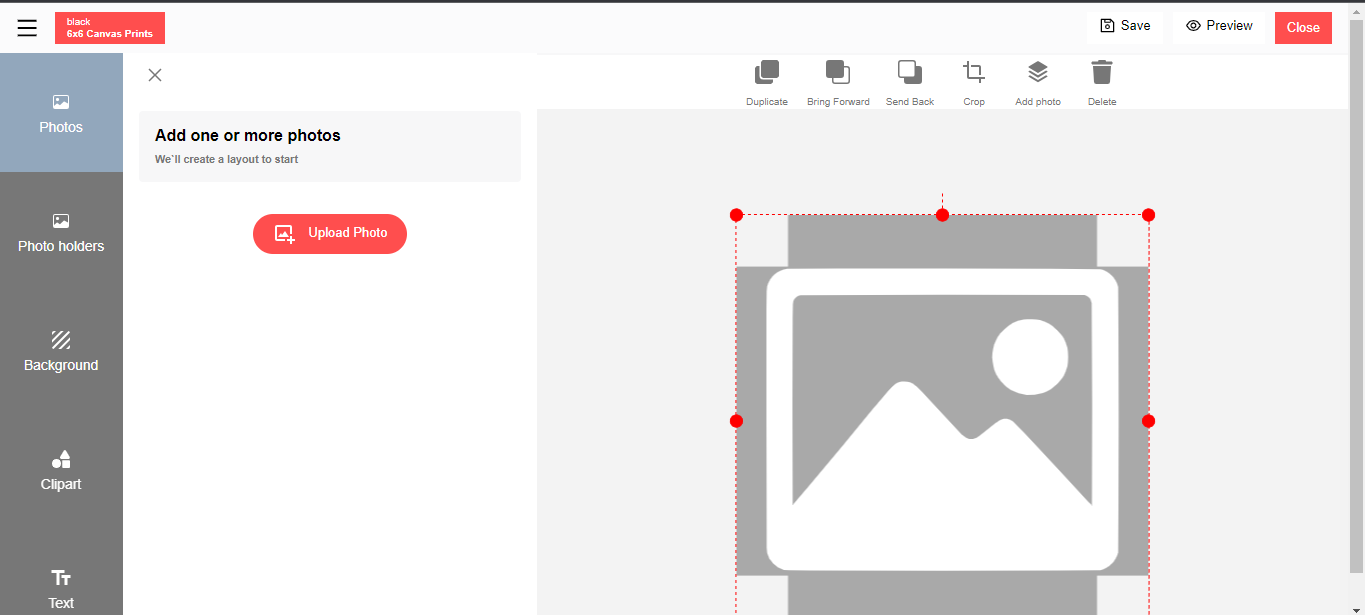
- Template creator will open in a new tab
Use Added Clipart in Template
- Click on clipart
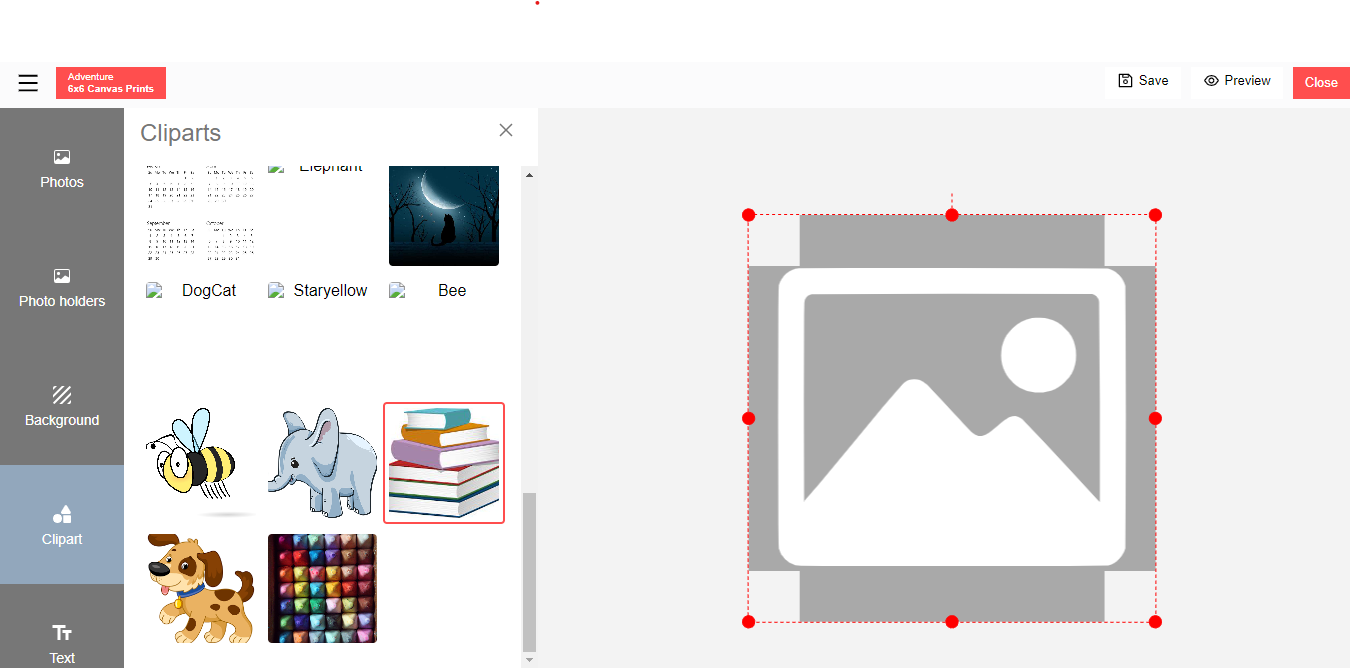
Will show all the added clipart
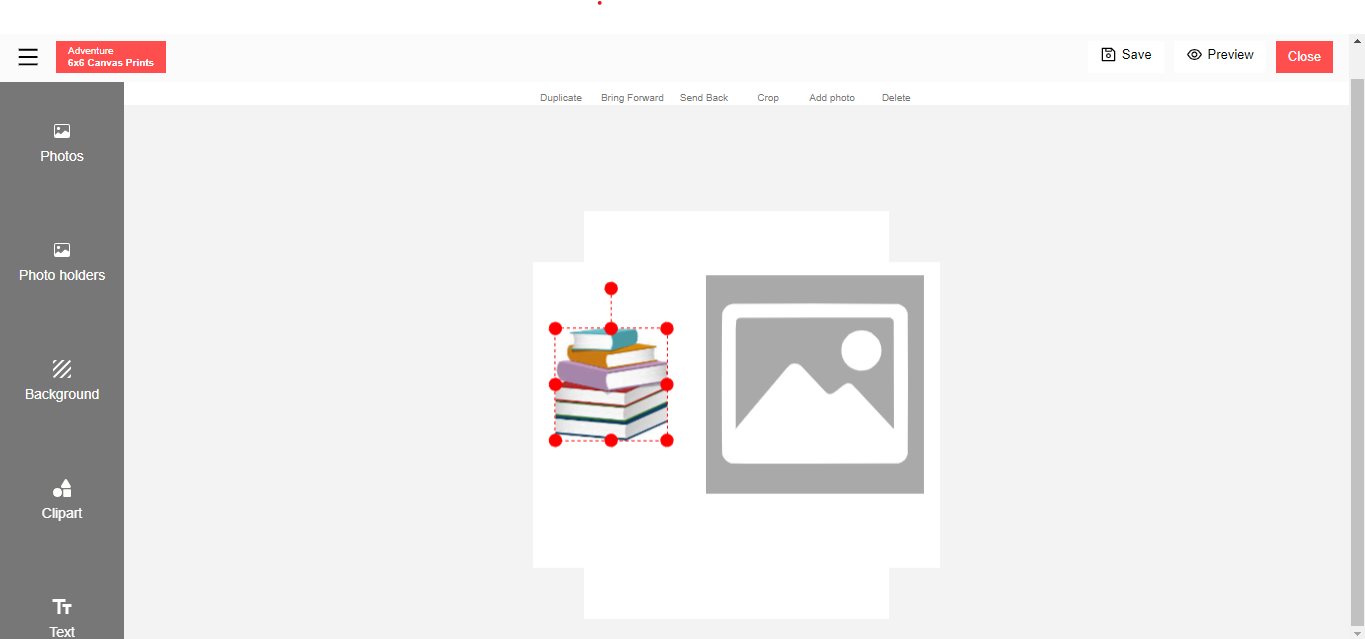
- The clipart added successfully in template creator Can use it to create template/design
Need Help?
If you're stuck, don’t worry — just email us at support@ezycreate.com