Customize & Add Backgrounds
How to Add Background Image & Additional Background Images
1.1 How to Add Background Image
Index
- Introduction
- Login to Ezyadmin
- Access Backgrounds
- Add a New Background
- Successfully Added Background
- Edit Background
- Preview Background
- Create Template Using Backgrounds
- Template Creator Tab
- Use Added Background in Template
Introduction
The Ezyadmin is a cloud-based product management portal for your products. The Ezydesigner makes use of creative assets like cliparts and backgrounds that can be used while designing your personalized products.
Login to Ezyadmin
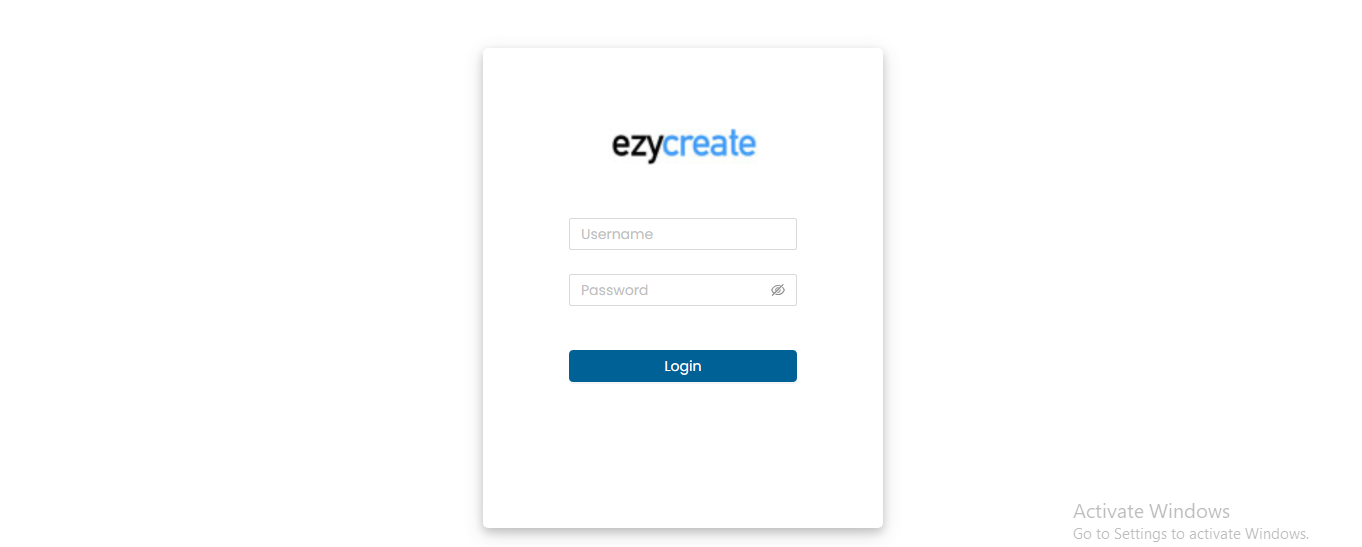
- Enter your login credentials and click the "Submit" button.
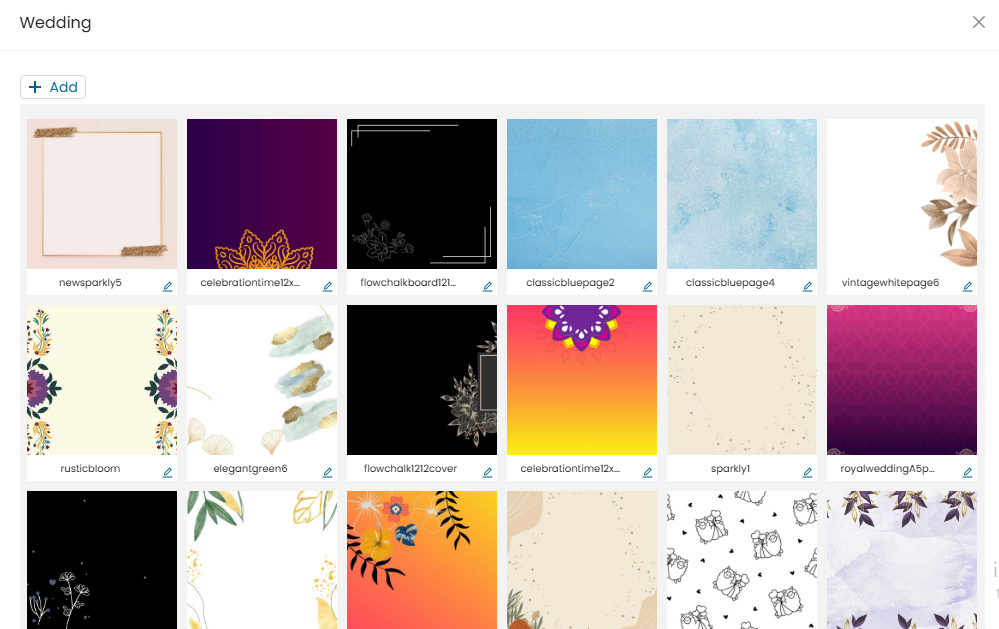
Access Backgrounds

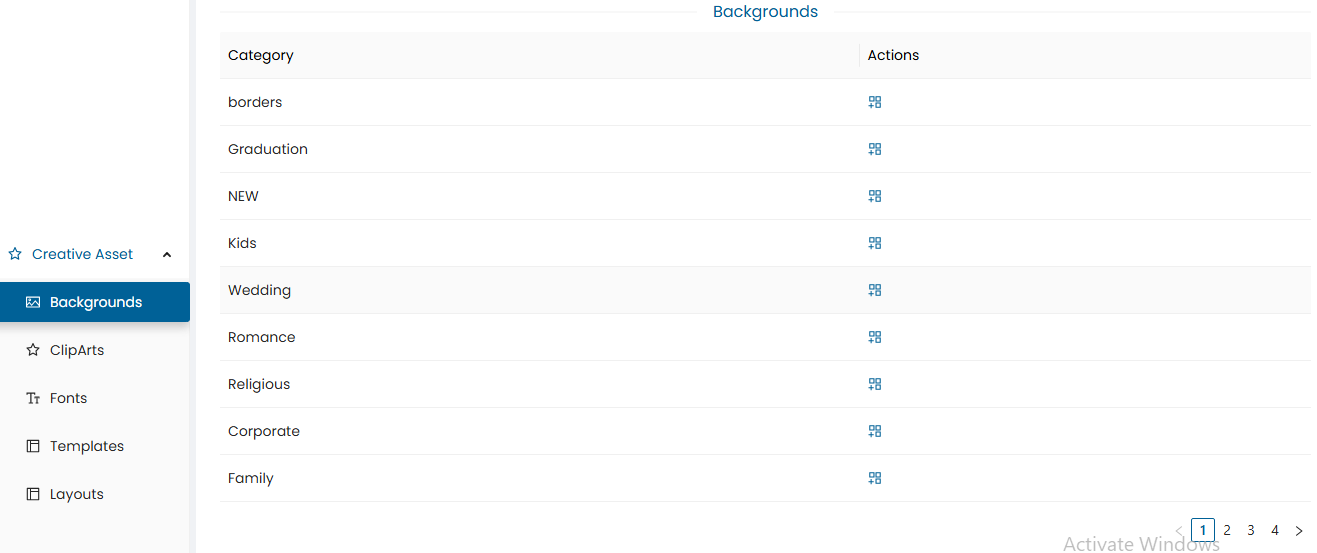
- Click on the “Background” tab to view available background categories. Will display the list of category
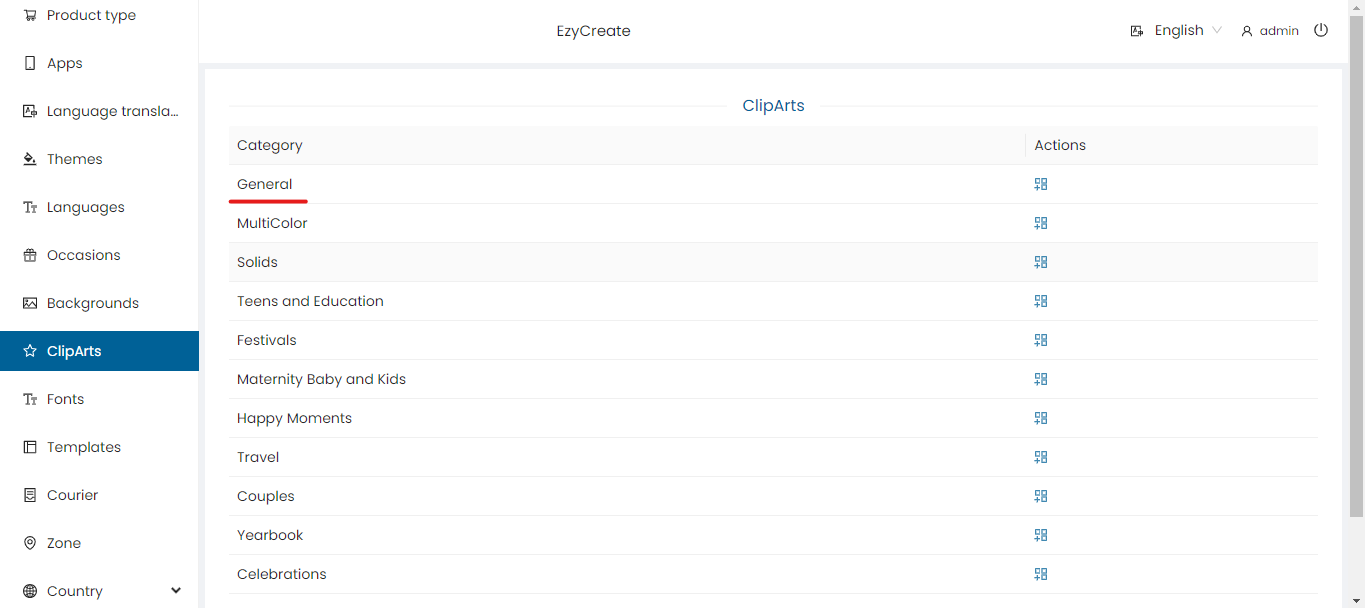
- Select a category to view the list of added backgrounds.
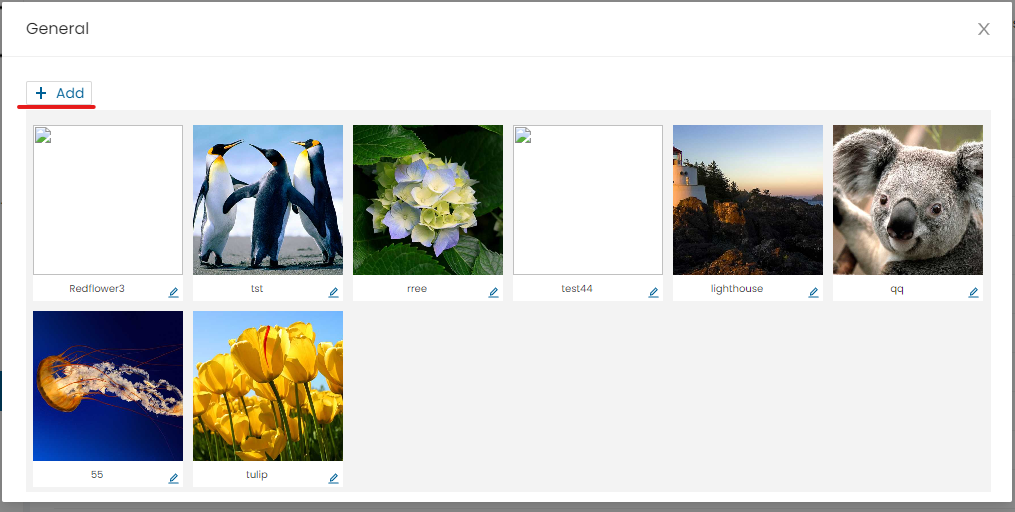
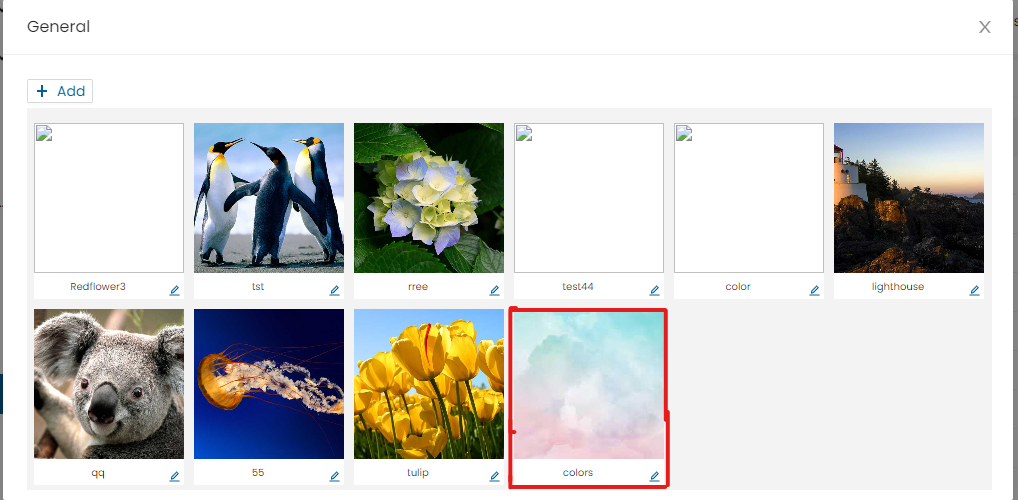
It will display the list of added Background
Add a New Background
- Click on the “Add” button.

To Add a new background click on the “Add” button.
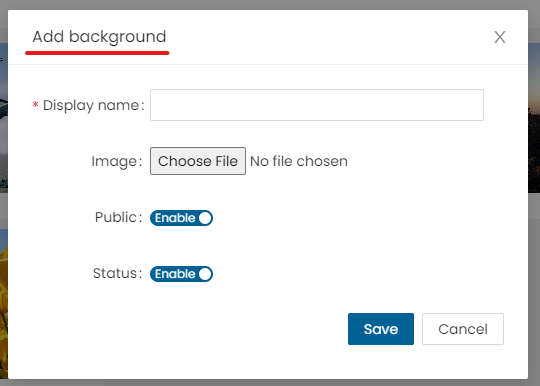
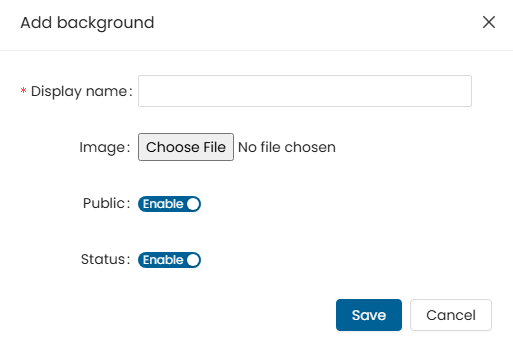
Will open an Add form
- Display name: Enter the display name.
- Image: Click “Choose File” to upload a background image (JPG format recommended).
- Public: Enable/disable.
- Status: Click on the slider button to set the status of the clipart. This allows the user to enable or disable a background.
- Save: Save newly added background.
- Cancel: Cancel the form.
Successfully Added background
Edit Background

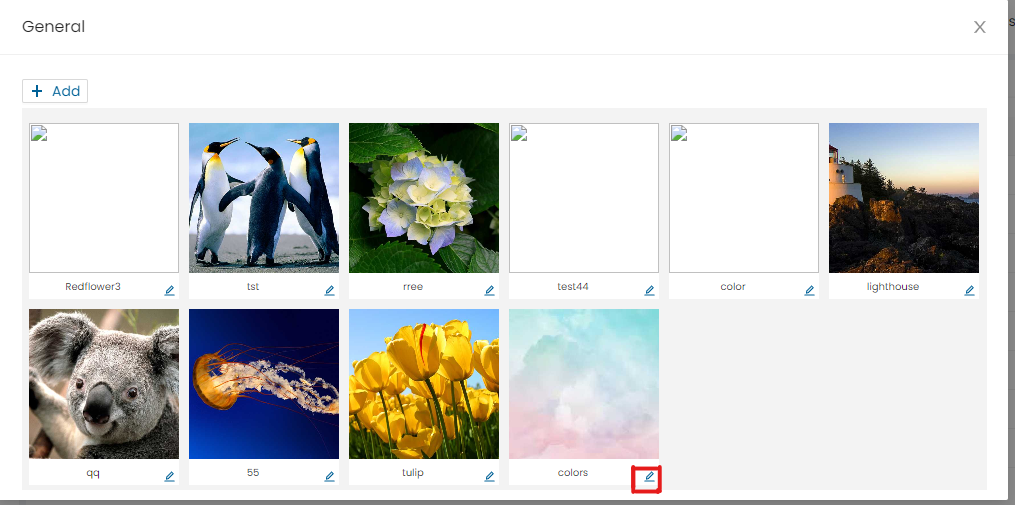
- Click on edit symbol to edit the added background.

-
Edit form will open
- Display name: Edit the display name
- Image: Click on Choose file and re-upload/change background image
- Public: Use the slider to enable/disable background display to public in the designer.
- Status: Use the slider to enable or disable the background.
- Save: Save the changes
- Cancel: Cancel the changes
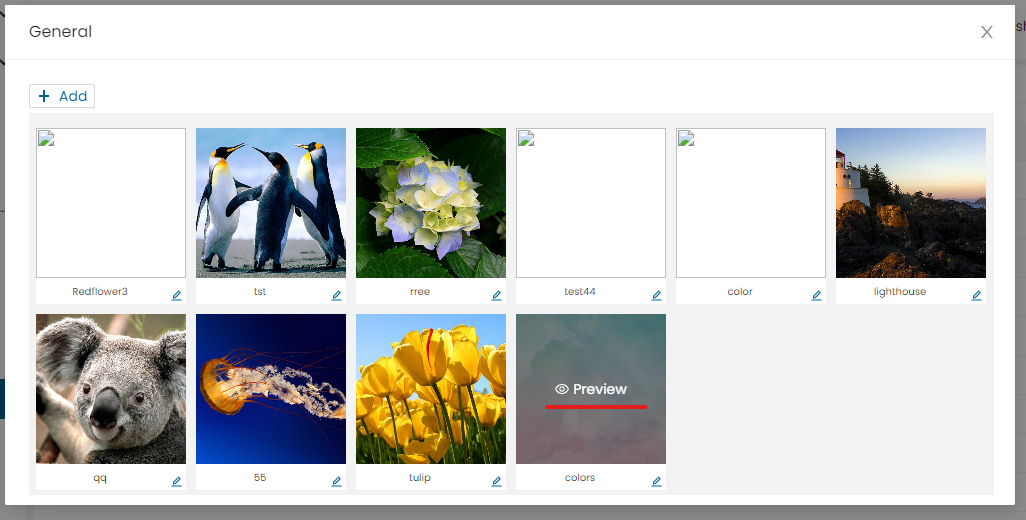
- Click the “Preview” icon to view the added background.
-
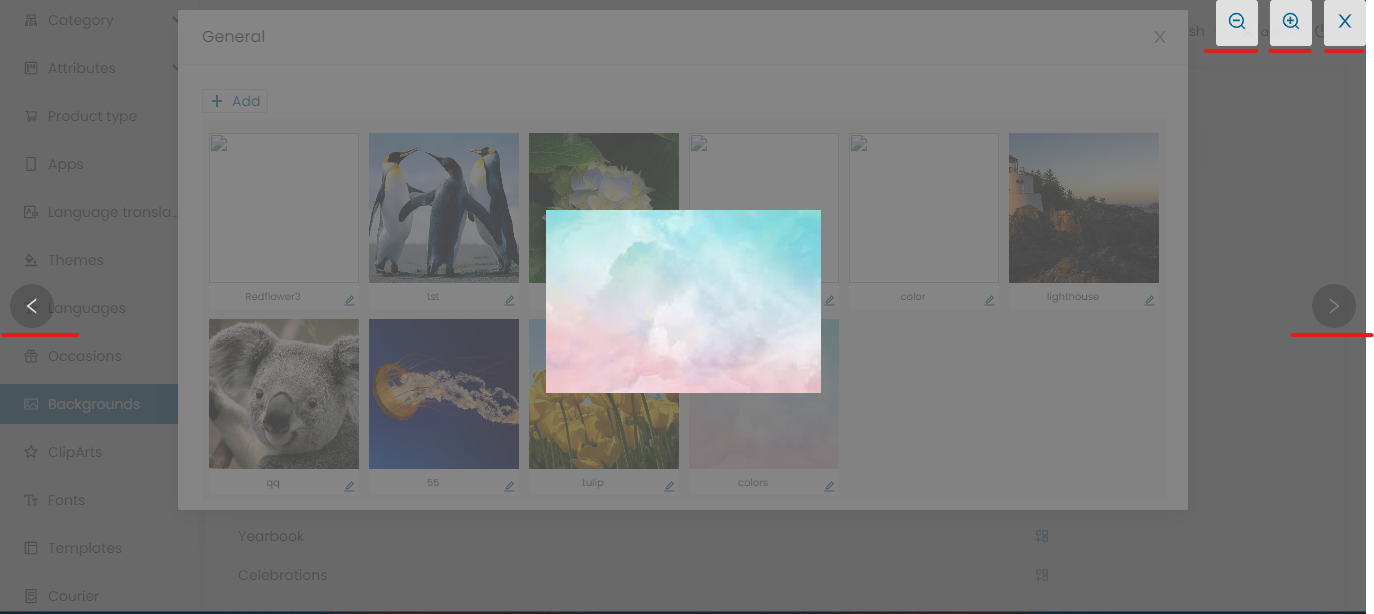
Combine under a section: In the preview window, use the following options:
Zoom In: Enlarge the image view
Zoom Out: Reduce the image view
Next / Previous: Navigate through added backgrounds
Close: Exit the preview window
Create Template Using Backgrounds

- Click on Templates to load the list of existing templates.
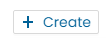
- Click the “Create” button to create blank new templates.
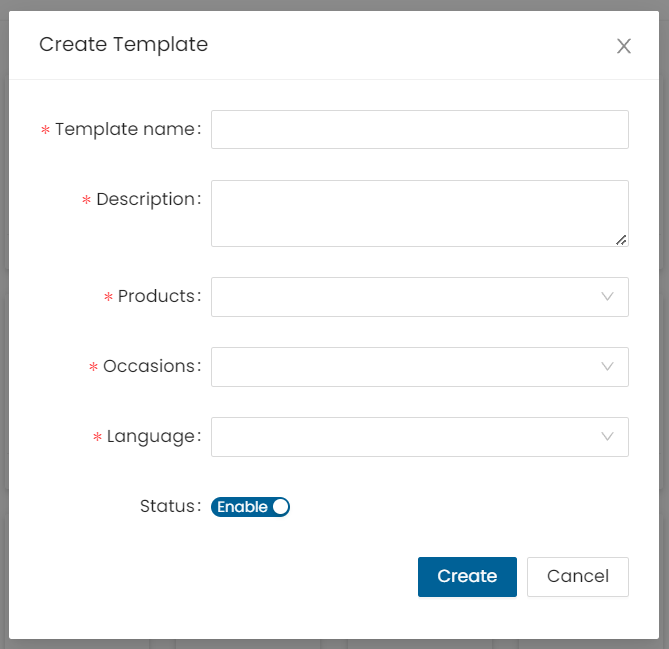
-
Template name – Enter the Template name
Example: “First Birthday Template” would help
Description – Enter the description of the template Example: “A fun and colorful design for 1st birthday celebrations”
- Products – Select a product from the product dropdown list
- Occasions – Select an occasion from the occasion dropdown list
- Language – Select a language from the language dropdown list.
- Status – Click on the slider button to change the status of the template. This allows the user to enable or disable a template
- Cancel – Click on the cancel button to cancel the template form
- Create – Click on create button to create the template, the template is created
Template Creator Tab
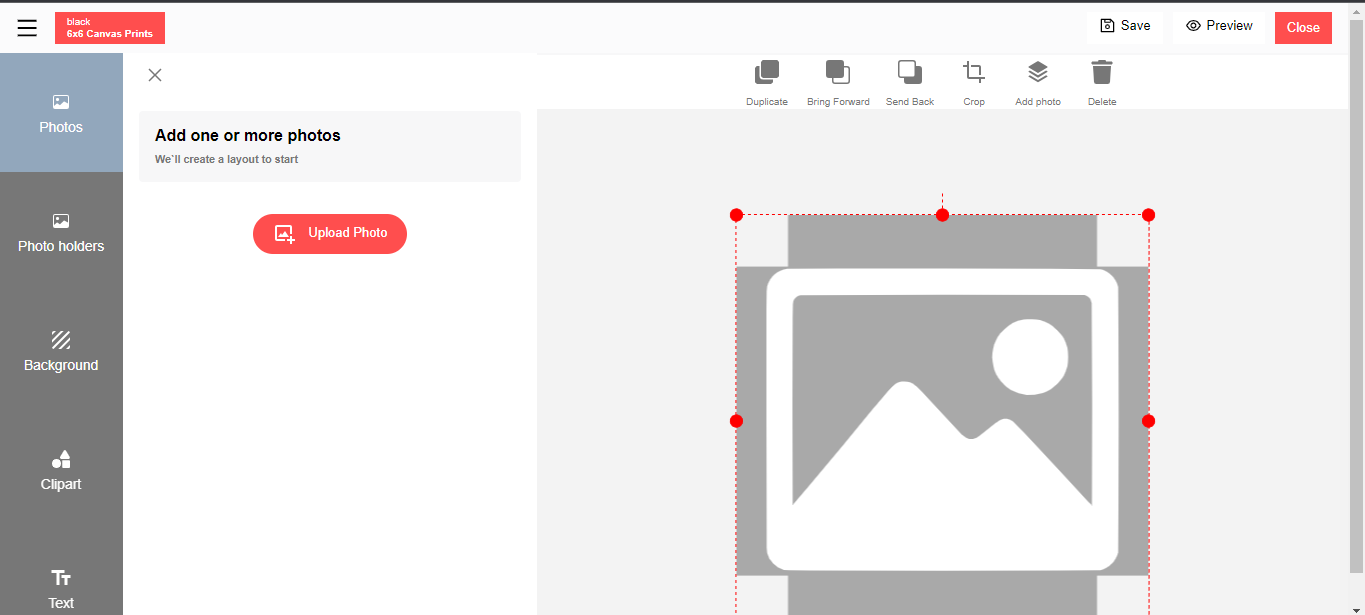
- Template creator will open in a new tab
Use Added Background in Template
- Click on background
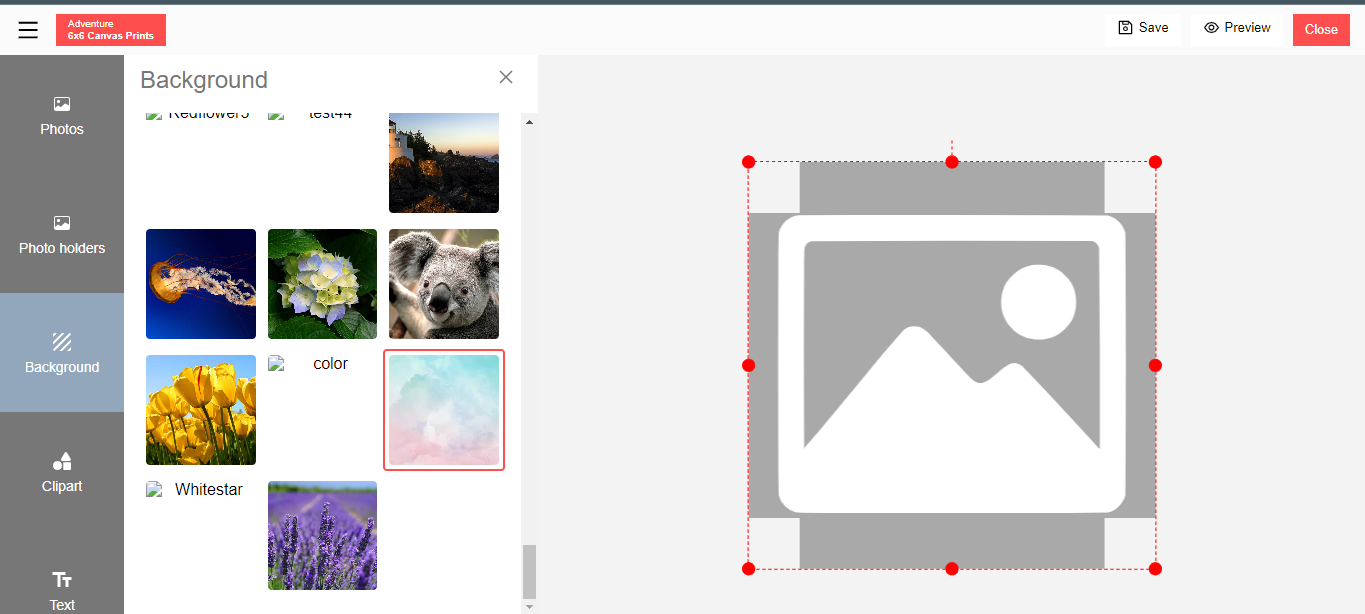
Will show all the added background
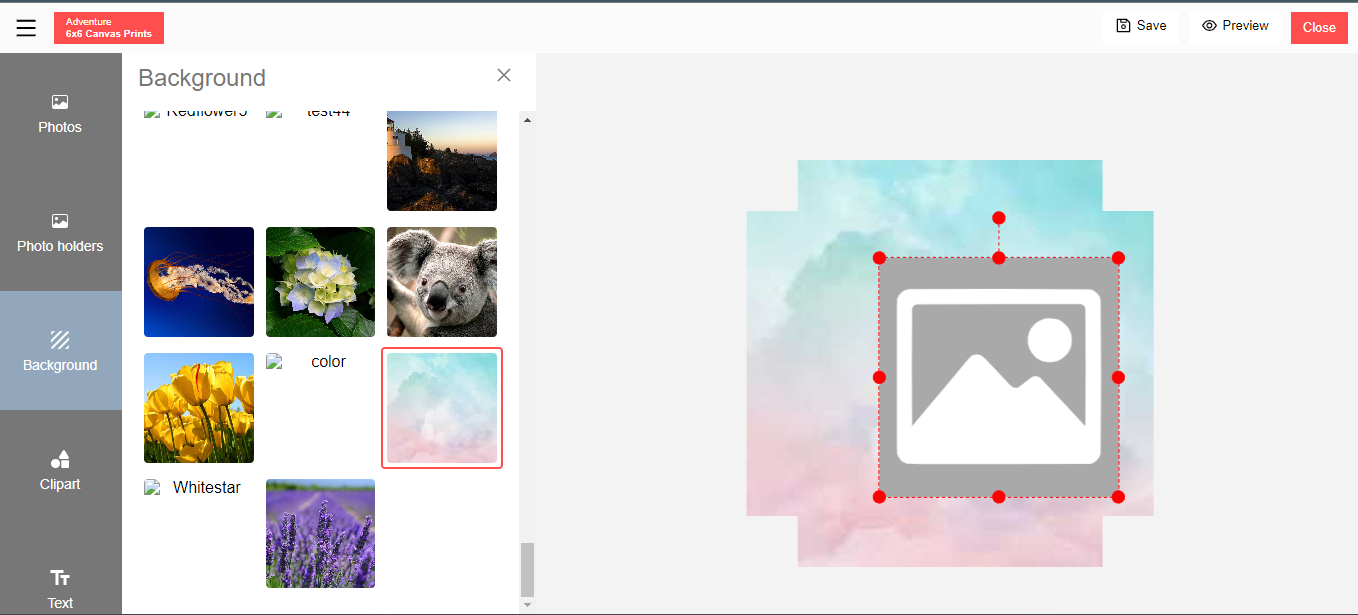
- The background added successfully in template creator Can use it to create template/design
Successfully Added Background Preview Background
1.2 How to Add Additional Background Images
Introduction:
The Ezyadmin is a cloud based product management portal for your
products. The Ezydesigner makes use of creative assets like cliparts and backgrounds that can be used while designing your personalized products.
Managing Backgrounds
1. Login

Enter your login credentials and click the “Submit” button.
2. View Background Categories
- Click on the “Background” tab to see the available categories.
- A list of categories will be displayed.
3. Select a Category

- Click on a category to view the list of added backgrounds.

- It will display the list of added Background
- To Add an additional background click on the “Add” button.
4. Add a New Background
- Will open an Add form
- Display name: Enter the display name.
- Image: Click “Choose File” to upload a background image (JPG format recommended).
- Public: enable/disable
- Status: Click on the slider button to set the status of the clipart. This allows the user to enable or disable a background.
- Save: save newly added background
- Cancel: cancel the form
5. View Uploaded Backgrounds
It will display the uploaded thumbnails in the selected background category.
Need Help?
If you're stuck, don’t worry — just email us at support@ezycreate.com