Custom Product Designer
How to Customize a Product in Designer
Introduction
Ezydesigner Tool gives you the freedom to create and personalize products exactly how you envision them. With an intuitive drag-and-drop interface, you can:
- Add and edit text
- Upload/edit images
- Choose from pre-made templates and page layouts
- Adjust font and background colors
- Preview your design before ordering, etc.
Step-by-Step Guide to Using the Designer
1. Open the Designer
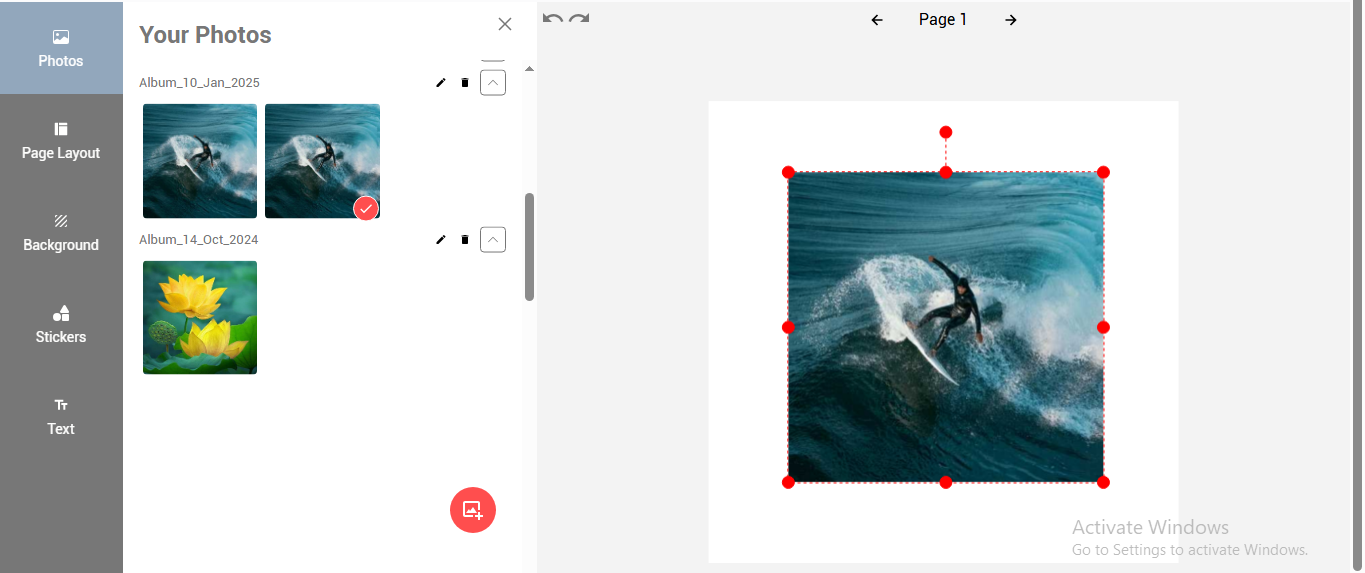
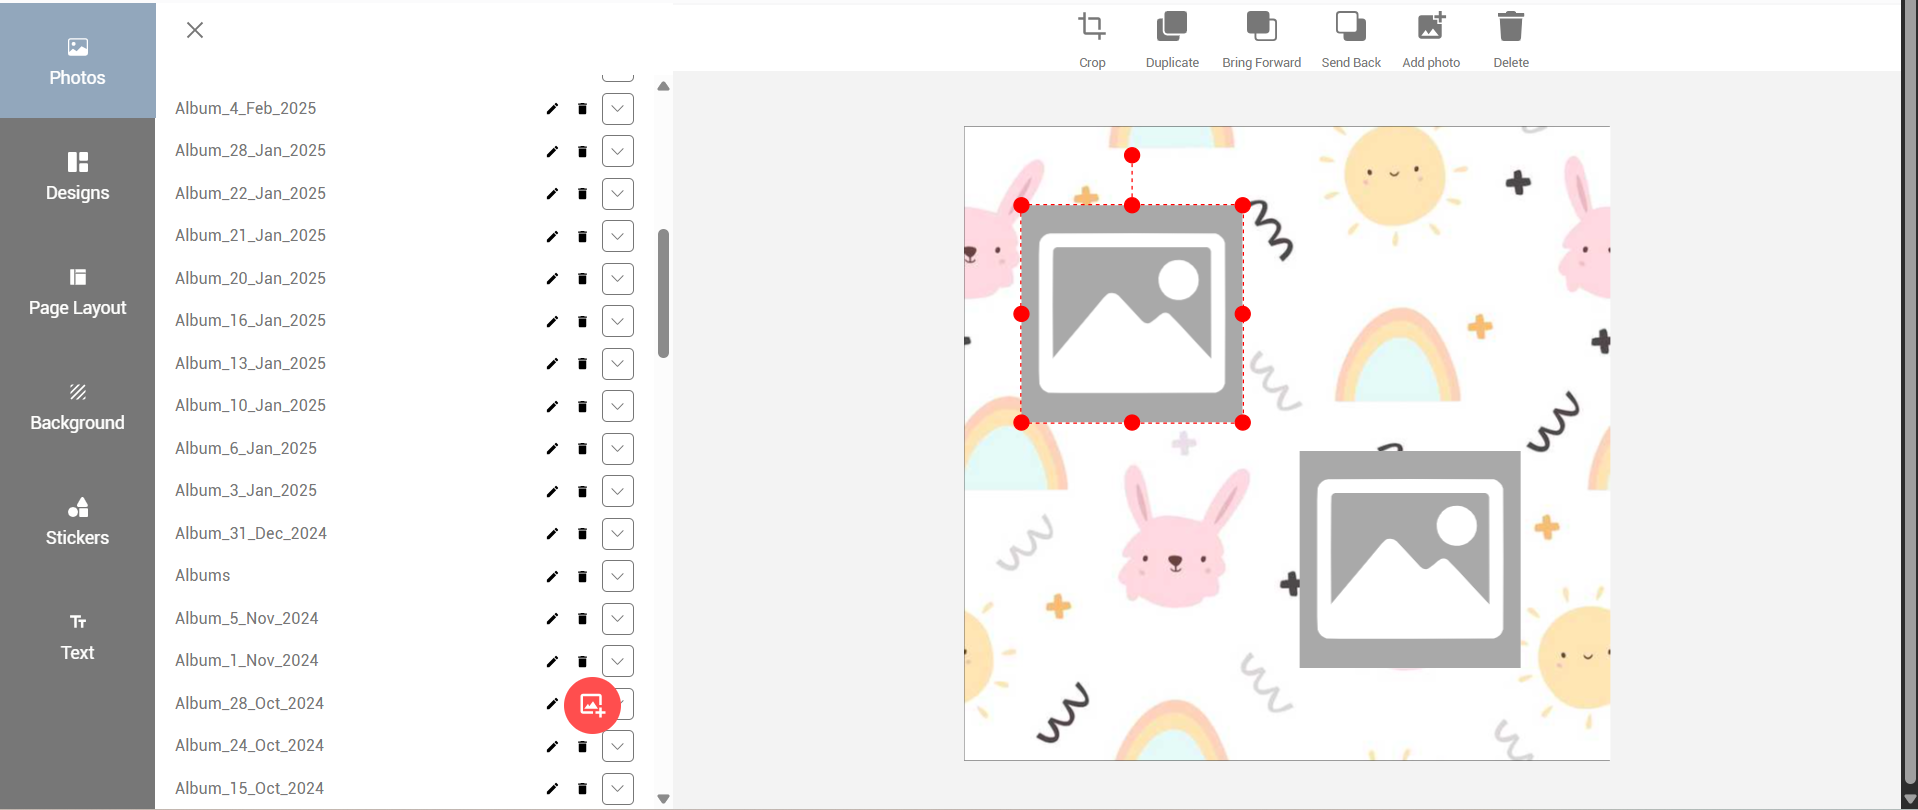
- Click and open the Photo tab.
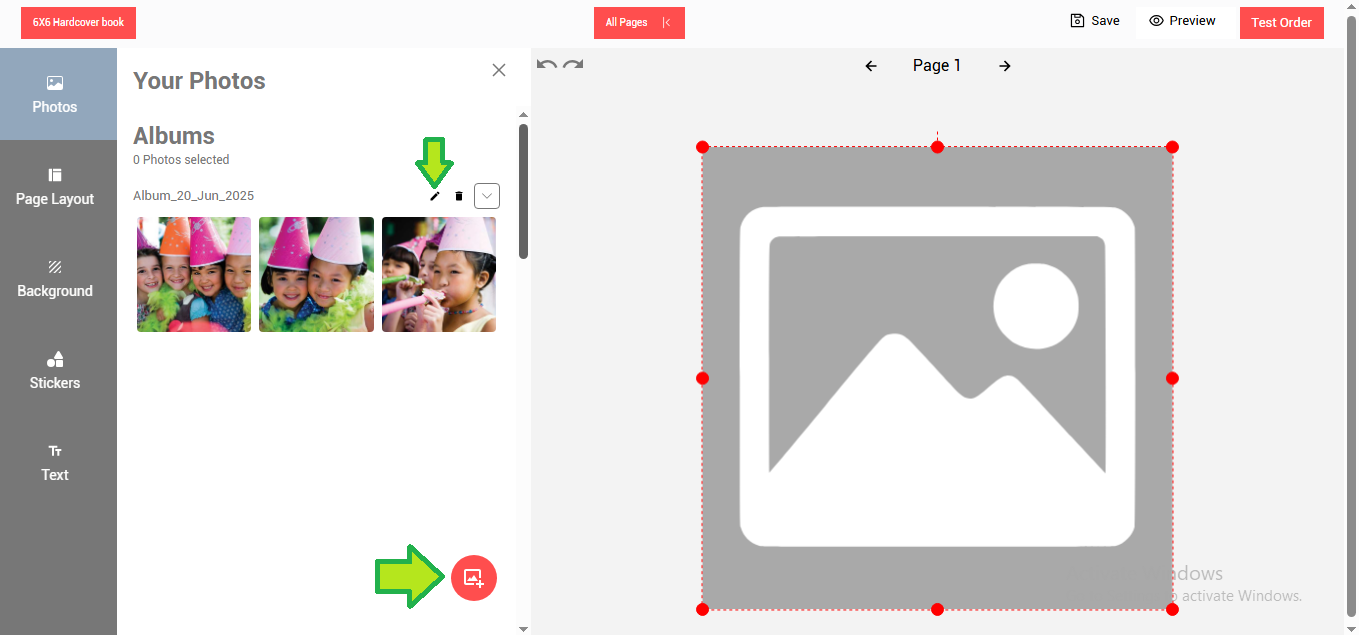
2. Upload Photos
-
Click on the Upload Photo button.
-
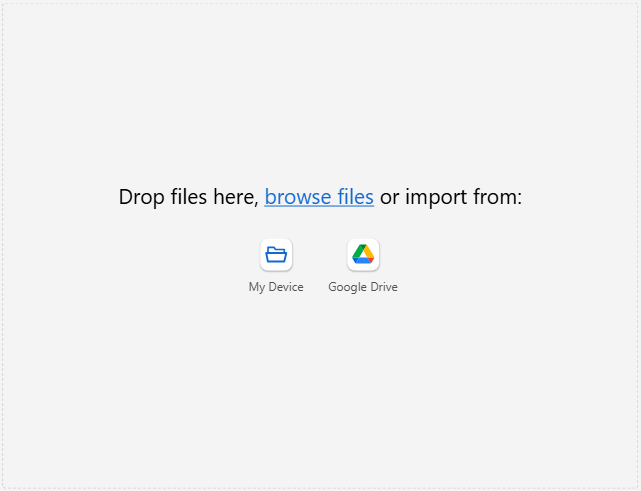
Drag and drop photos directly or browse from your device to add.
-
You can also add photos from your Google Drive.
-
The uploaded photos will appear under created albums.
-
Use the album edit button to edit album details.
-
Click on a photo to add it to the design area.
3. Apply Page Layouts
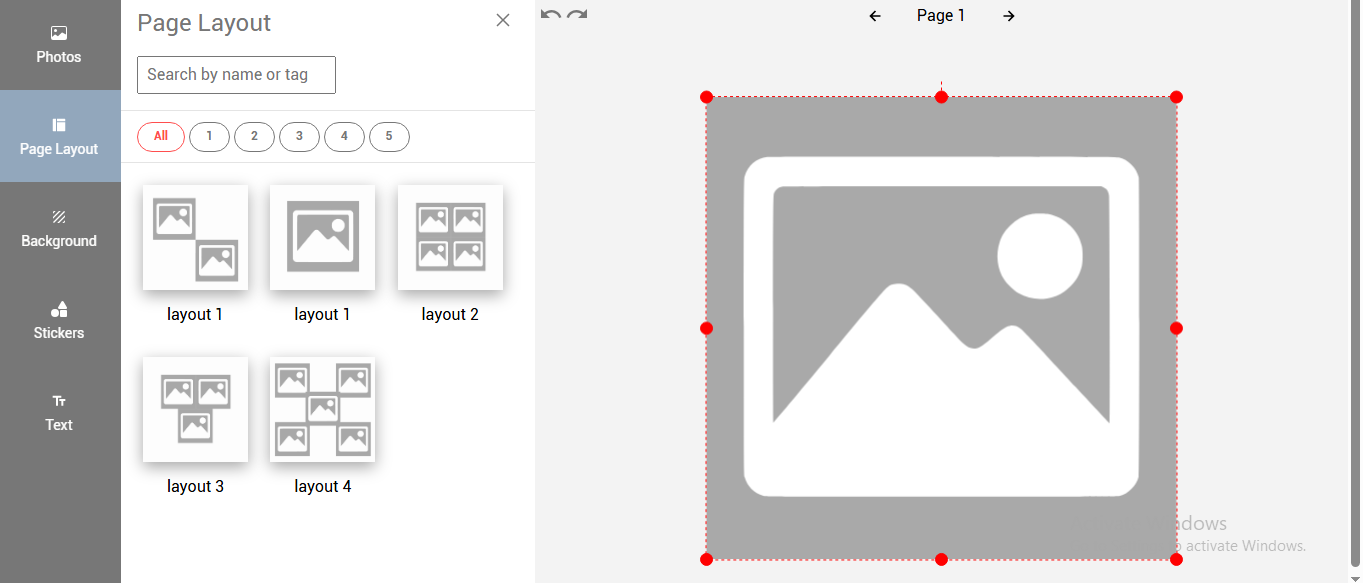
-
Open the Page Layout tab to see available ready-made layouts.
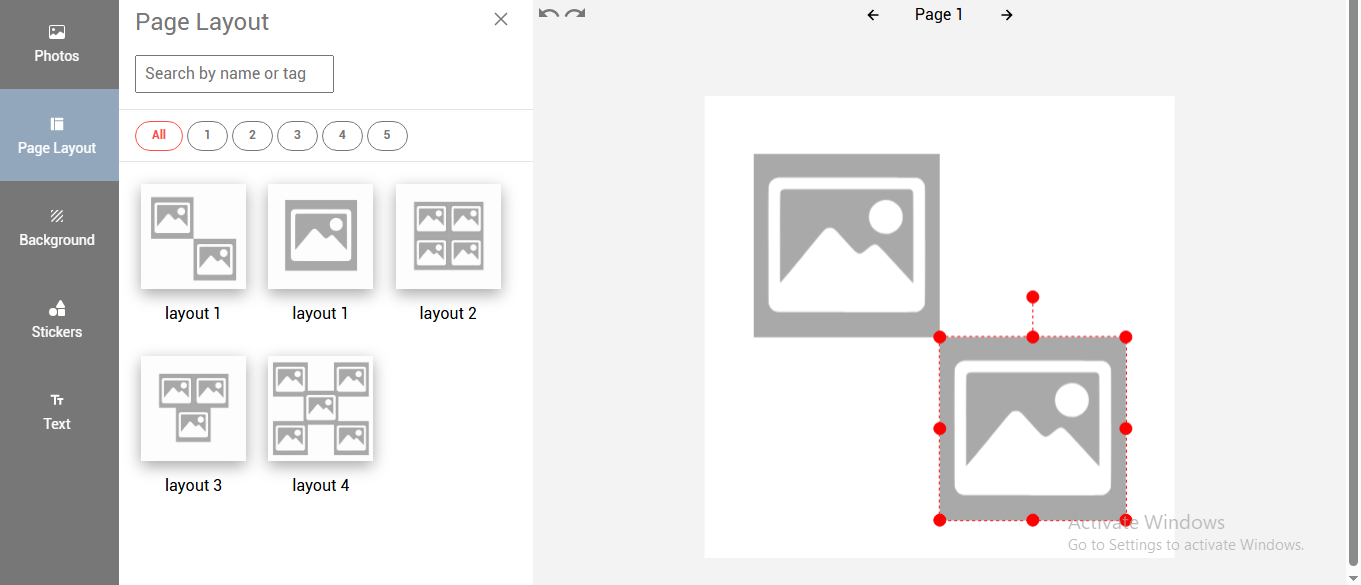
-
Click on any layout to apply it to your design.
4. Use Gridlines for Alignment

- Gridlines are provided to align two or more photo holders, text fields etc. when the photo/text/clipart field is moved in towards the other photo holder/text/clipart objects. The gridlines appear automatically to make it easier to align with other objects.
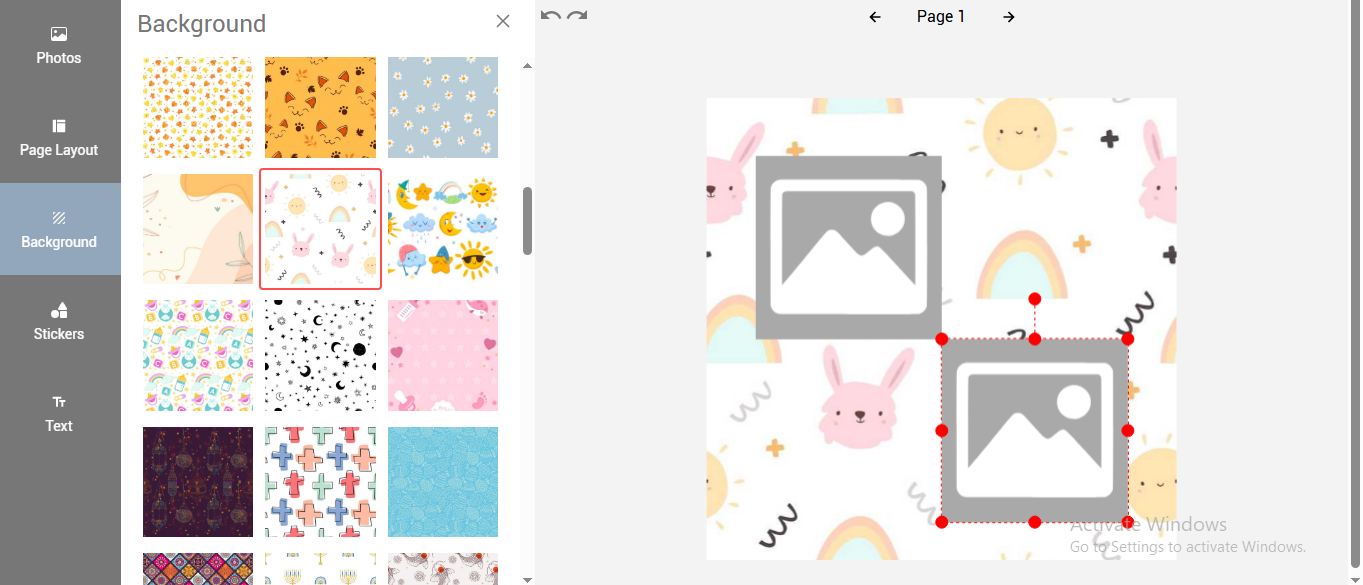
5. Set Background
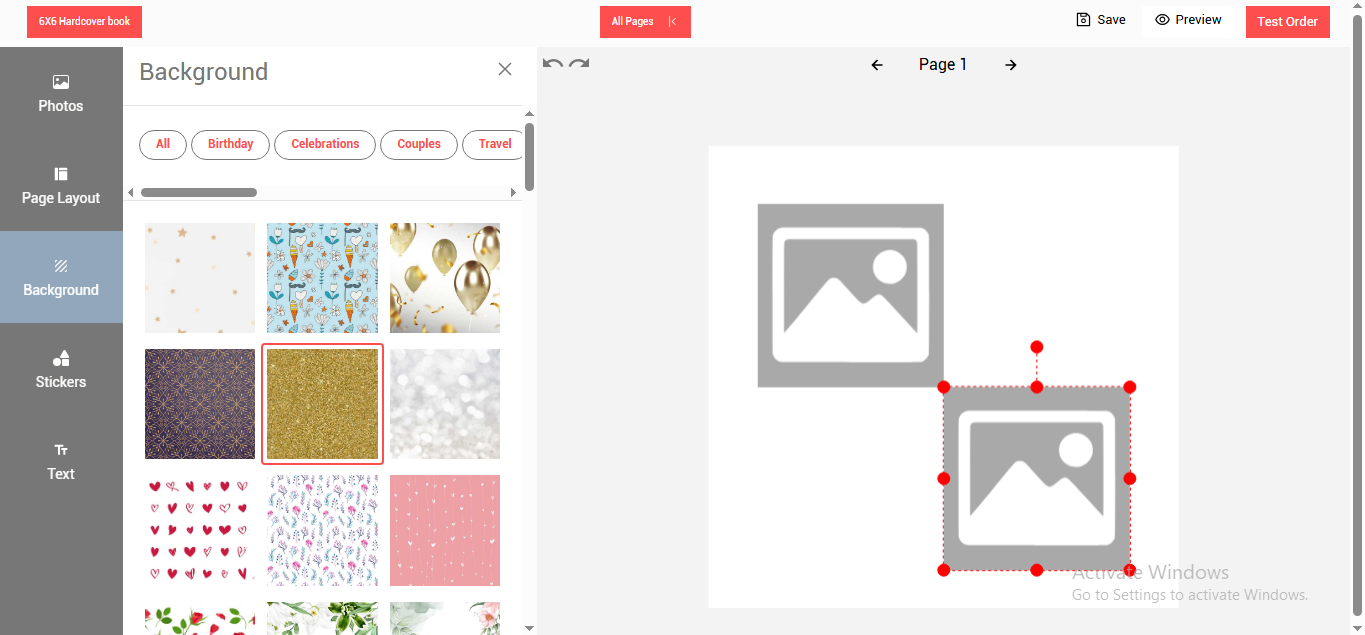
-
Click on the background tab to display the available background images.
-
Select and click on any of the background images and it will get applied to the designer.
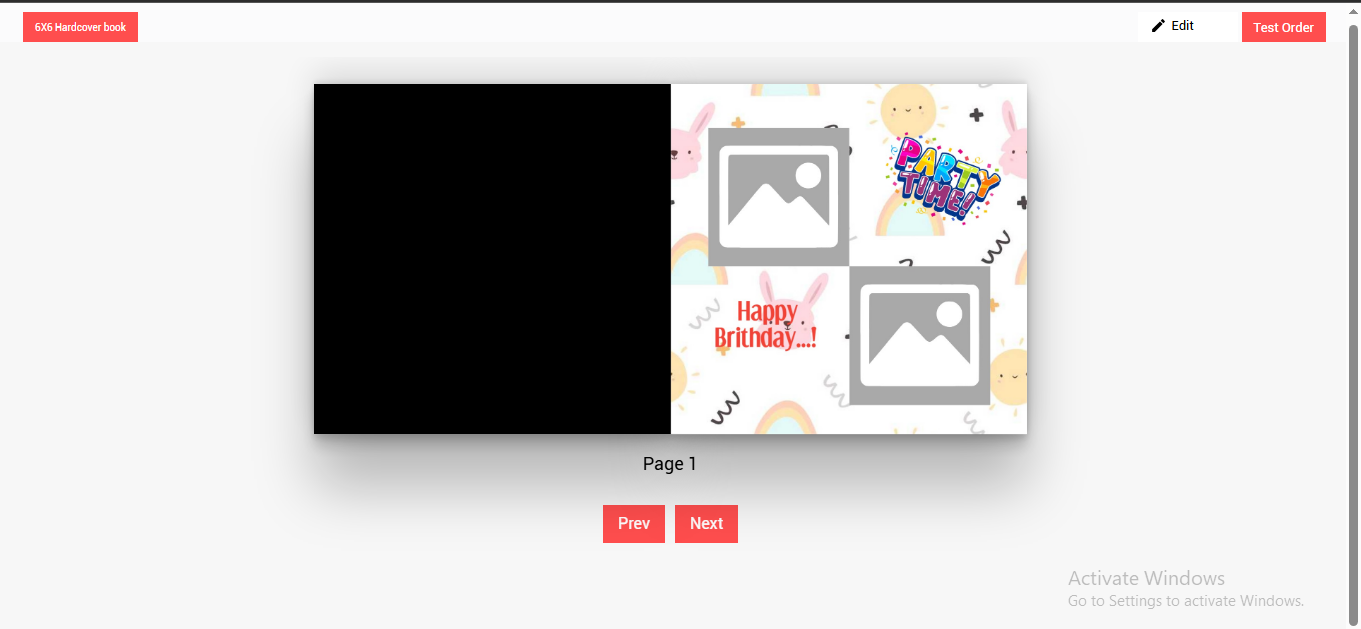
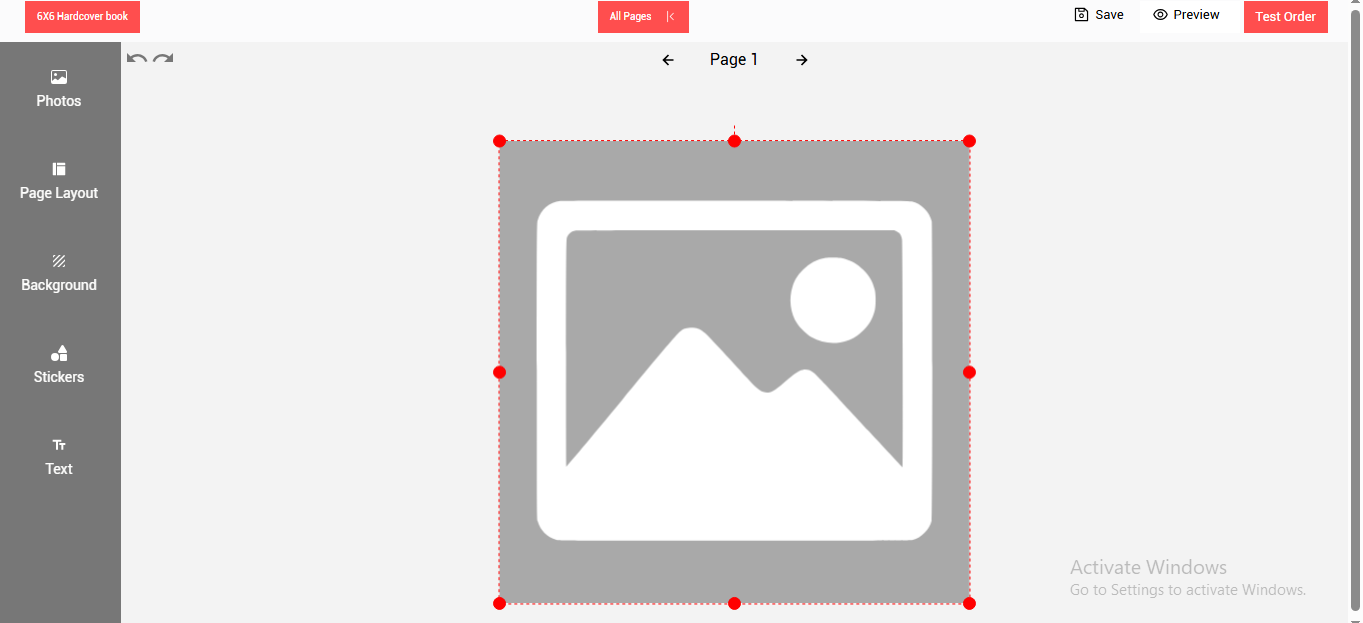
6. Work Area Overview
- The Center part of the designer is a work area.
- The work area will contain a full image displayed when the designer is invoked for the first time.
- The red dots on the image are the handles that can be used to resize the image as required.
- Red dots on the image are resize handles you can use to adjust the image size.
7. Toolbar for Photo Editing

- Duplicate: Creates a copy of the selected photo.
- Bring Forward: Photos or text can be arranged one above the other using the Bring Forward button.
- **Send Back:**Works similar to Bring Forward and sends the photo/text holder behind.
- Crop: use Crop to edit a photo, you can crop a portion and remove unnecessary parts of the photo.
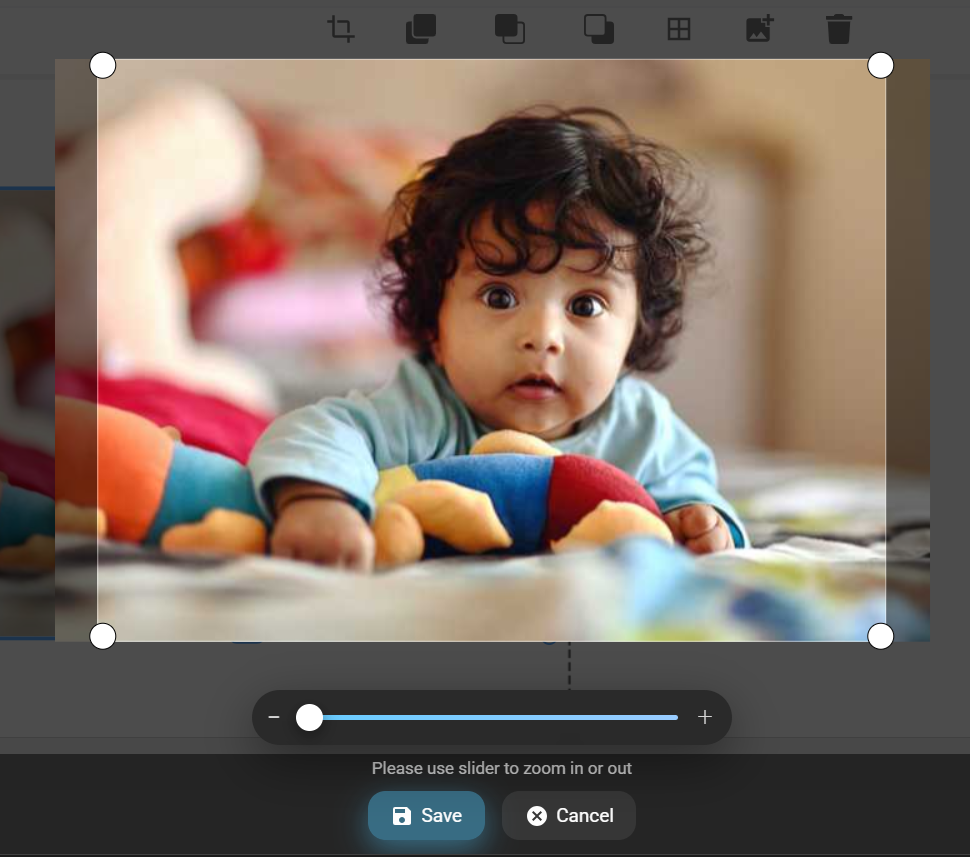
The image will open in the crop window.
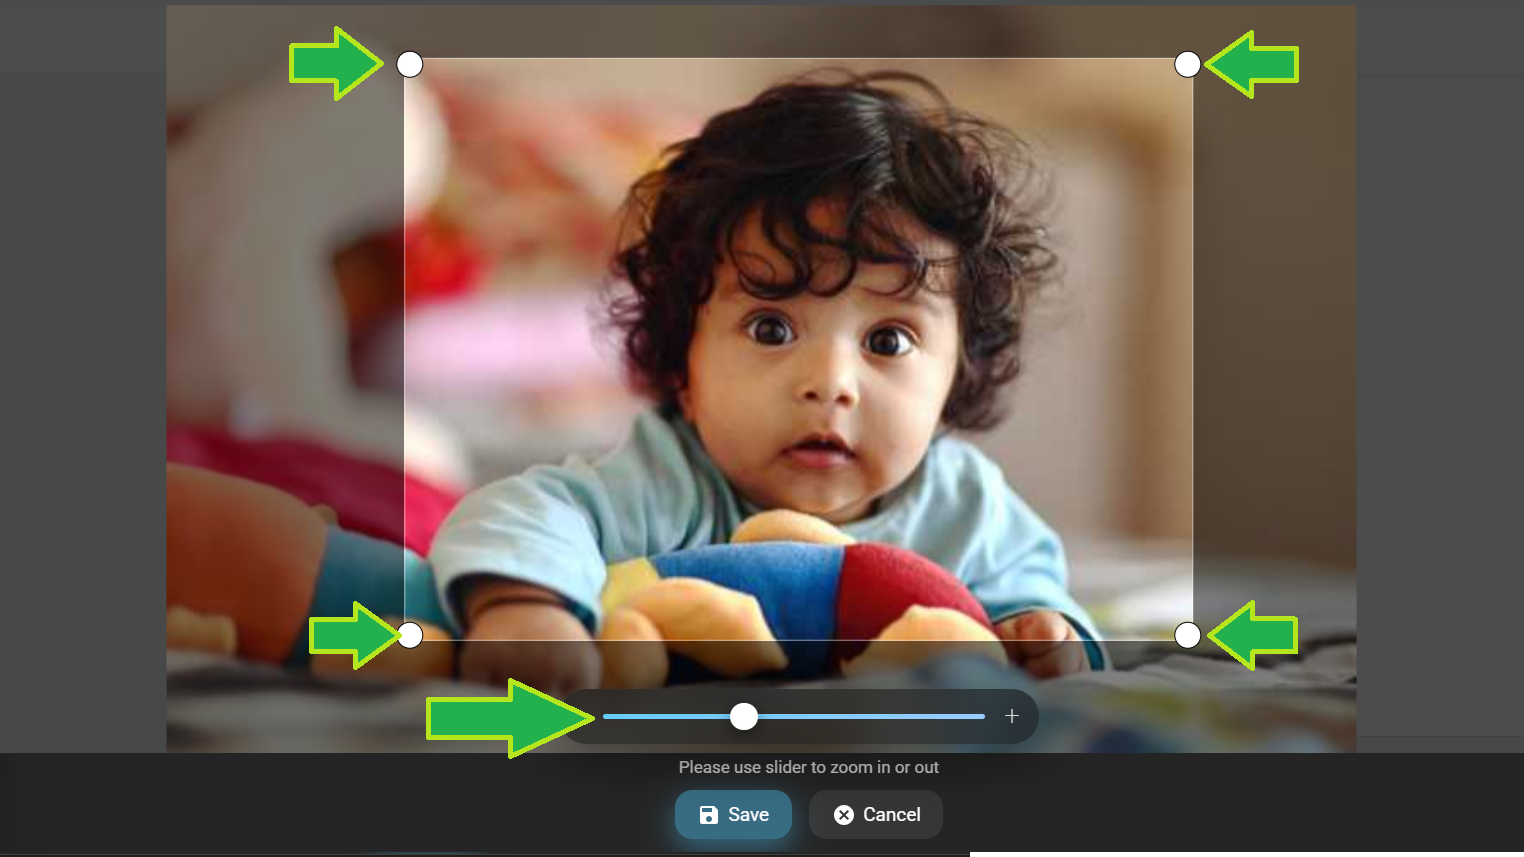
Using the crop slider and using the photo corner crop handles adjust the image crop.
Click on “Save” button once done.
- Add Photo: Allow to add a photo holder.you can select and drop an image on it.
- Delete: Delete the selected photo holder.
- Resize & Rotate: You can resize and rotate added stickers as desired.
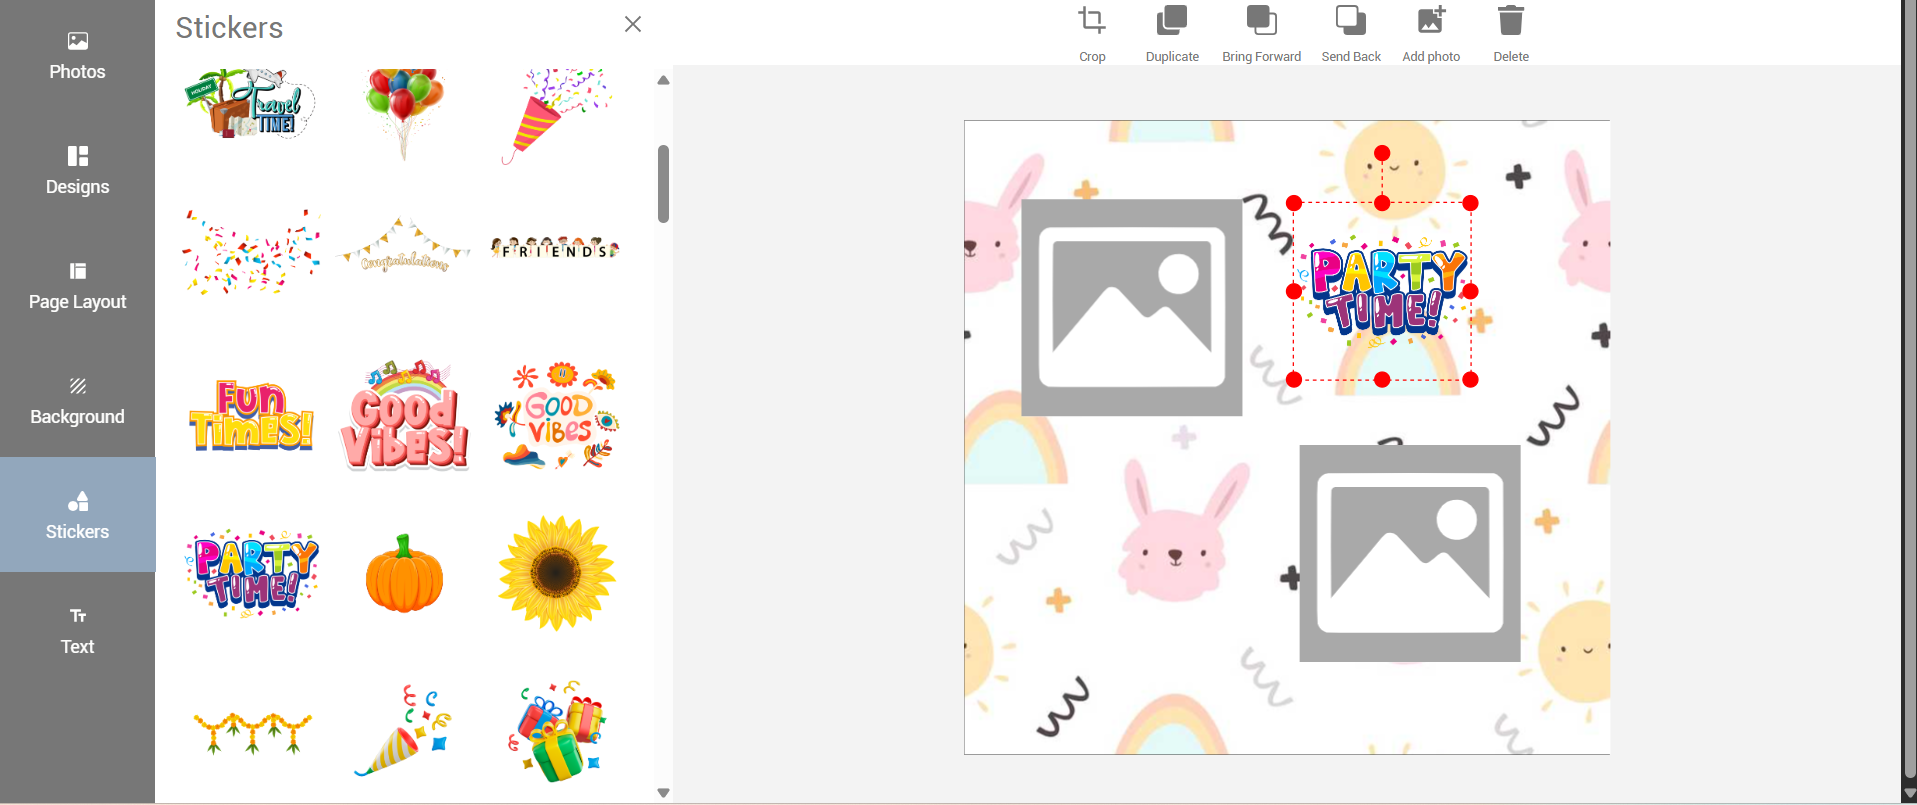
8. Toolbar for Clipart Editing
-
Stickers : The added stickers can be resized, rotated as desired
-
Duplicate: Creates a copy of the selected clipart.
-
Bring Forward: Clipart can be arranged one above the other using the Bring Forward button.
-
Send Back: Works similar to Bring Forward and sends the clipart behind.
-
Crop: use Crop to edit a photo, you can crop a portion and remove unnecessary parts of the clipart.
-
Add Photo: Allow to add a photo holder.you can select and drop an image on it.
9. Add and Edit Text
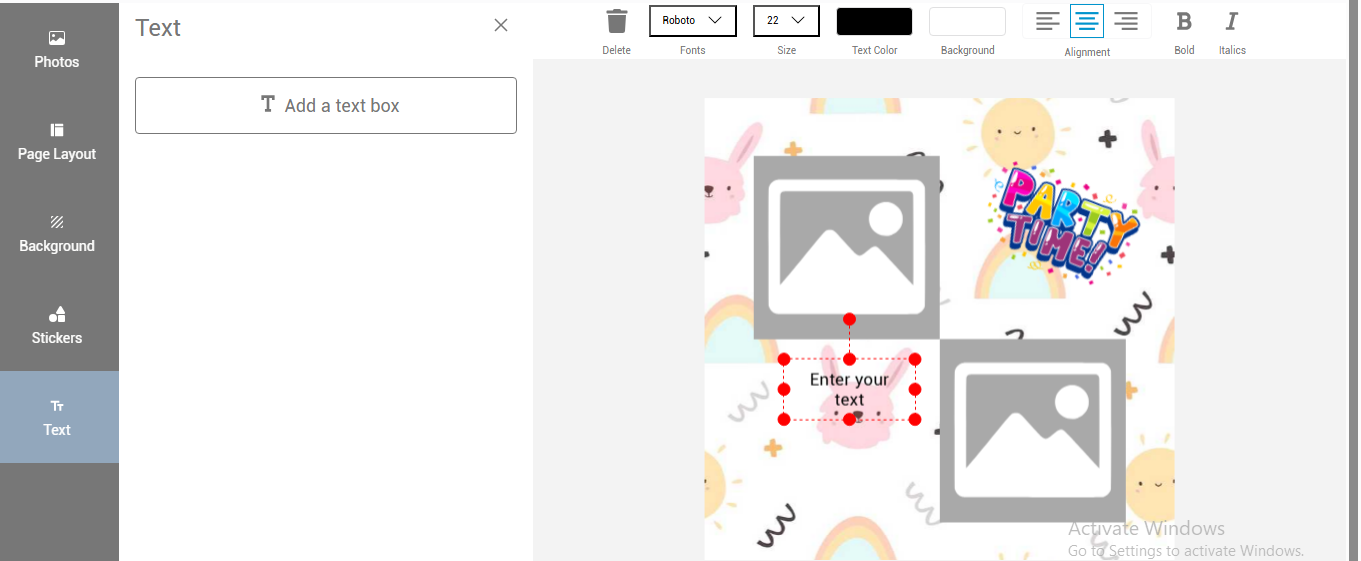
- To add a text click on the text tab.
- Click on the add a text box button.
- Click within the added text field and type in the text. or copy paste a ready text.
- Use the text edit menu to make changes to the added text.
10. Text Editing Tools

- Delete: Removes the selected text field.
- Duplicate: Copies the selected text.
- Bring Forward: Moves the text above other elements.
- Send Back: Sends the text behind other items.
- Font & Size: Choose from available font options and set the font size.
- Text Color & Background: Select from pre-set text and background color options. (Custom color picker is coming in the next version.)
- Text Alignment: Align text left, center, or right.
- Bold/Italic: The text can be changed to bold or Italic by toggling these buttons
11. Final Steps
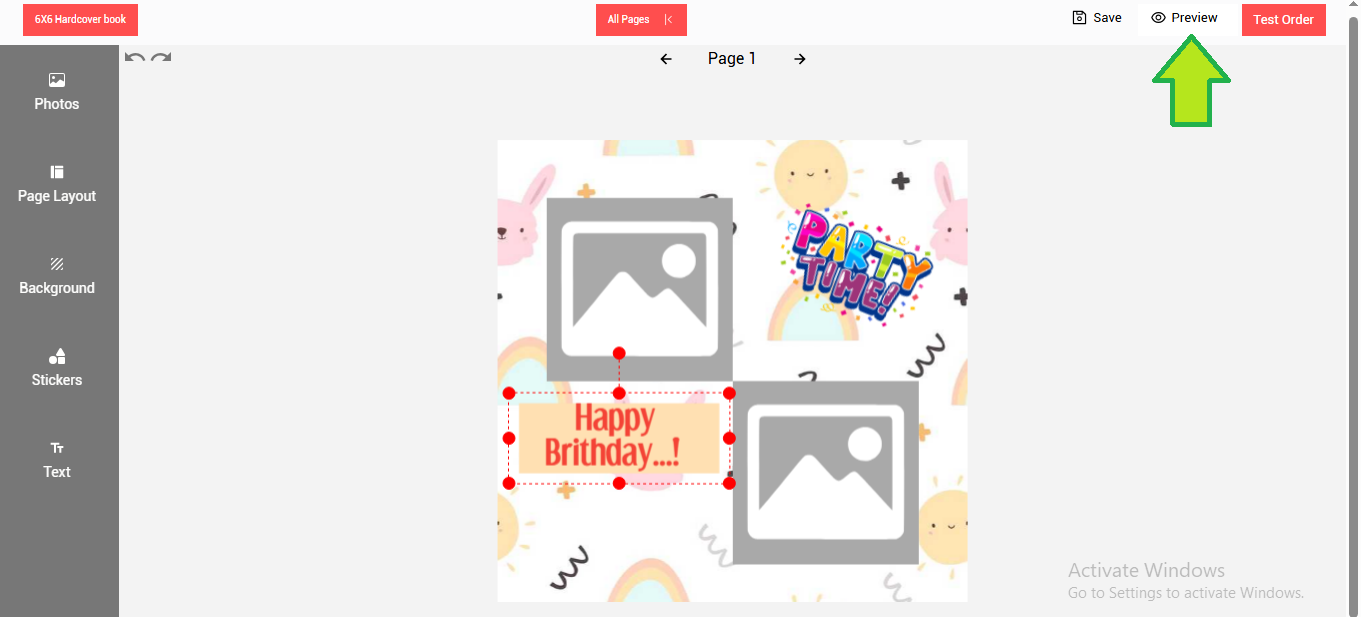
-
Once the designing is done click on the save button to save the design.
-
Click on the preview button.