Publish a Product
How to Create a Product and Add to a Store
Step 1
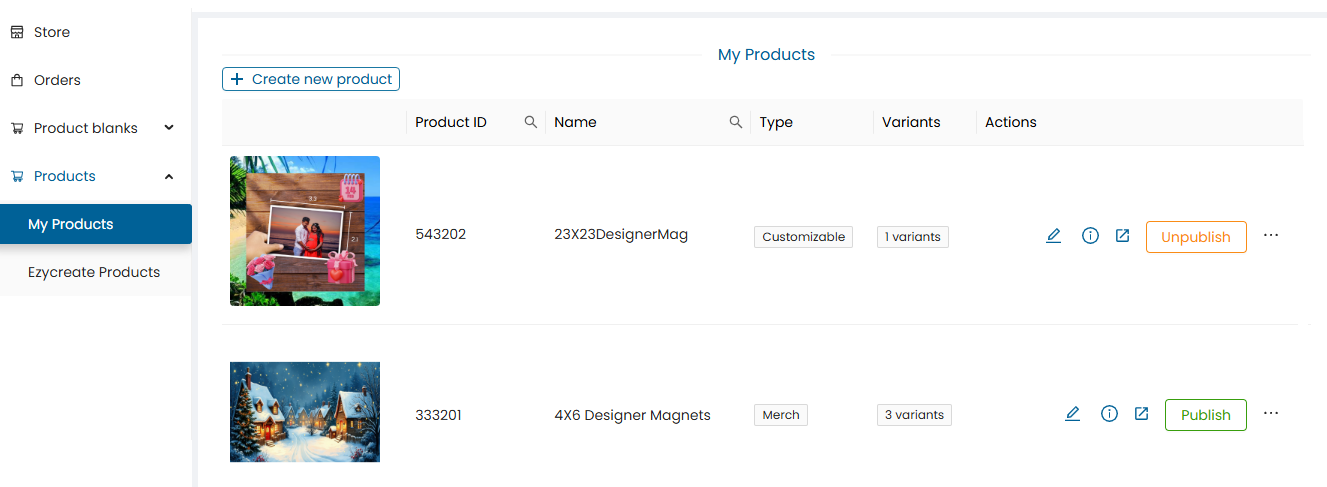
Open “My Products” tab and click on “Create New Product” button.
My Products allows you to create products on the website with content, images, similar to a product page on the website.
Step 2
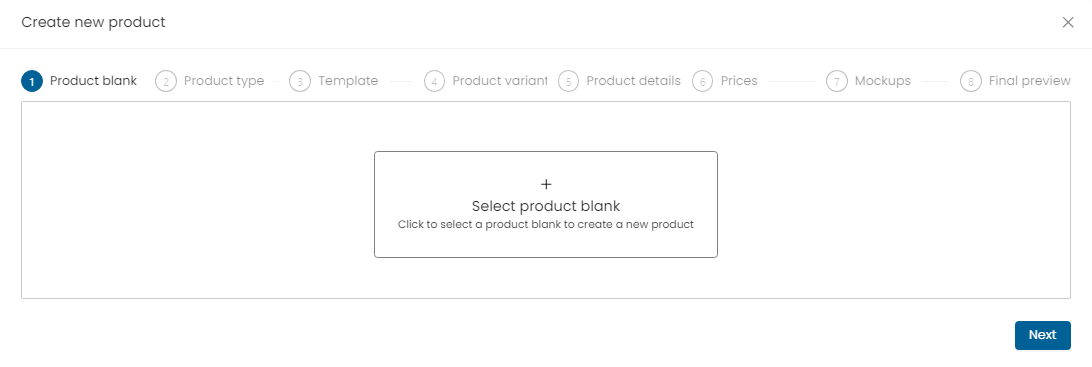
Click on the “Select Product Blank” option.
Click on the Next button to continue.
Step 3
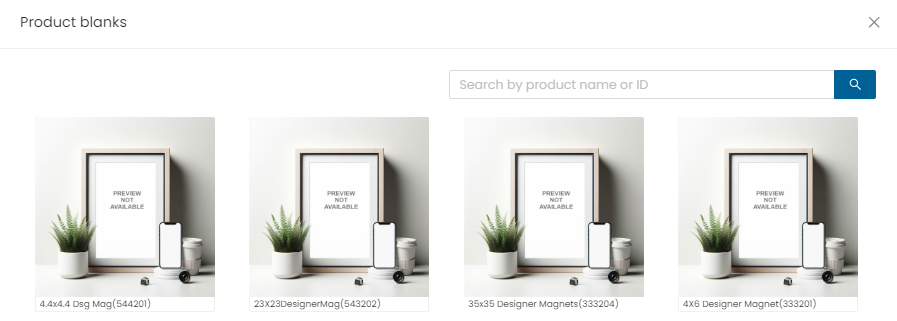
Select a product from the list of product blanks.
Step 4
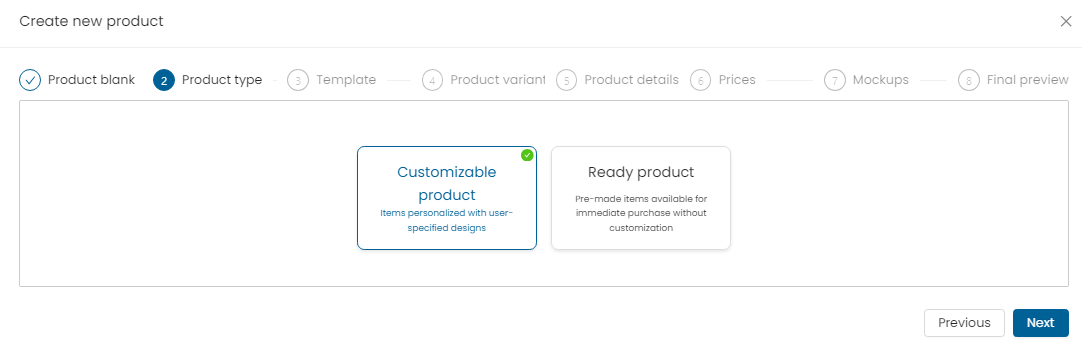
As per the product type, select the desired option.
Click on the Next button to continue.
Step 5
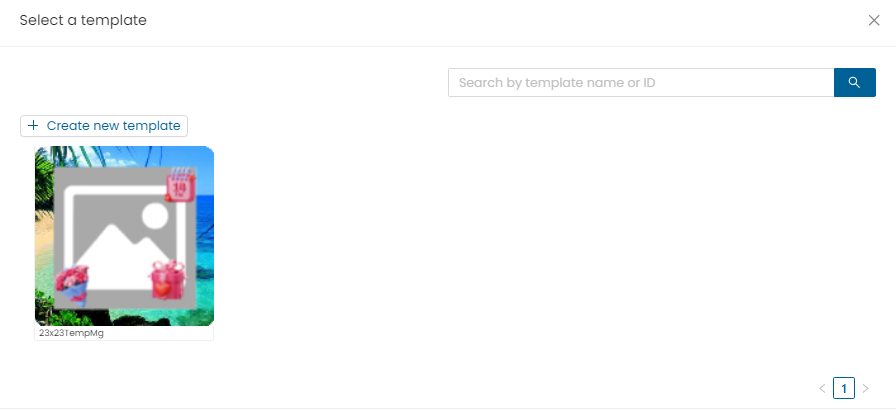
Select a template for the product.
Note: If the product template is already created and published, then it will appear here. Else to create a new template, refer to: EzyDesigner Template Creator
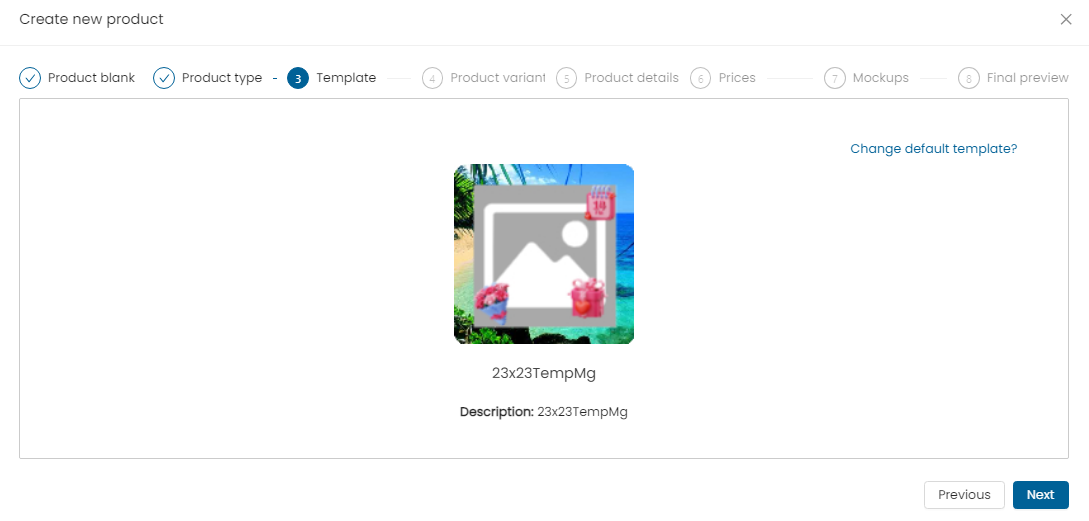
Once the template is selected, click on the Next button to continue.
Step 6
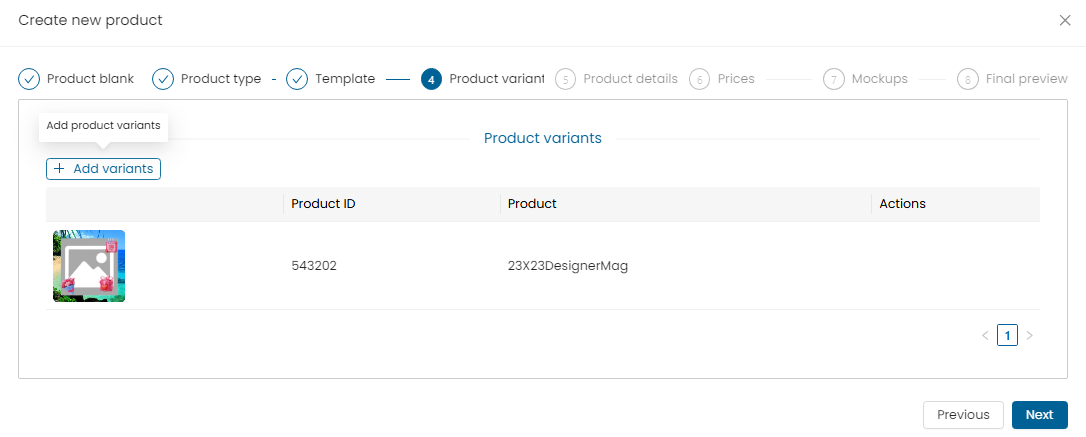
If the template has other size variants (similar product blanks) created, then you can add variants here using the “Add Variants” button.
It refers to the multiple sizes for the same product.
Click on the Next button to continue.
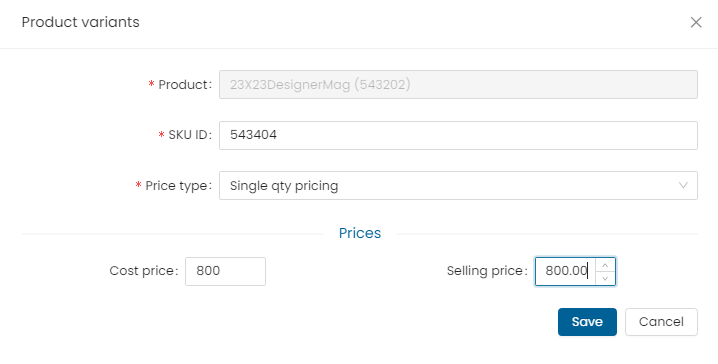
Step 7
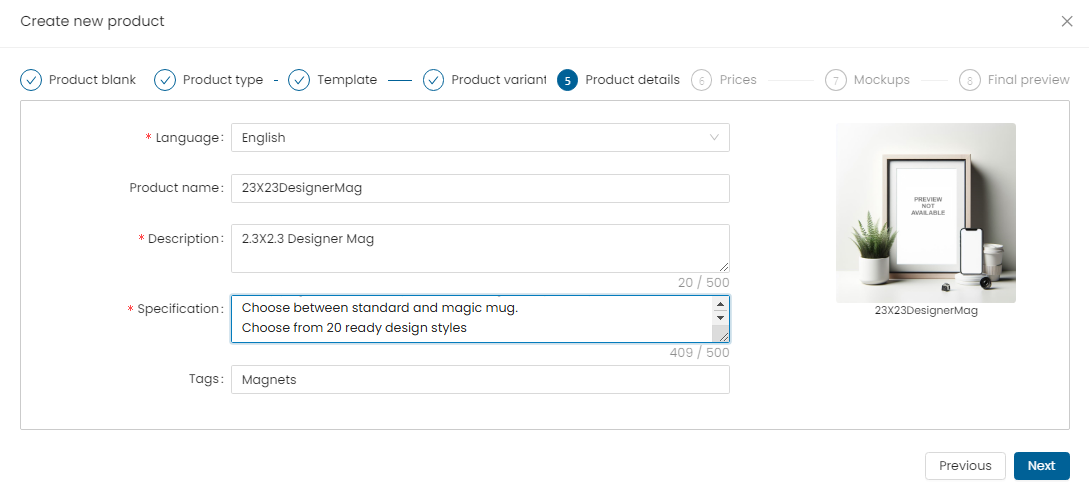
Enter all the required details to be displayed on the product page.
Click on the Next button to continue.
Step 8
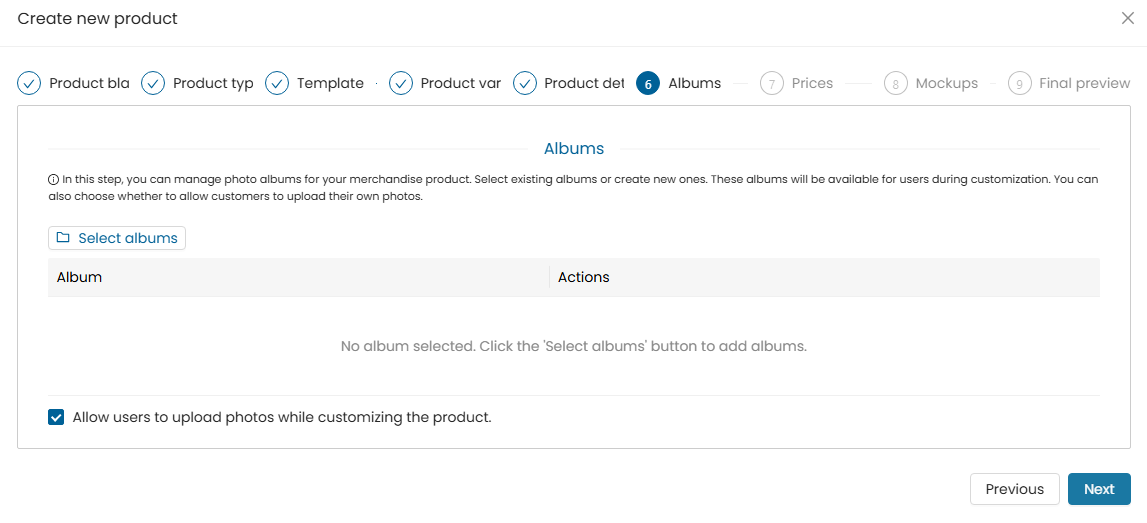
Click on the “Select Albums” button.
Step 9
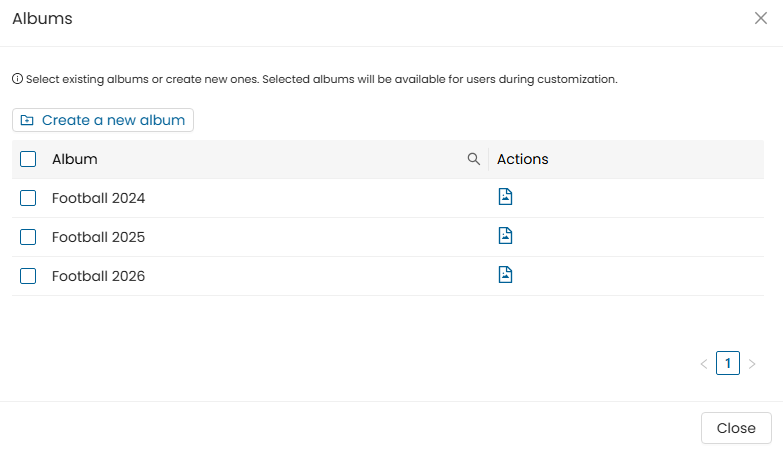
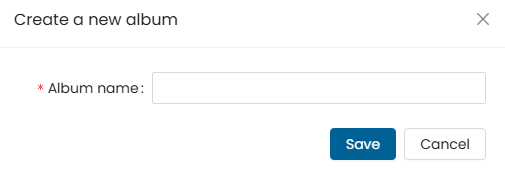
Click on the “Create New Album” button.
Enter a name for the album.
Step 10
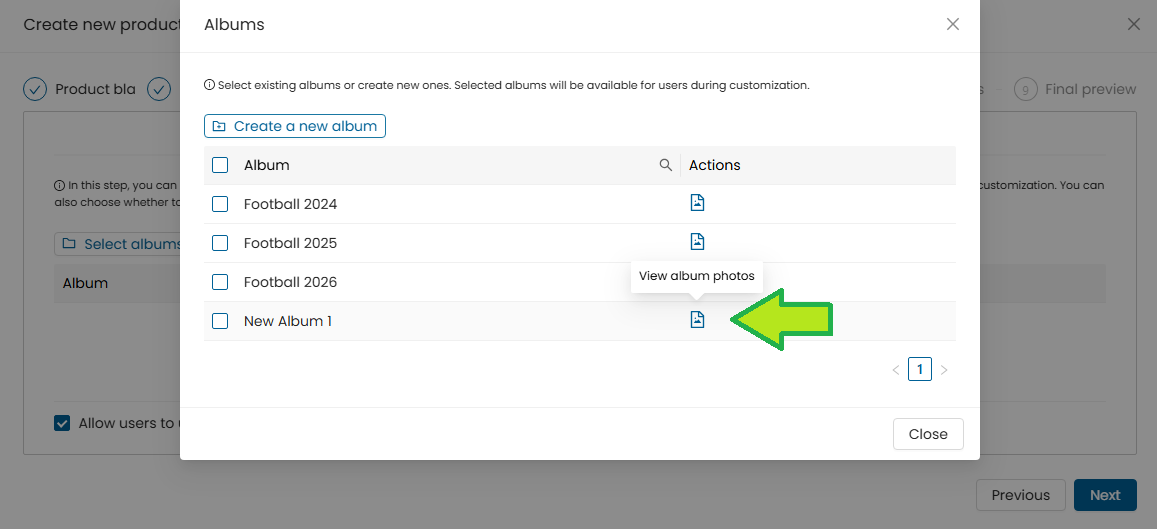
Click on the “View Album Photos” button.
Step 11
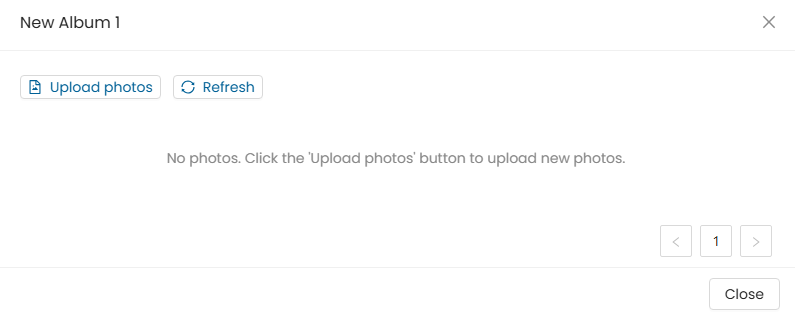
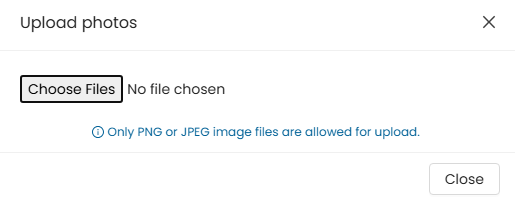
Click on the “Upload Photos” button.
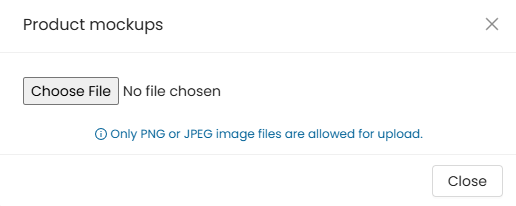
Choose image files from your device.
Note: Only PNG or JPEG image files are allowed for upload.
Step 12
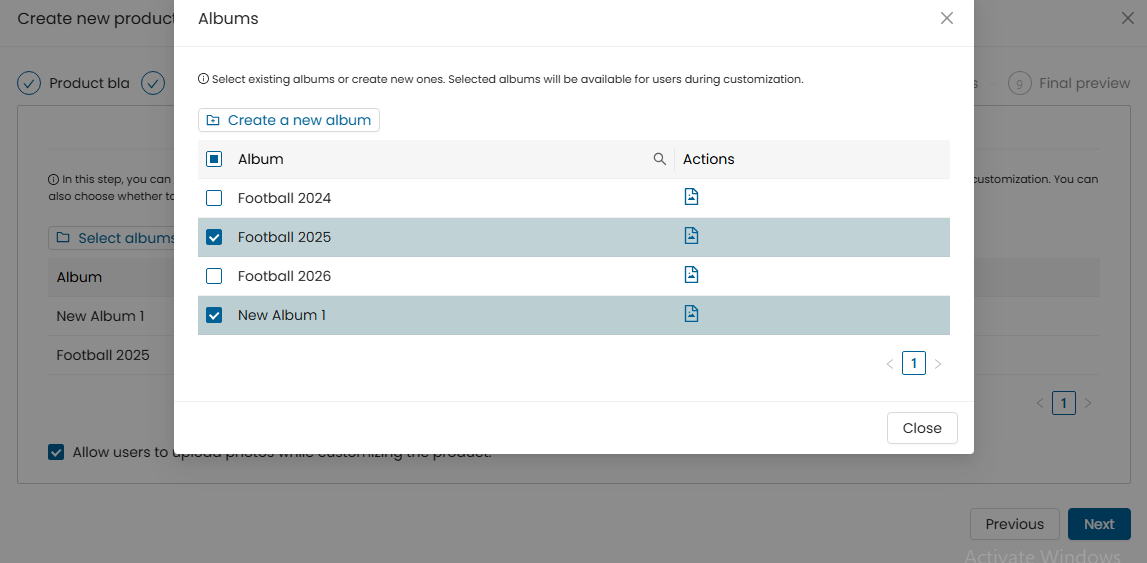
Once the images are uploaded in the album:
- Select the album to add to the merch product
- Click on the Close button to continue
Step 13
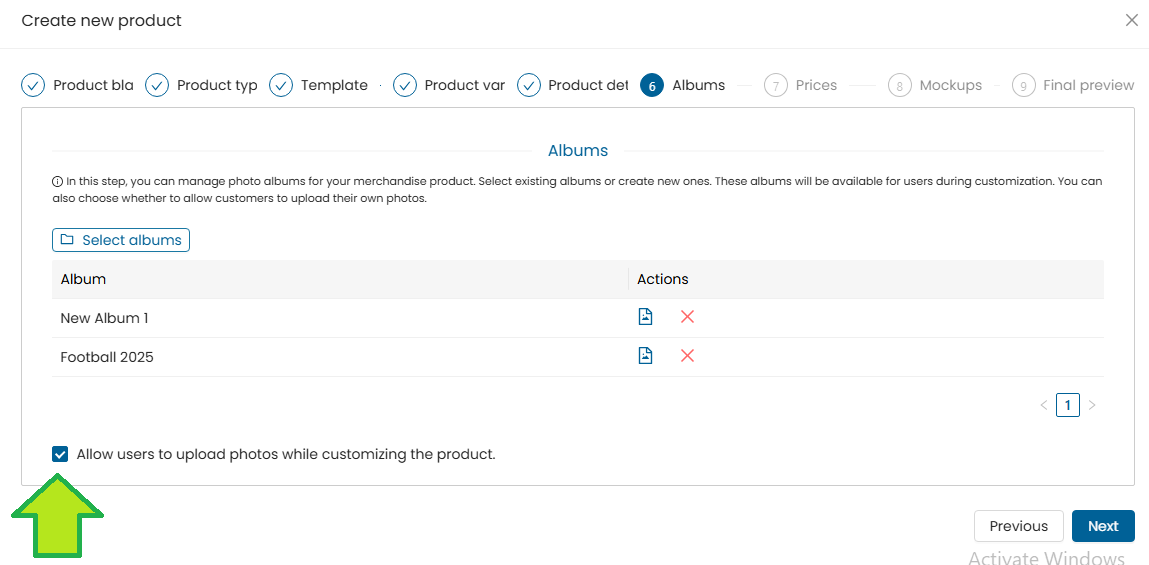
To allow users to upload photos while customizing the merch product, you can either select or uncheck the checkbox.
If this checkbox is unchecked, the user can only access the images from the selected albums and will not be allowed to upload any images for this product in the designer.
Click on the Next button to continue.
Step 14

Click on the Edit button
Enter all the required details

Click on the Save button
Click on the Next button to continue
Step 15
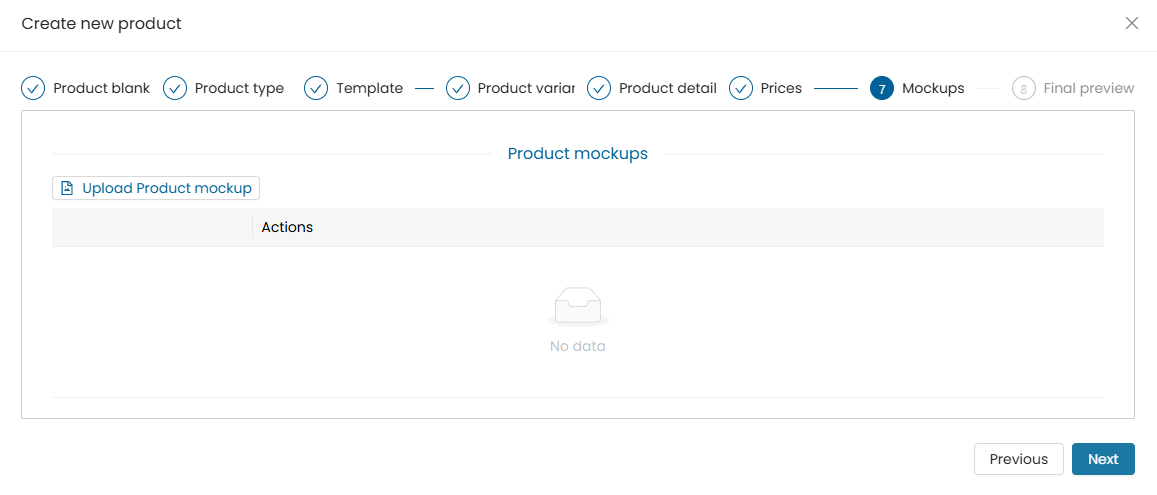
To upload your product images, you can choose between the below options:
- Generate Mockup Images: Auto-generates mockups from uploaded images
- Upload Custom Images: Upload ready-designed mockup images
Upload an image Click on the Generate Mockup button
Step 16
Click on Save button
Step 17
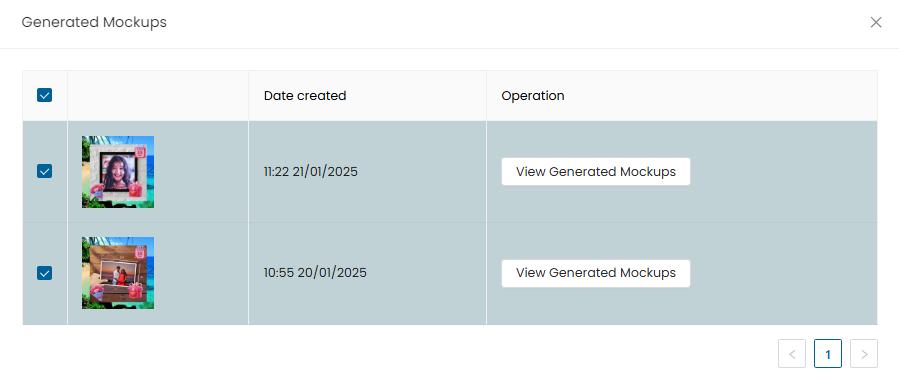
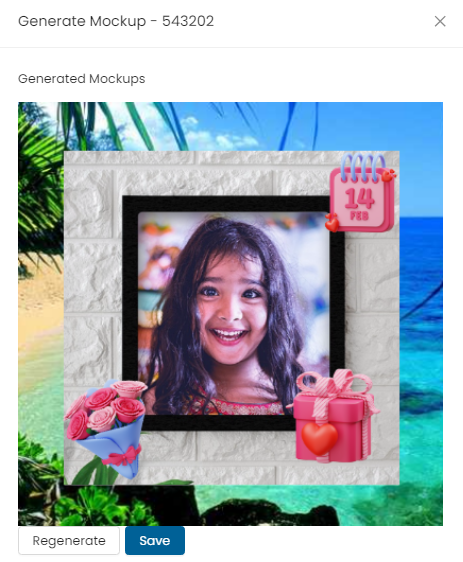
Click on the “View Generated Mockup” button to check the generated mockup
Select the added mockup selection checkbox
Click on the “Close” pop-up button
Step 18
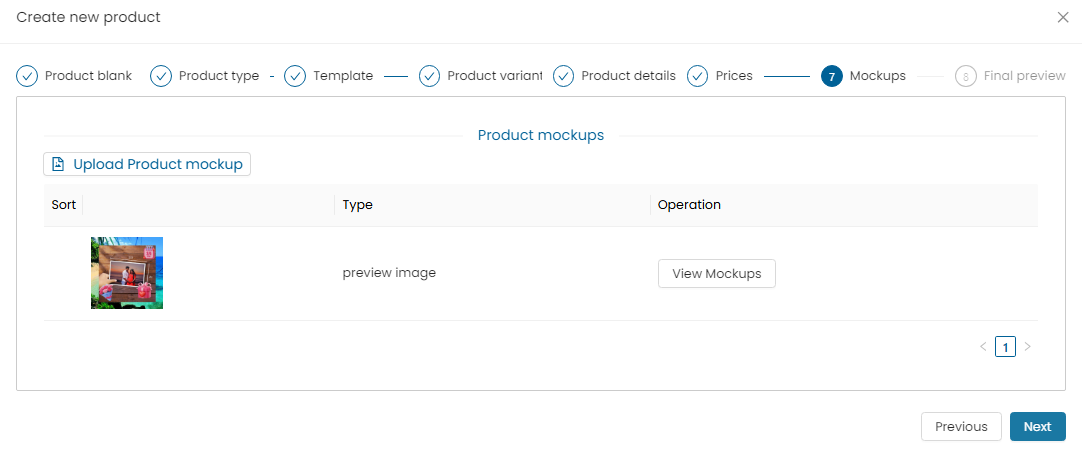
To view the mockup, click on “View Mockups” Click on the Next button to continue
Step 19
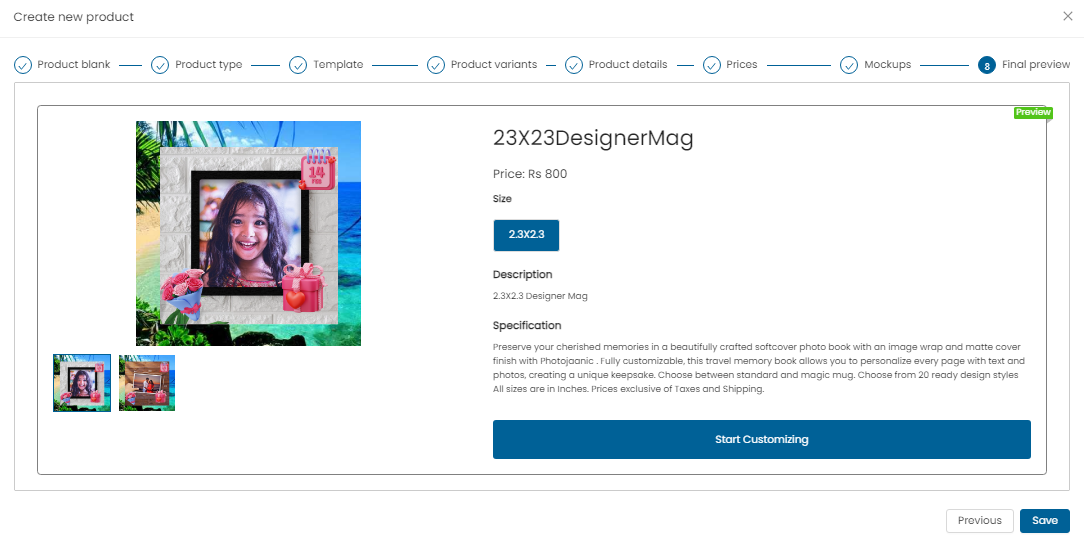
Click on Save button to save the product
Step 20
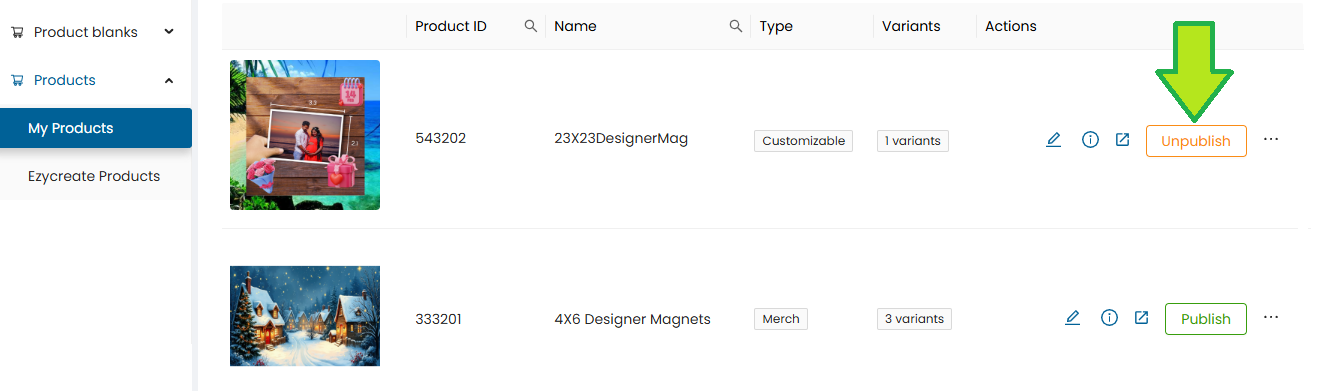
Publish the product
Step 21
Once the product is published, it will be added on the website Open website link
Click on the “Add” button to create the product page
Step 22
Click on the “View the Page” link
Step 23
The created page node link will open
Need Help?
If you're stuck, don’t worry — just email us at support@ezycreate.com